
Leelanau County – July 26, 2019 – Written by Jim
As we were finishing up the barn last year, we started picking out colors for this year’s cabin project. We had always intended to tie the two buildings together by accenting them both with the Wicker shakes in the gable ends and the wide white PVC trim, but we wanted each to have an independent field color. We had settled on a horizontal taupe, and even painted the shed doors to match.
Well, the pandemic-affected supply chain had other ideas…
It turns out that taupe pigment was not available to make our siding, so we had to come up with a Plan B. Time to get creative! Our supplier actually suggested the Certainteed brand of siding for availability, which Menards just happened to also carry at a much cheaper price. Lop another 11% off of that with their summer-long rebate sale and they practically gave us the siding! So what color did we choose?

Pacific Blue!
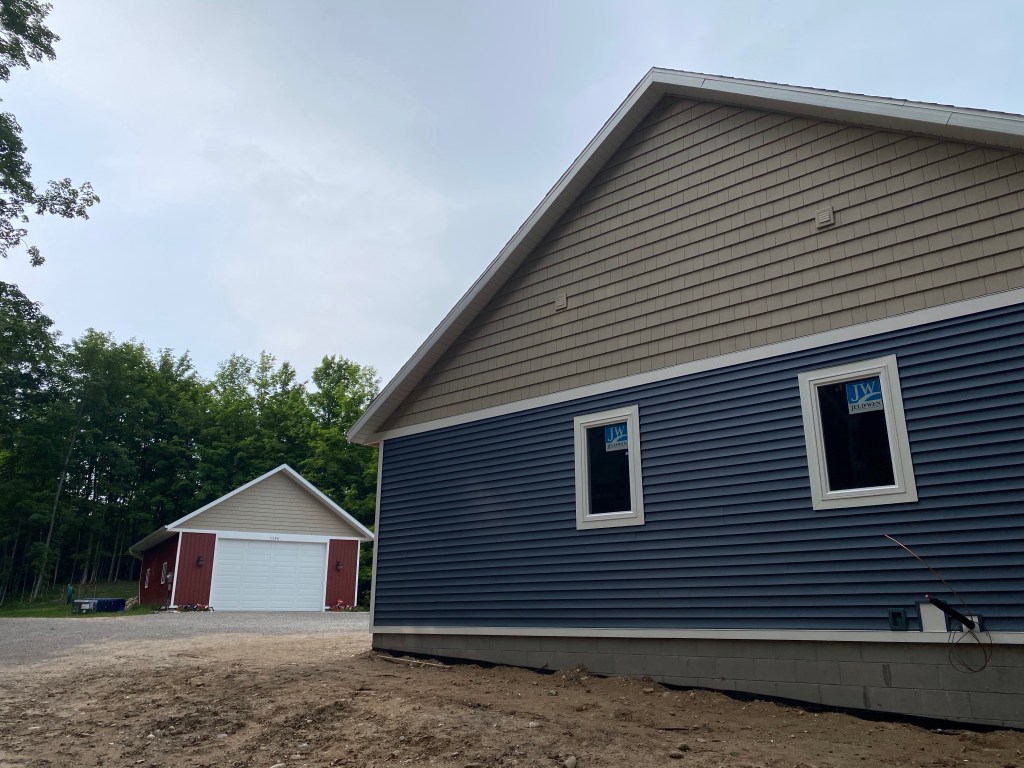
We are happy with the way it looks with the barn. One side done, three to go!
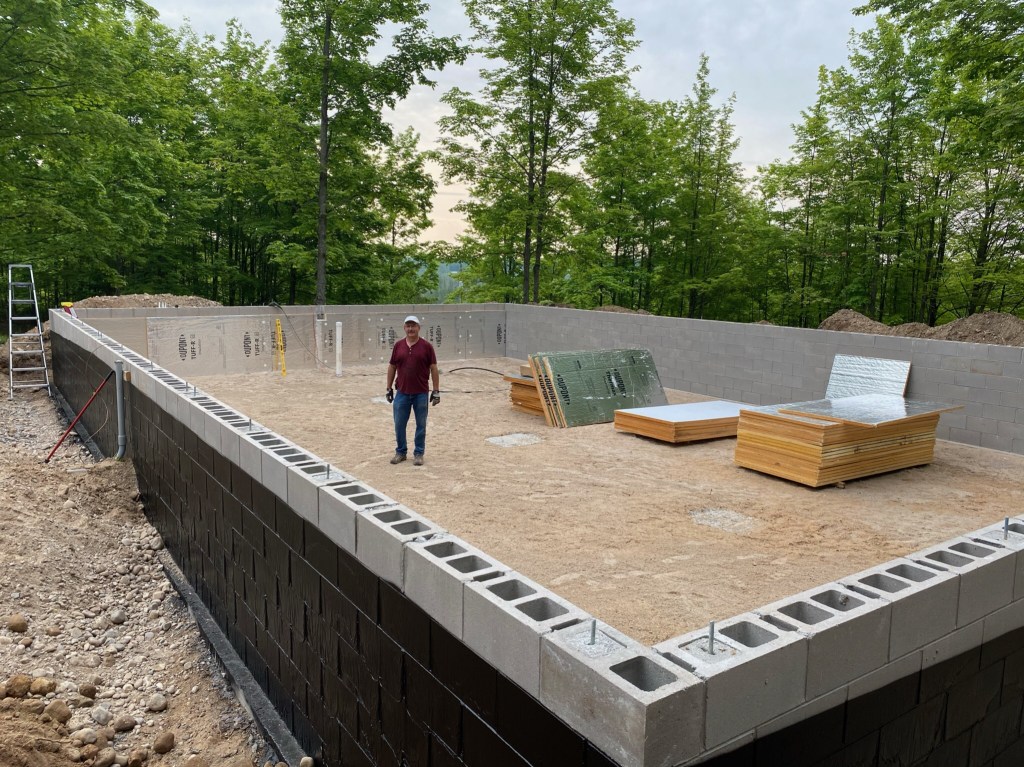
This past week has been a mix of working on the siding and other projects that have to be buttoned up before the insulation and drywall crews arrive. Two of the four insulation crews have come and gone, along with the electrician. The electrical inspector approved the rough electrical and the building inspector approved the rough framing. We are good to go!
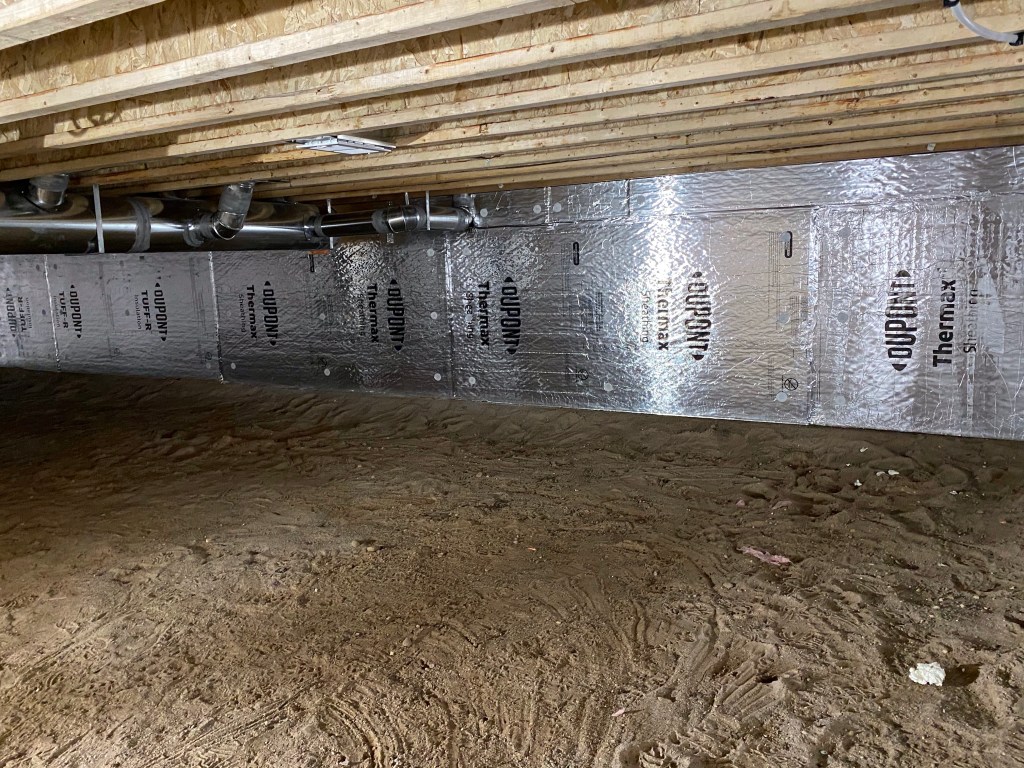
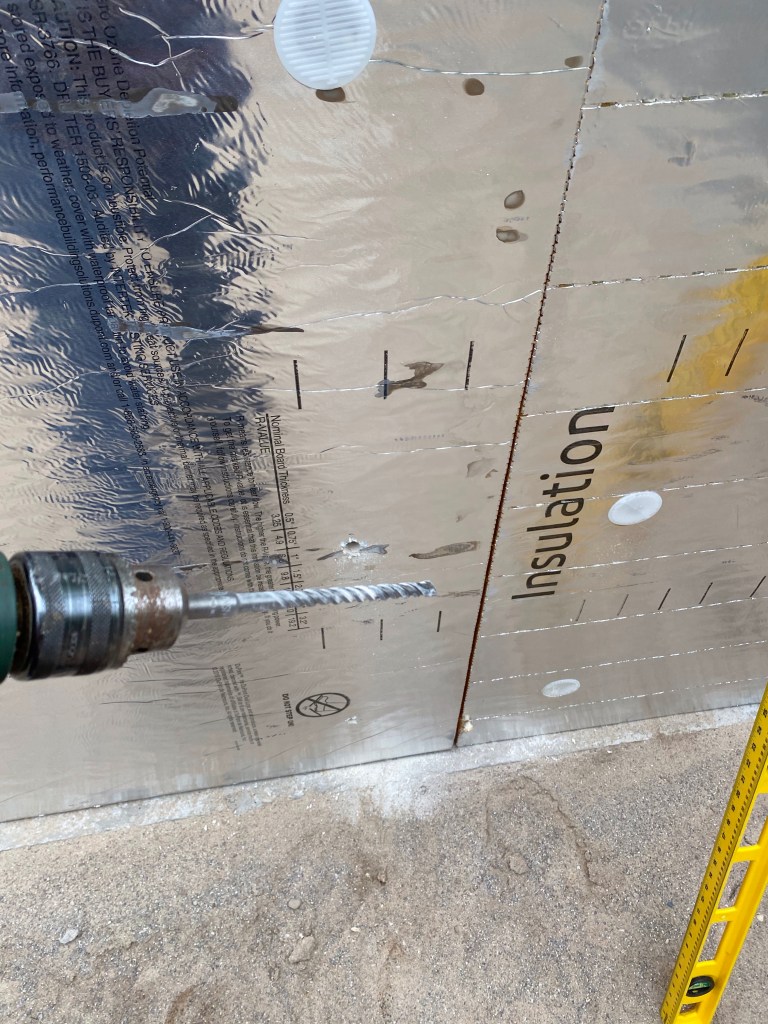
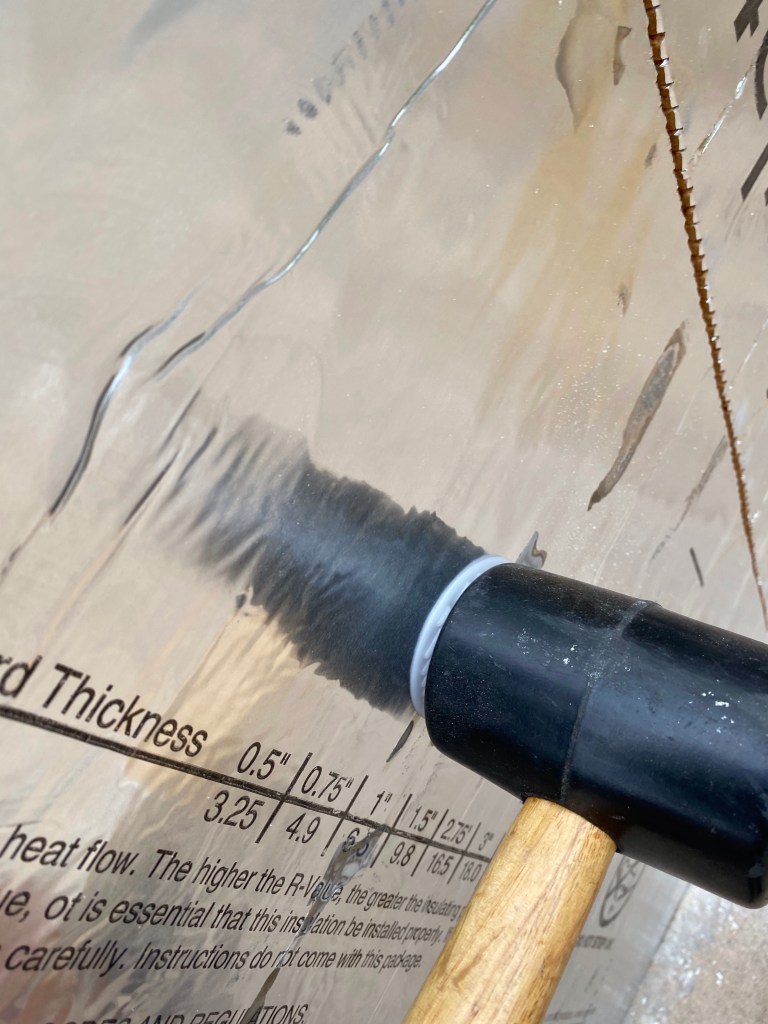
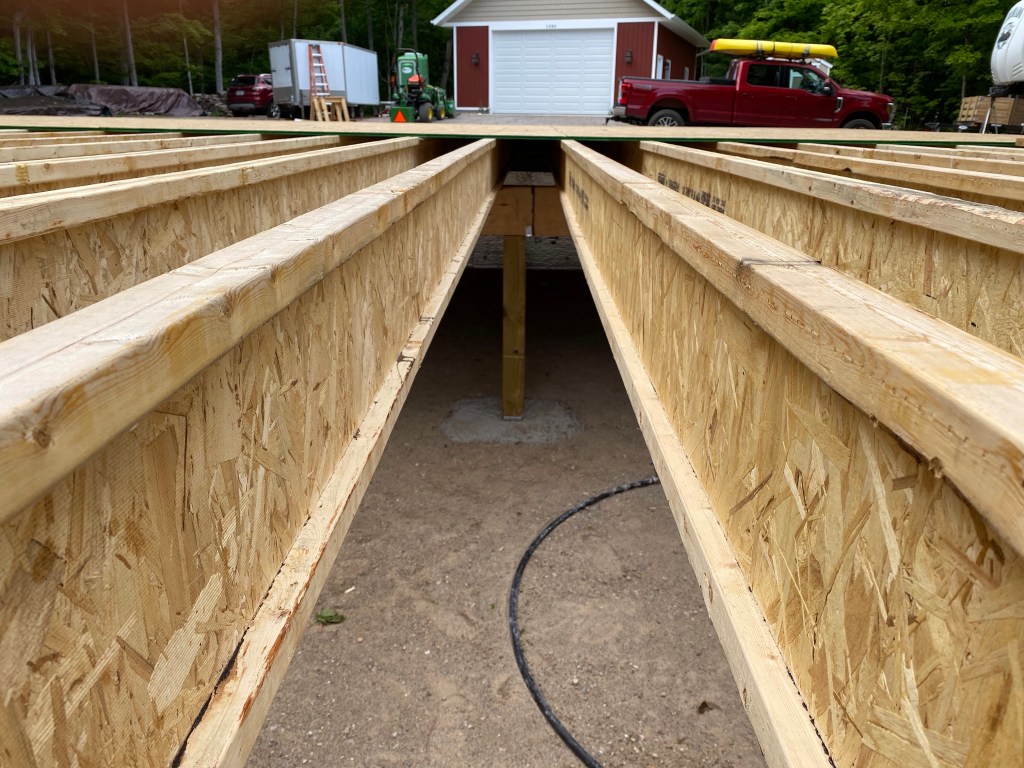
Down in the crawl space, I was able to put the top 9” of foam board up along with the silver seam tape. Once the HVAC, plumbing and electric finish work is completed in this area, we will put a reinforced white liner on the floor. The foam board, liner and rim joist insulation are what make up a ‘conditioned’ crawl space, which is required by Michigan building code.
As much pre-planning as we did, some things came up that required some quick thinking. Placing backing to mount the vanity lights and mirrors were one thing we hadn’t considered. A rainy day trip to Menards to pick out the mirror and lights gave us the measurements we needed to mount the backing board.

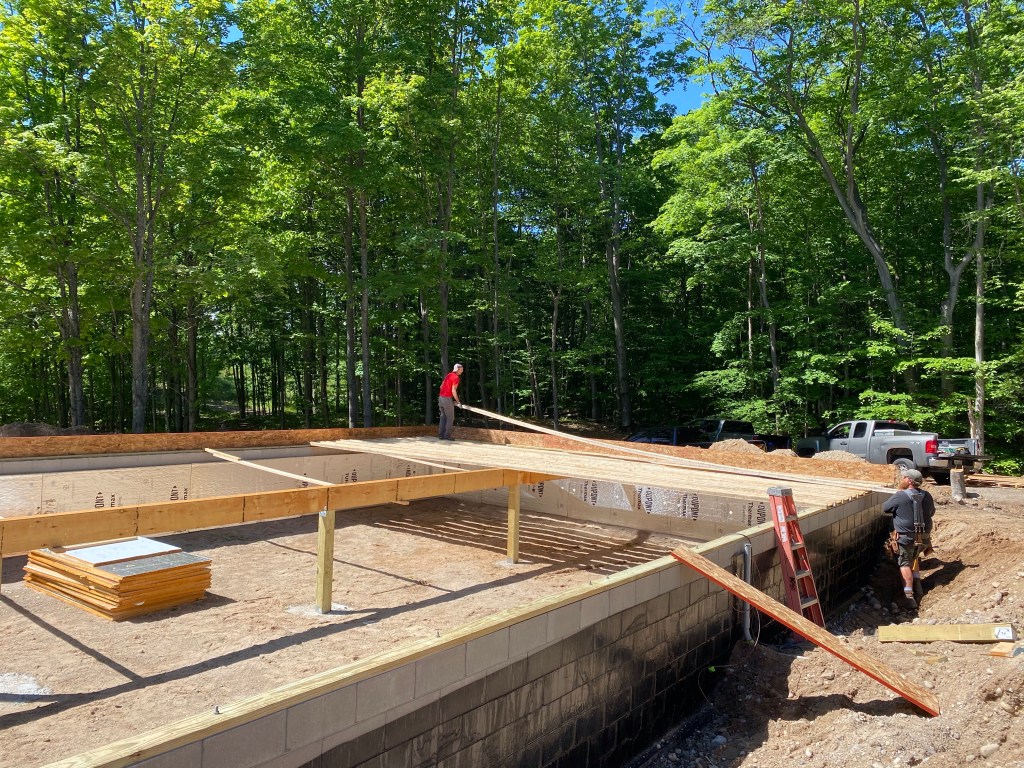
While we were there, we decided on our porch ceiling, as that needs to be done before we can put the siding up on that wall. I’m on the upper level of the wood storage rack getting ready to hand down 32 pieces of wood to Diana in this photo. We chose 1 x 6 pine carsiding that we will finish with a clear spar urethane. Stay tuned to see how that comes out.
We also realized that building a shower niche requires knowing the measurements of the tile that will surround it. After picking out our tile, we decided on the size and placement of the niches in our bathrooms.
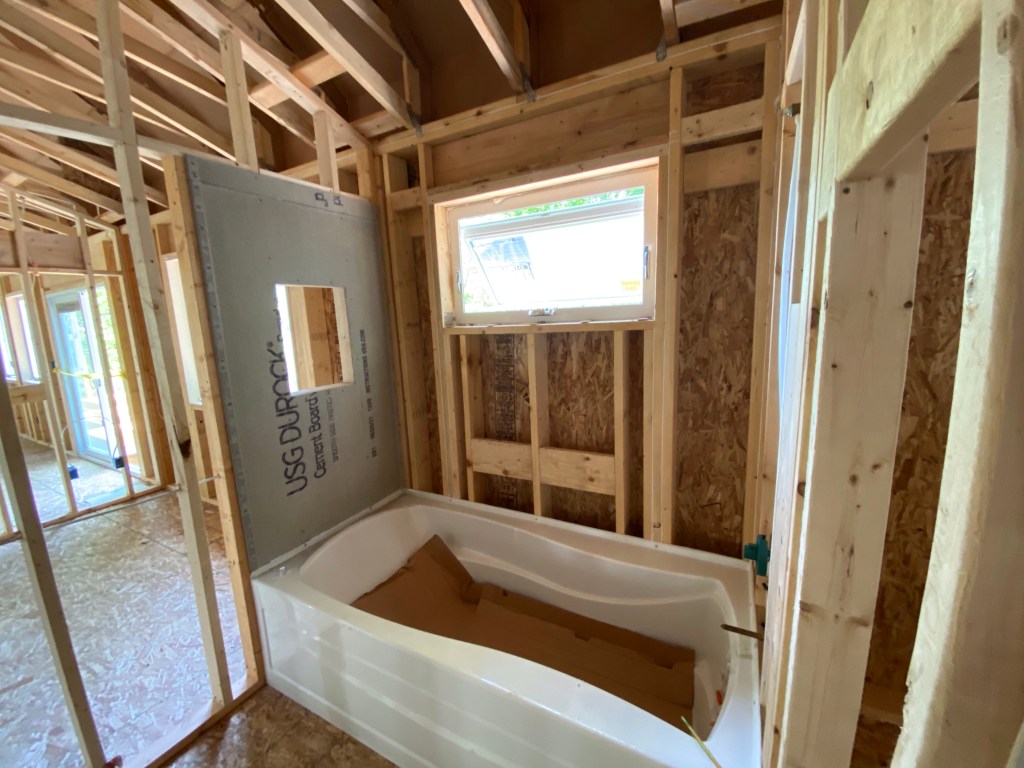
Here is the one in our main bathroom. I have to wait until the outside wall is insulated before I can put up the rest of the cement board in this room.

Our master shower cement board is nearly complete, as these are all inside walls. I will trim out the niches in both baths when the drywall behind them is installed.
This past weekend, we bid a Leelanau farewell to our friends Rod and Mary, as they sold their cottage here and will be living full time in their Florida home.

Patti and Lane arranged an evening at The Ridge at Verterra Winery and then dinner at Nittolo’s in Lake Leelanau. From right to left: Mary & Rod, Paul & JoAnn, Lane & Patti and the two of us. We all met at Wild Cherry Resort back in 2015. We sure are going to miss having Rod and Mary here, as well as their dog Gracie. Fortunately, we will catch up with them in Florida!
Our friends Terry and Diane also stopped by with their grandson on their way north to the Upper Peninsula to go fishing. It was good to see them again!
Stay tuned for our next post where we will hopefully have insulation and drywall installed, as well as more siding. Until then, safe and happy travels to all!