Category Archives: RV Maintenance and Upgrades

The ‘To Do’ List

Every fulltime RVer accumulates a list of things that need to be done around their rigs, in hopes of finding a place that they are sitting still long enough to do them.  For us, Florida ends up being our place where we are able to get things done.  The weather in Melbourne Beach is favorable from November through March, and we have plenty of stores in the area to pick up needed supplies.  We usually write our items that need to be done on a 5″ x 8″ lined notepad as we travel, but it quickly became apparent last year that we needed to transfer that to a legal pad.  Granted, the list included clerical items like taxes and budget, most were little things that had either cropped up, were general maintenance,  or that we wanted to upgrade.  The ‘to do’ list grew to 61 items by the time I finished up at UPS after New Years Day.  Clearly, it was time to focus!

A couple of the items on the list were to have the transmission filters and fluid changed in both vehicles.  After we had the truck serviced, we scratched 4 items off the list by simply buying Edsel 2, our new Escape.  (Wash, Wax, Transmission filter, Oil)  Wow…that was easy!  Other items were small jobs like giving our bearing buddies on our new axles a couple shots of grease and replacing the batteries in our tire pressure monitors on our valve stems.  Most jobs were small enough that we were able to do more than one a day.  With that being said, there were two exceptions to that this year.

The biggest job was waxing the rig.  This is an annual job that I prefer to do myself, as the Fiberglas on our 2007 fifth wheel requires the use of oxidation remover before waxing. If it isn’t done carefully, it can leave swirl marks and end up looking worse than if it had been left untouched.  Go ahead, call me persnickety….I will own that.

2q

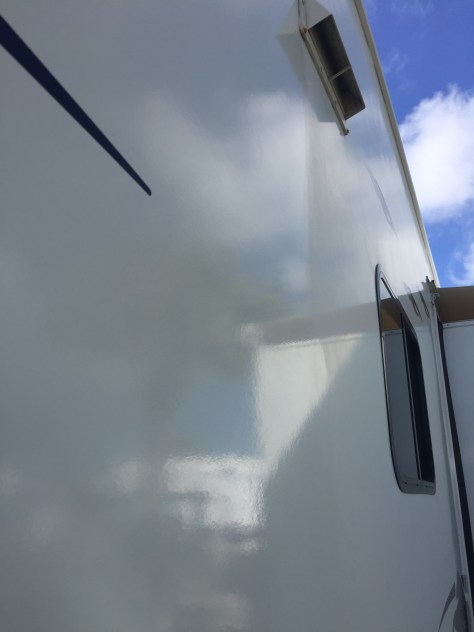
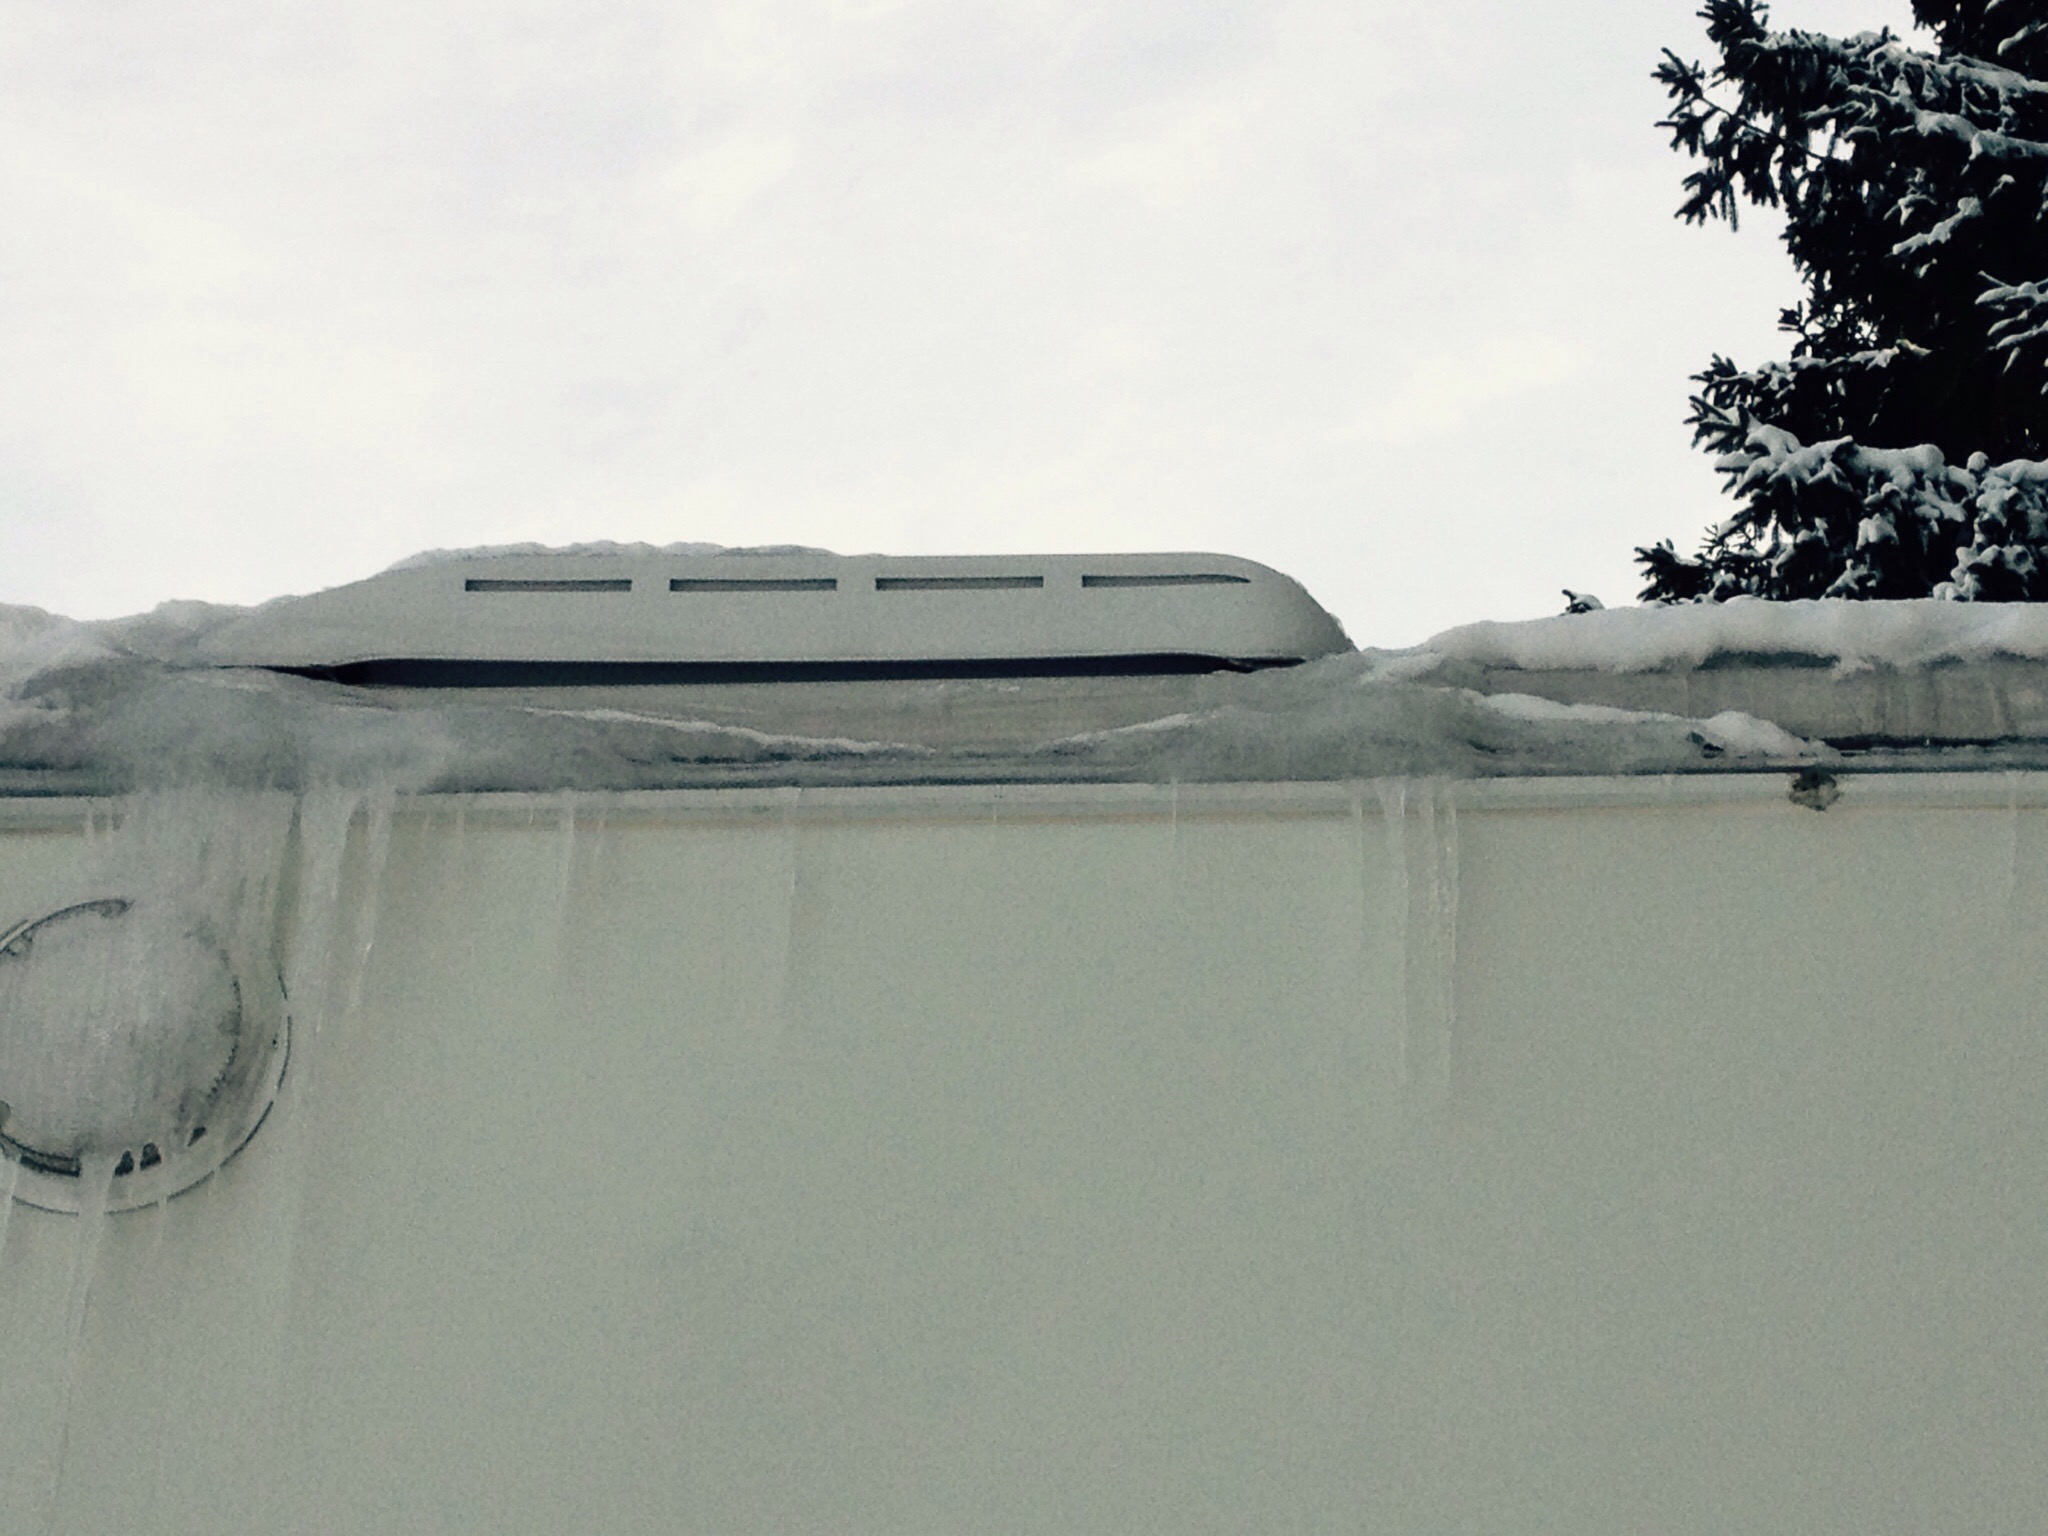
As you can see in the photo above, there is a big difference in the part that is done and not done.  That is only the oxidation remover in that photo…no wax had been applied yet.

3q

Here it is after waxing.  Our neighbors needed sunglasses after that step was completed!  Needless to say, the waxing process was tackled over several days….

2w

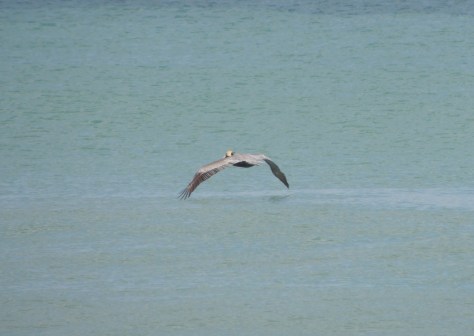
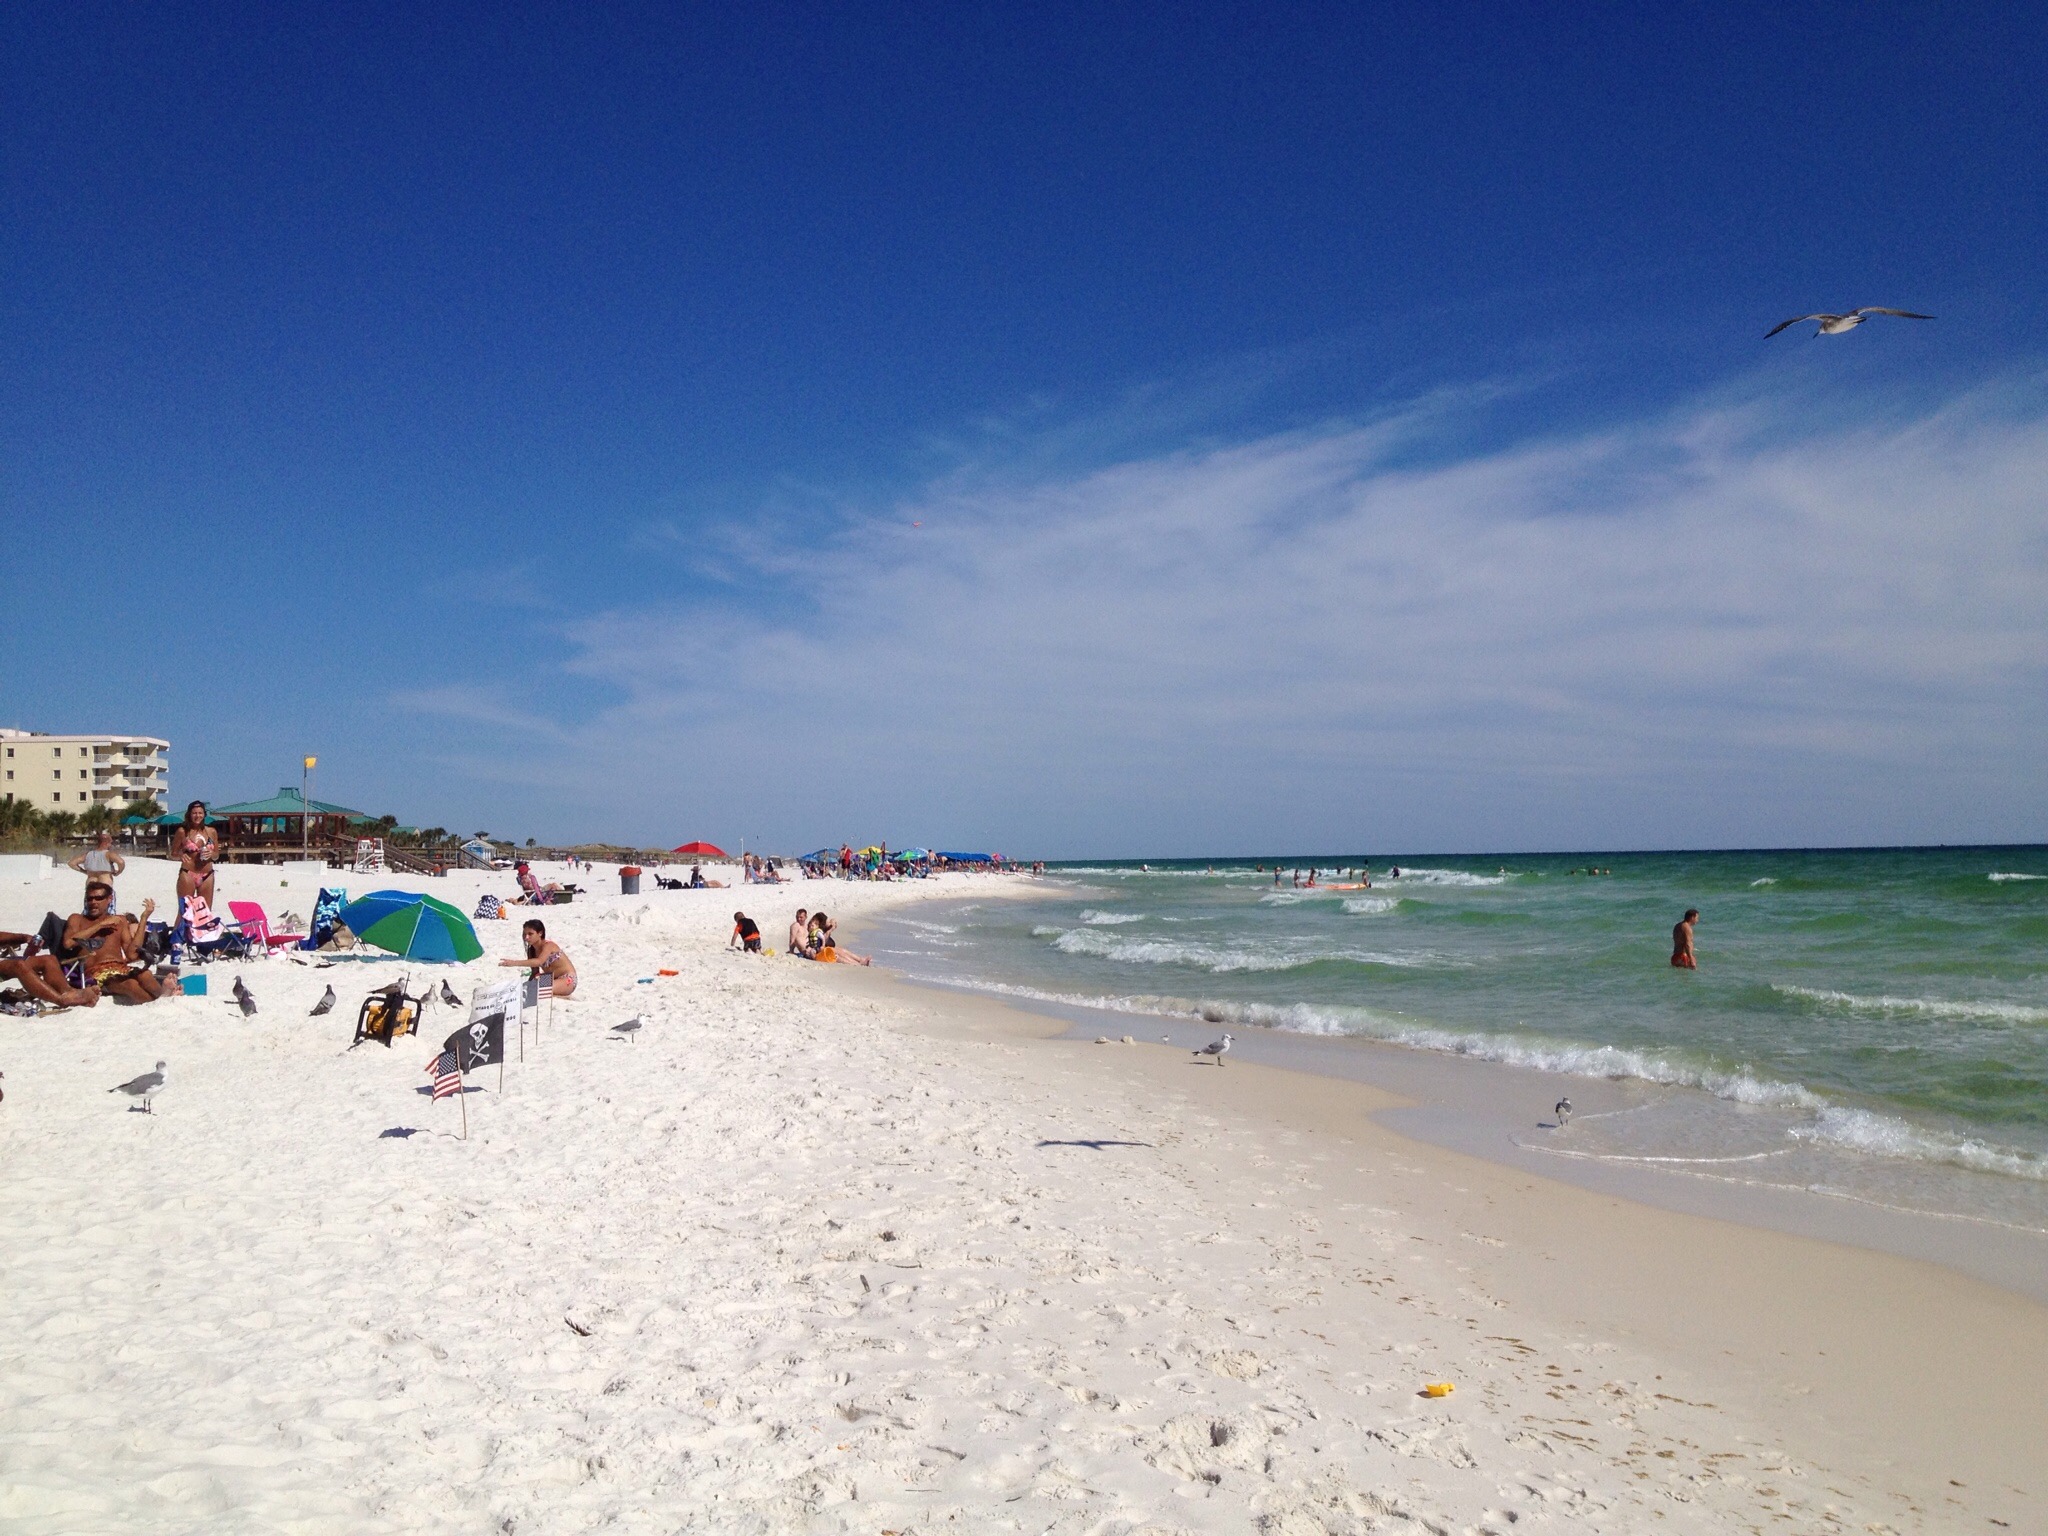
…with trips to the beach interspersed in between.

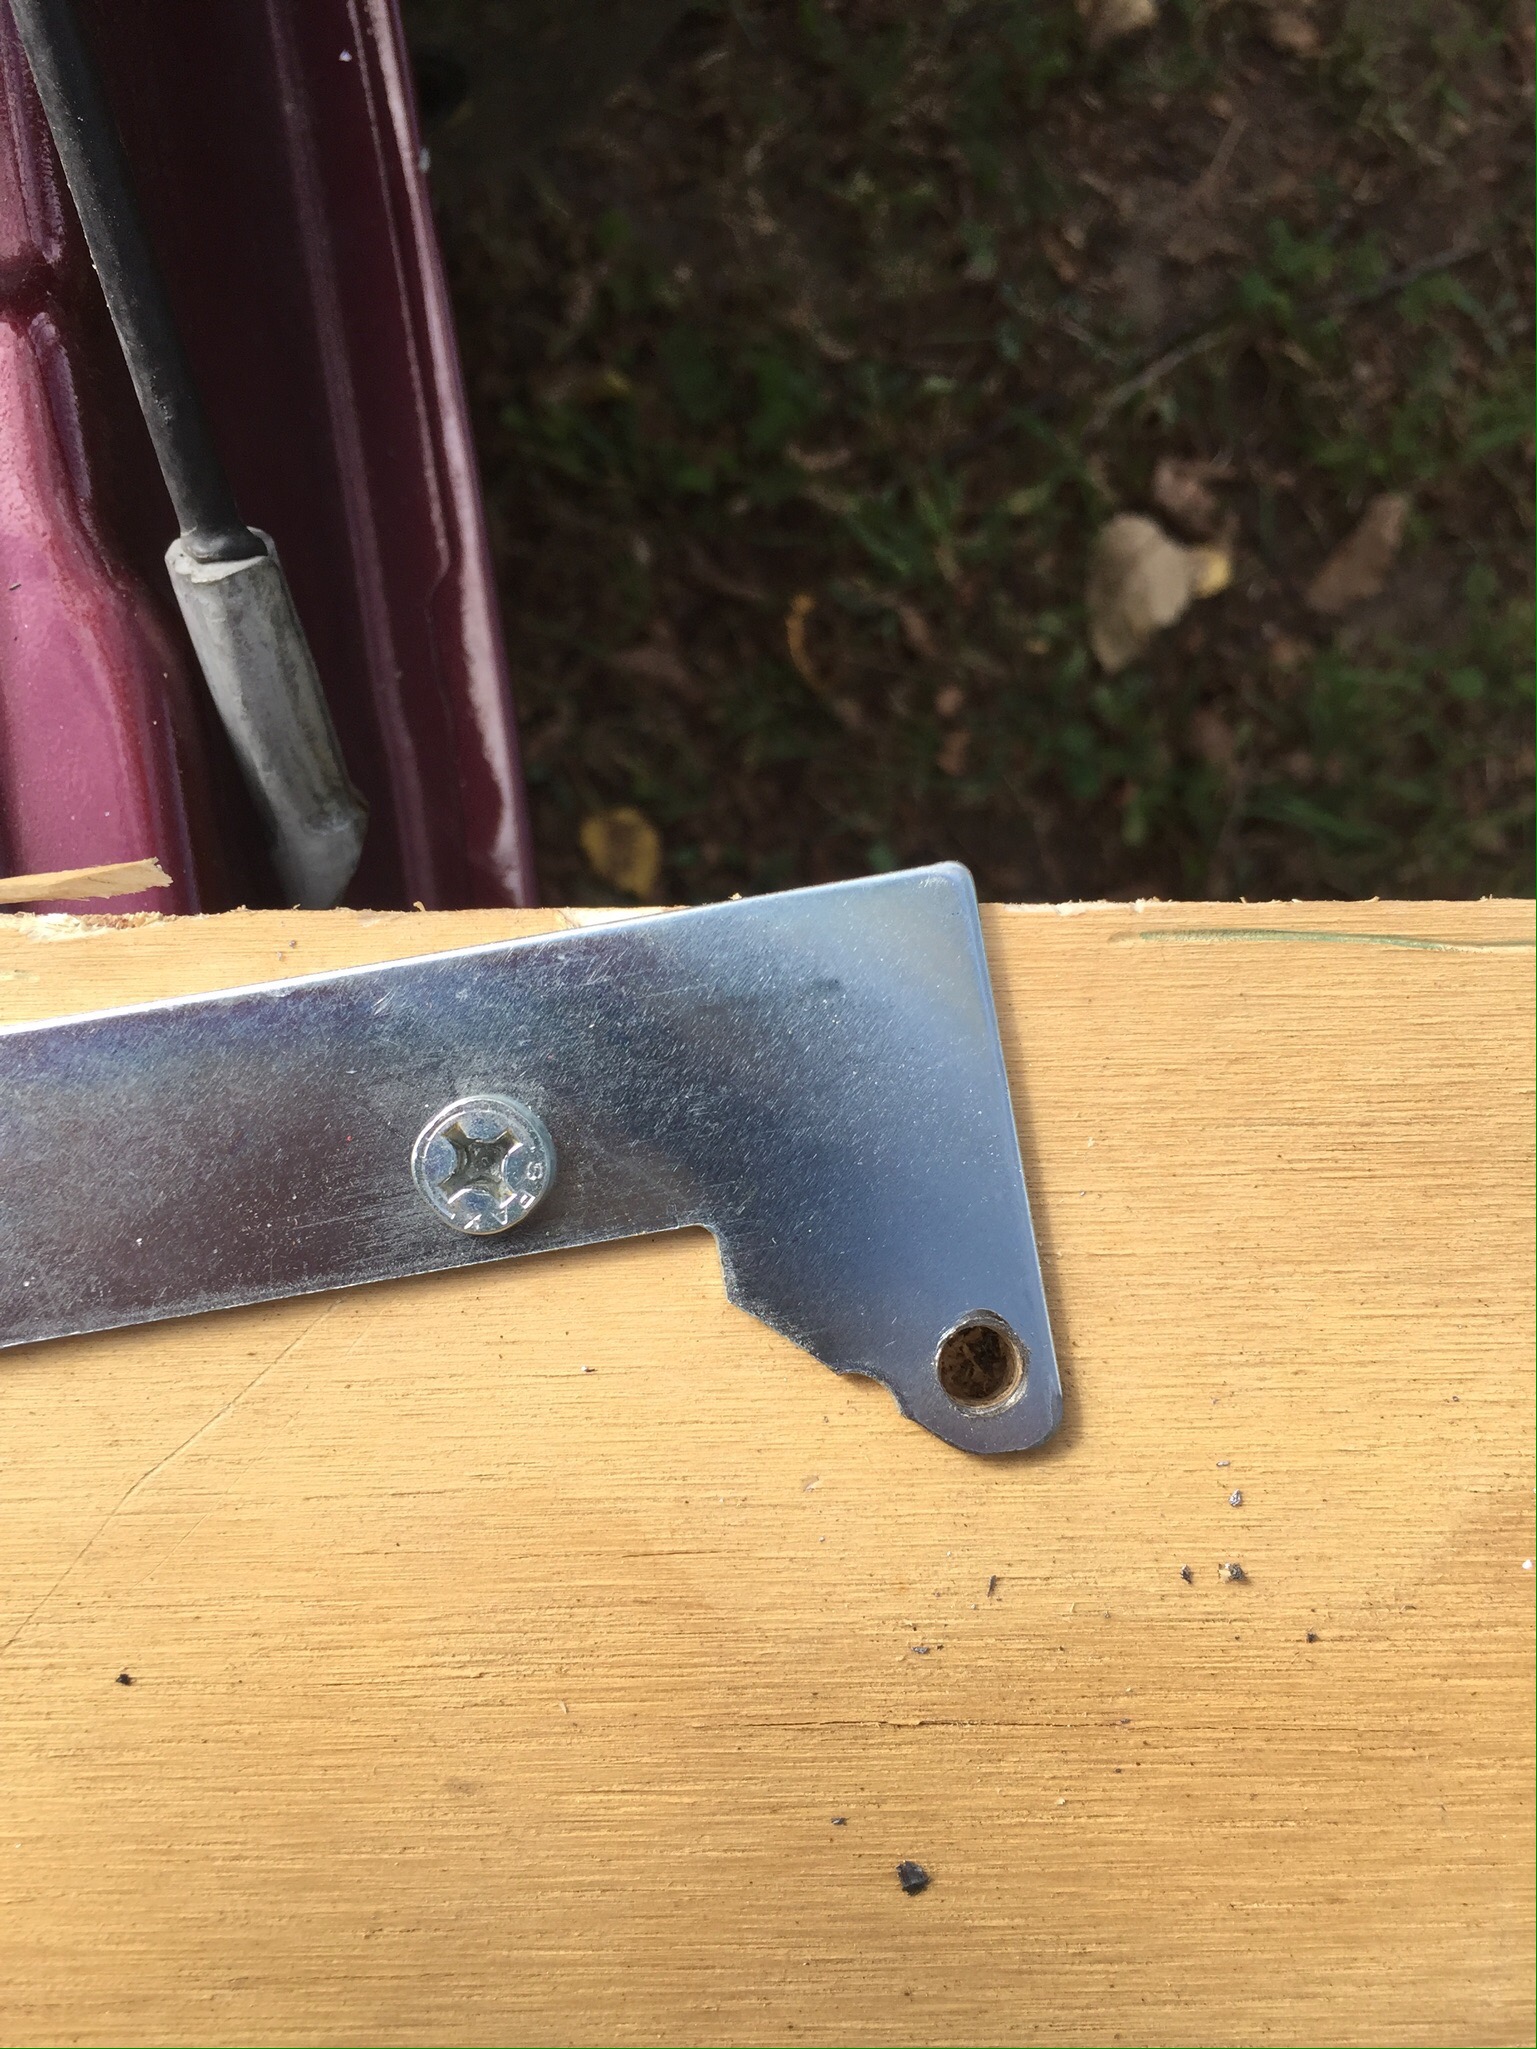
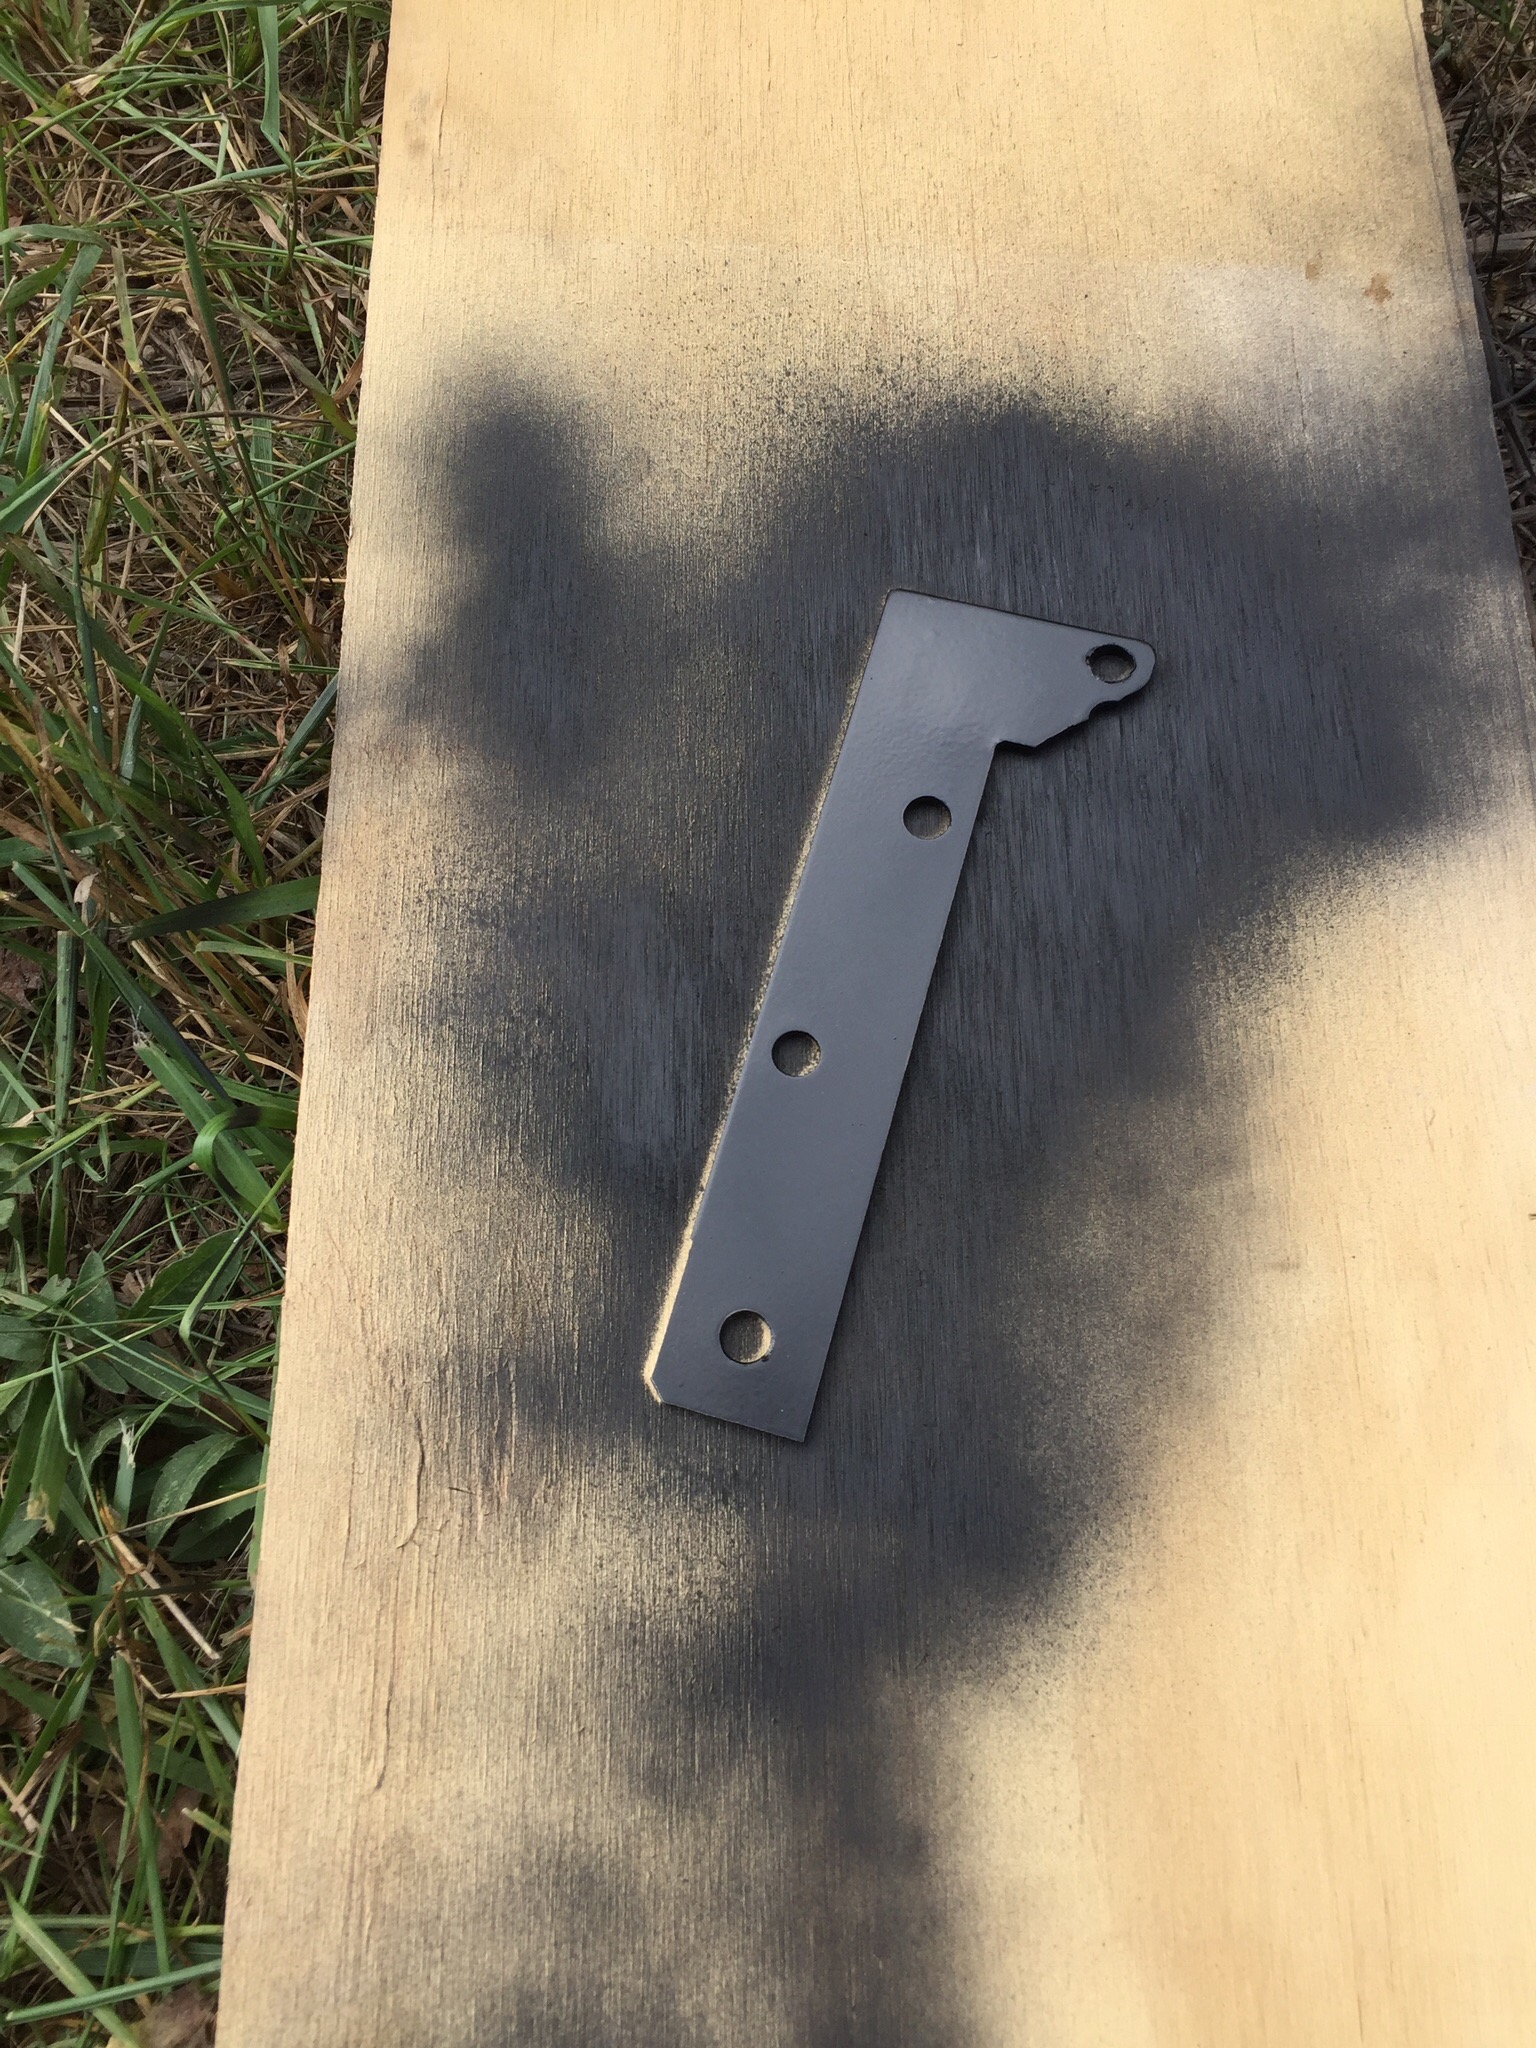
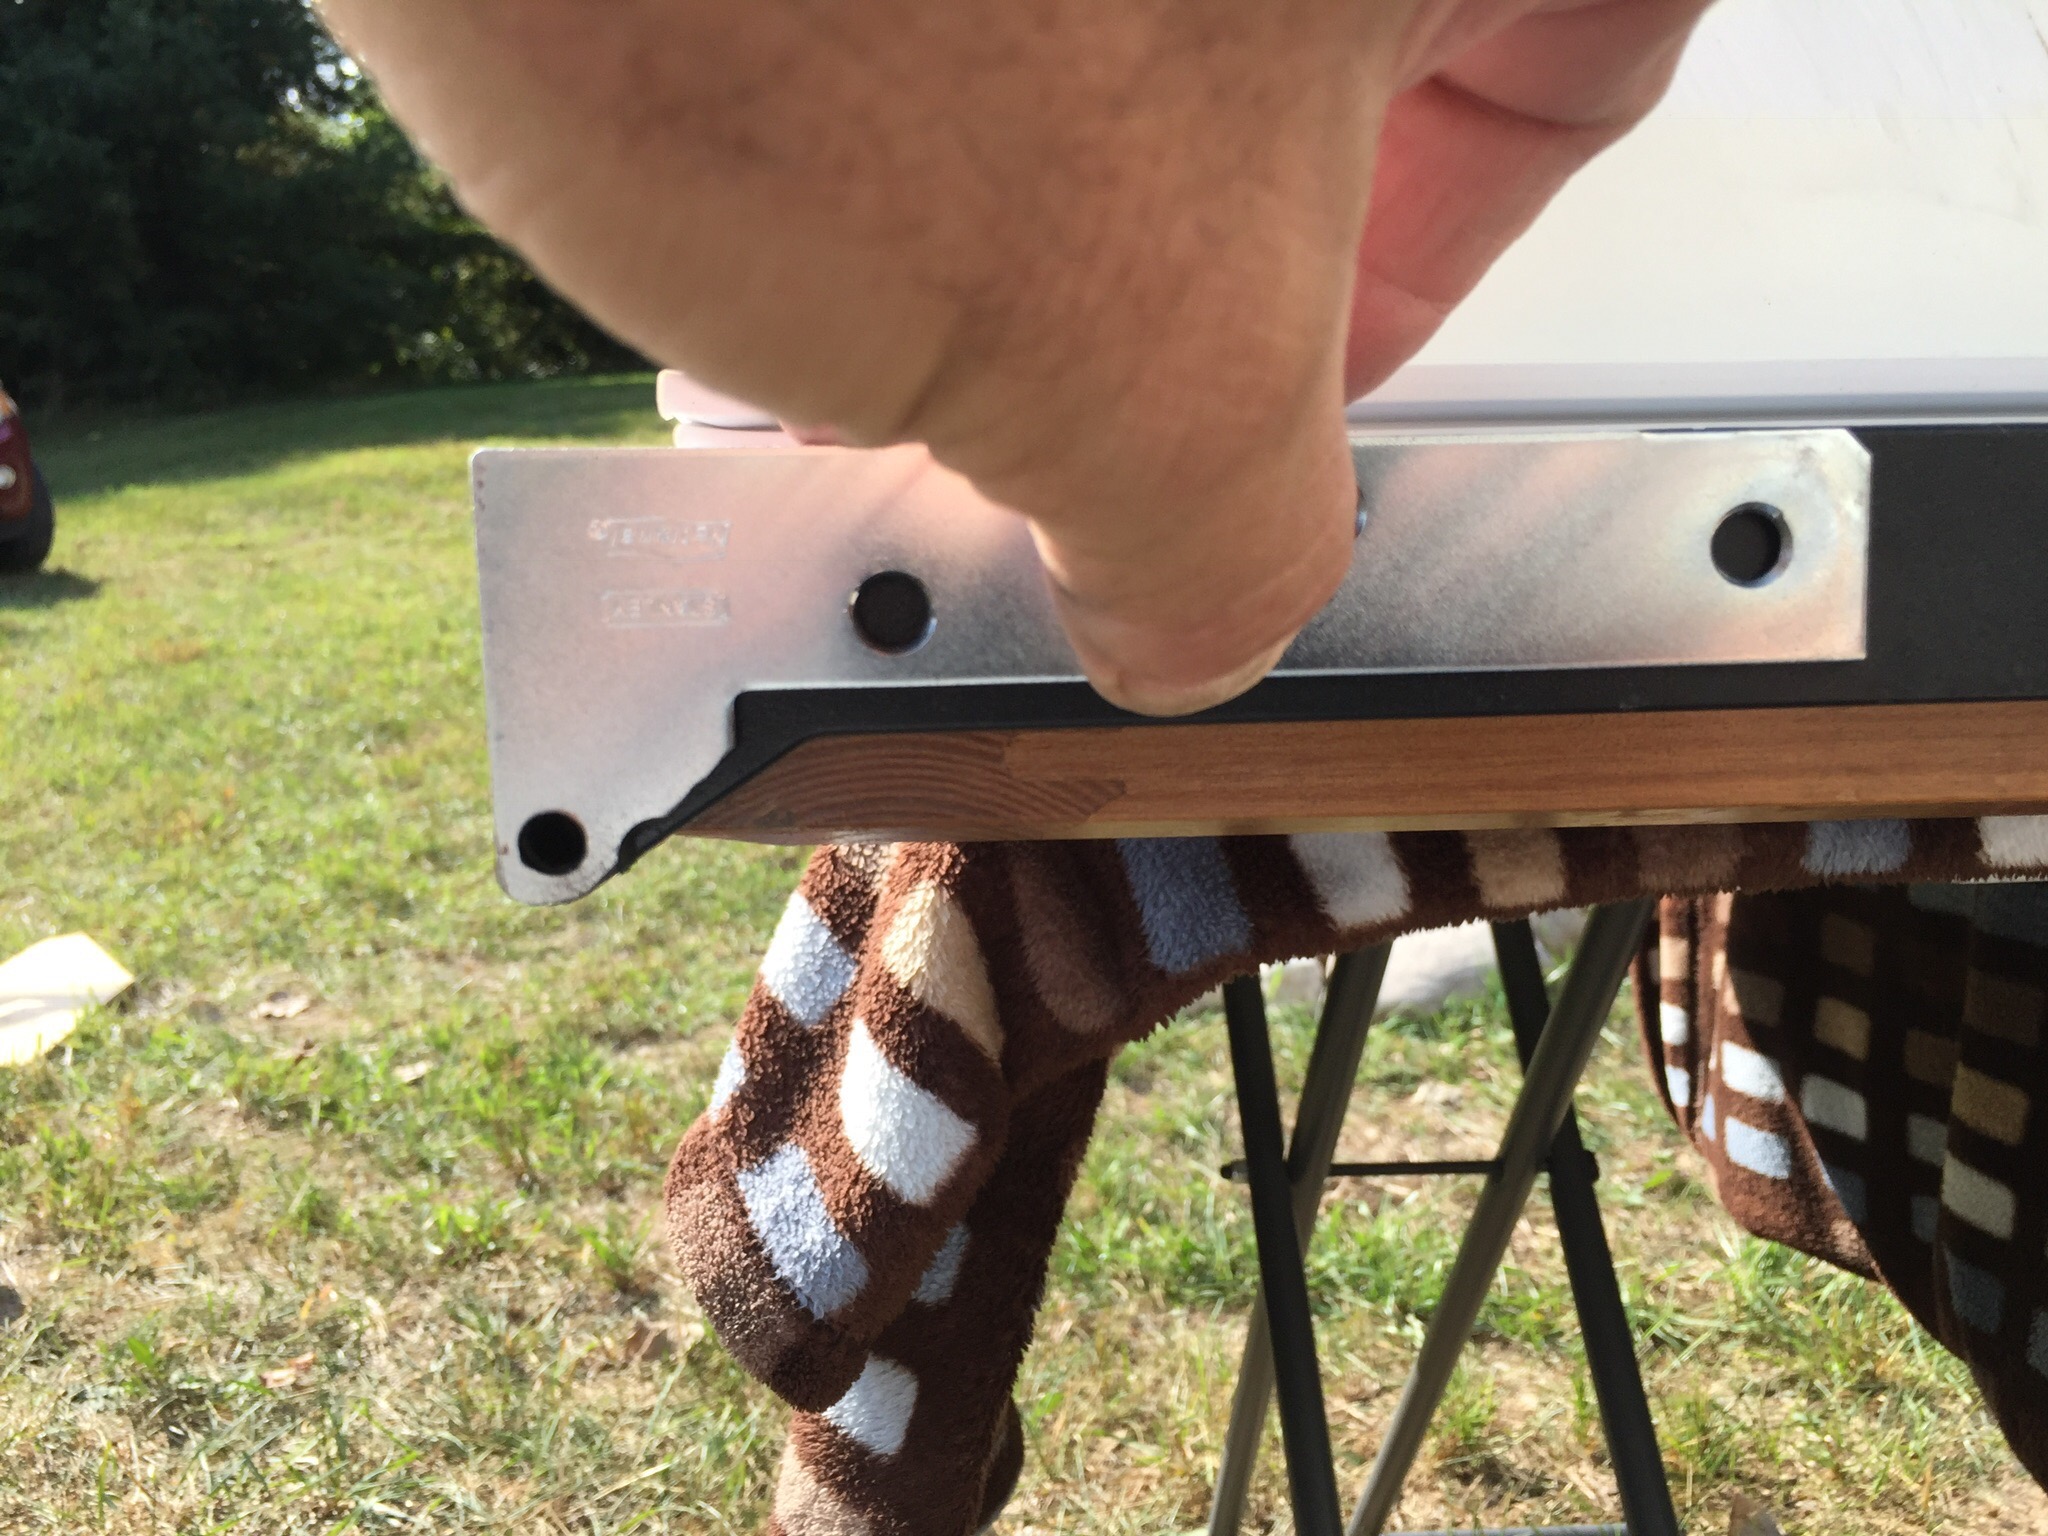
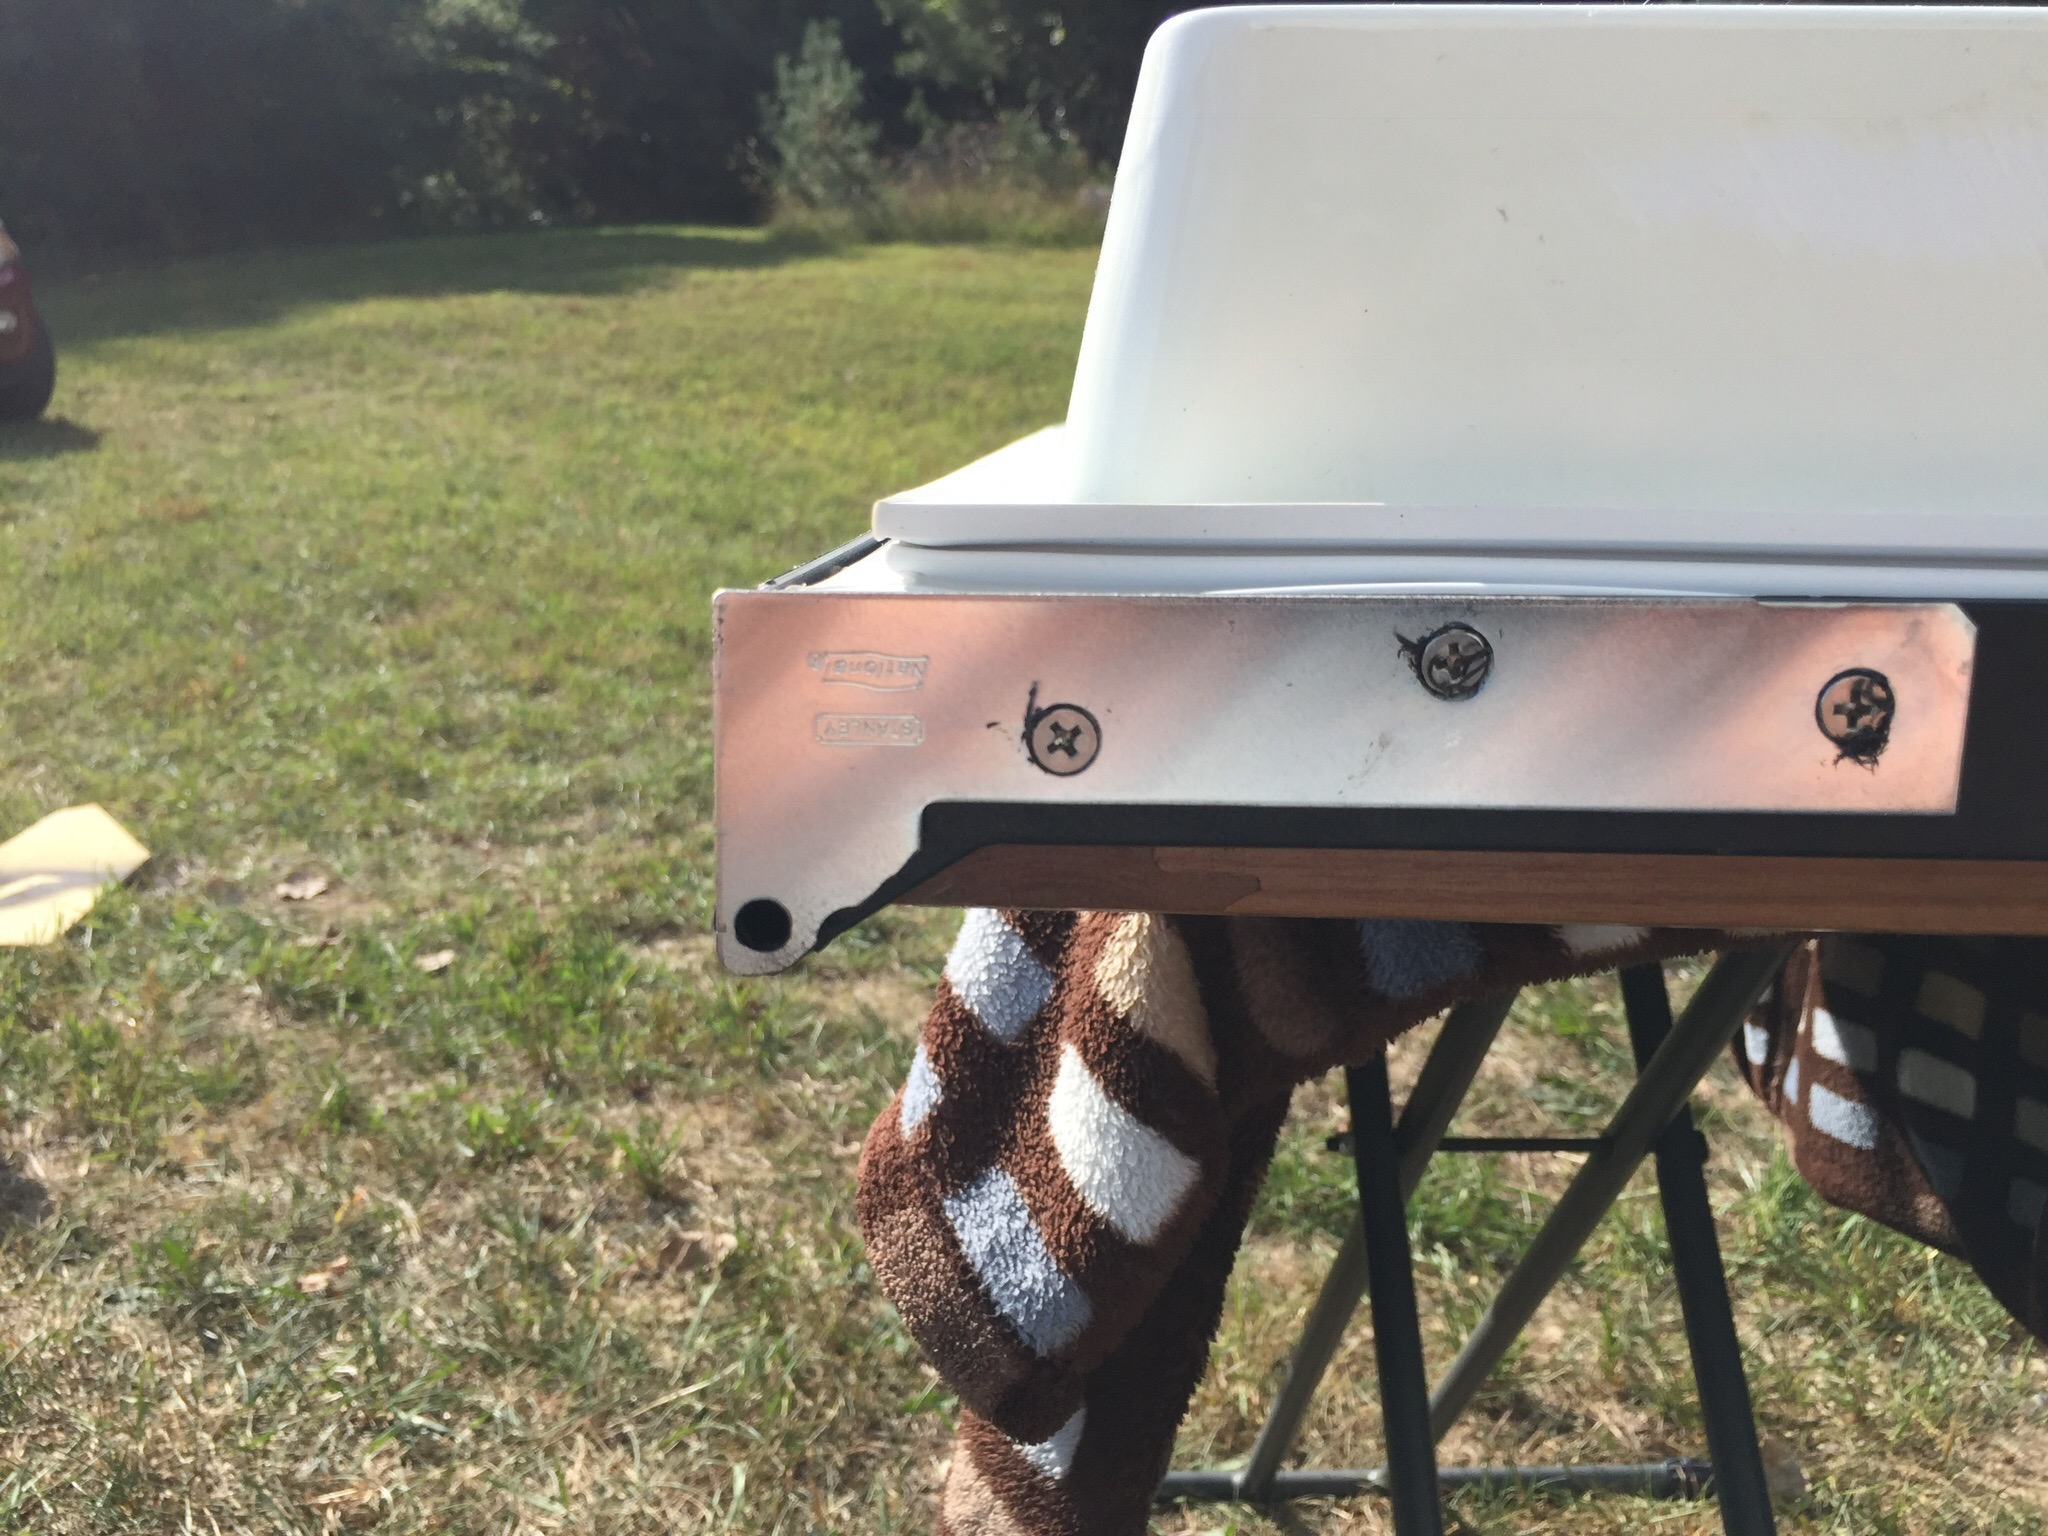
The other major project we completed was something our neighbors Mark and Val had done two years ago. As you can well imagine, several months at the beach means several months of salt air wreaking havoc on any exposed metal.  Mark and Val leave their rig here year-round, so they really noticed the wear and tear.  They replaced every screw on their rig with stainless steel, and dabbed a shot of clear silicone in the hole before driving the new screw in.

4q

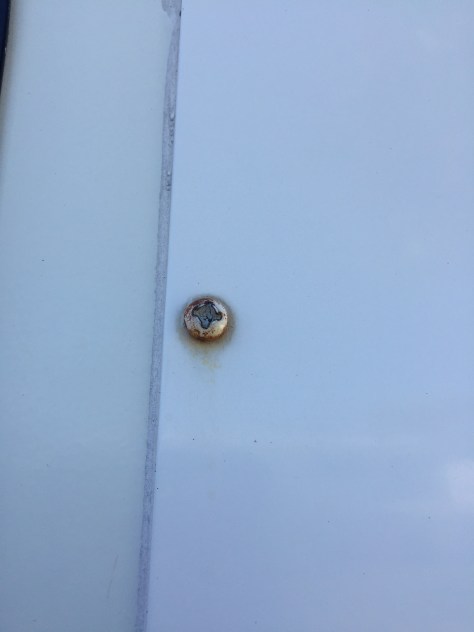
The white painted screw heads were rusting, and even the threads were beginning to rust on some of them.

5q

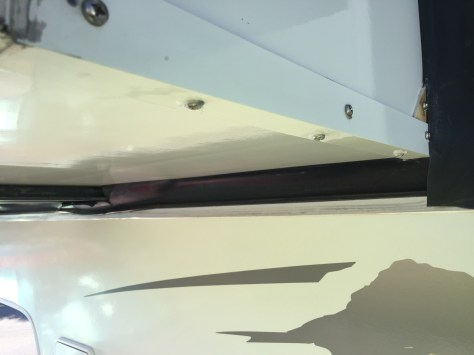
Six hundred screws and three days later, we finished that job!

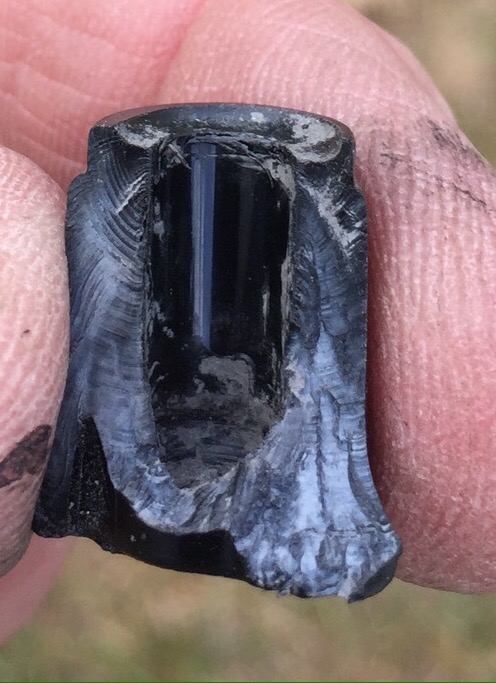
Back before we went on the road, we had noticed that our black tank would leave an odor in the rig after we had driven all day.  We found a product at Camping World called  Cyclone RV Plumbing Vent, which swivels with the wind and draws the odors out through the vent on the roof.  It worked wonders on the black tank.  We had also noticed a similar problem with our bathroom grey tank, so we purchased an additional Cyclone for that vent also.

8q

Even sitting still, we’ve noticed a big difference.

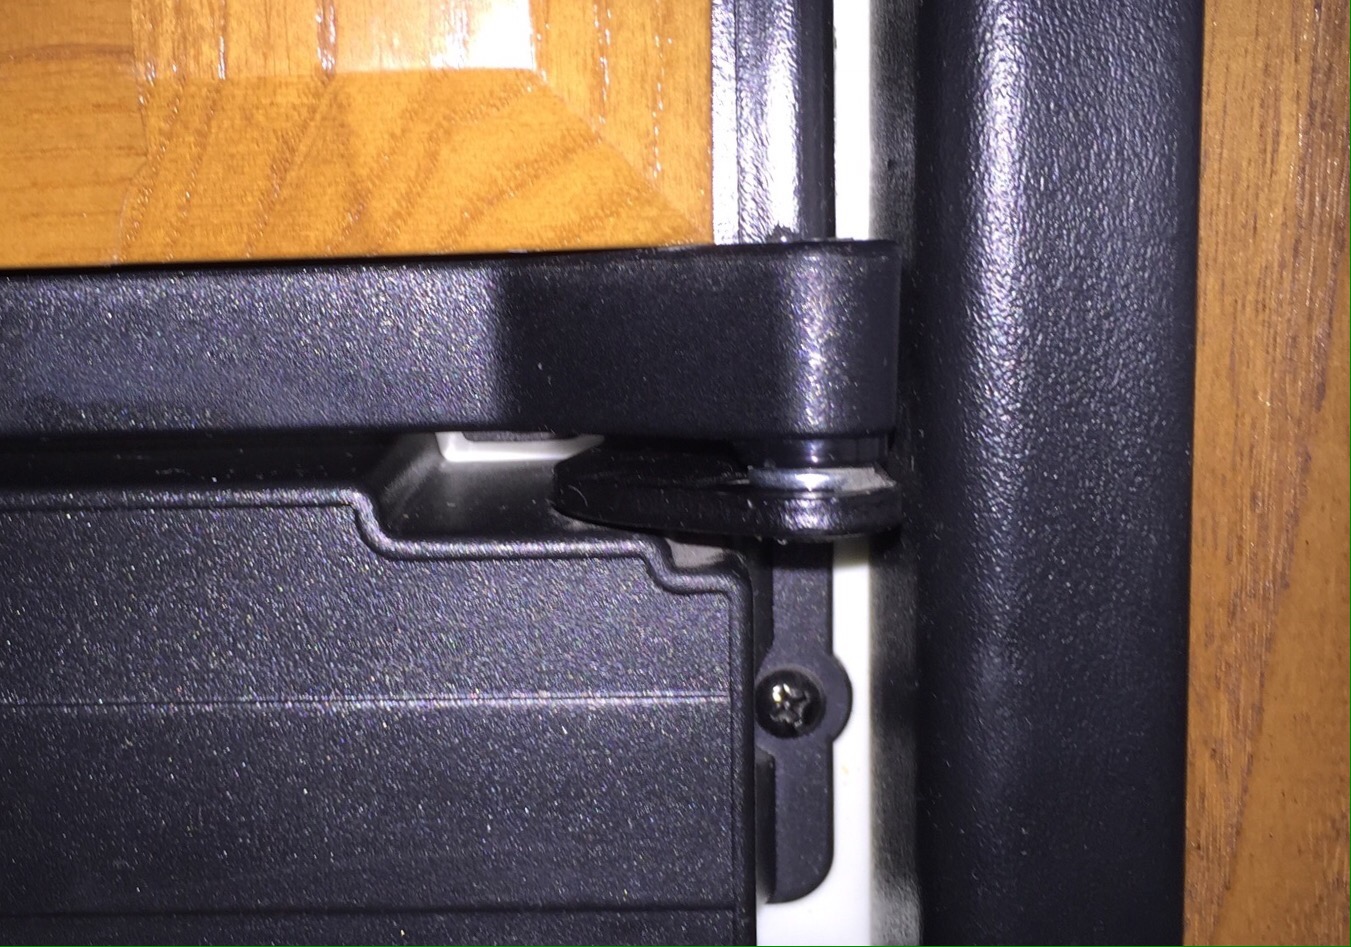
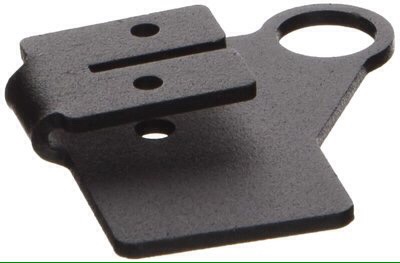
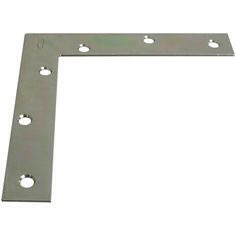
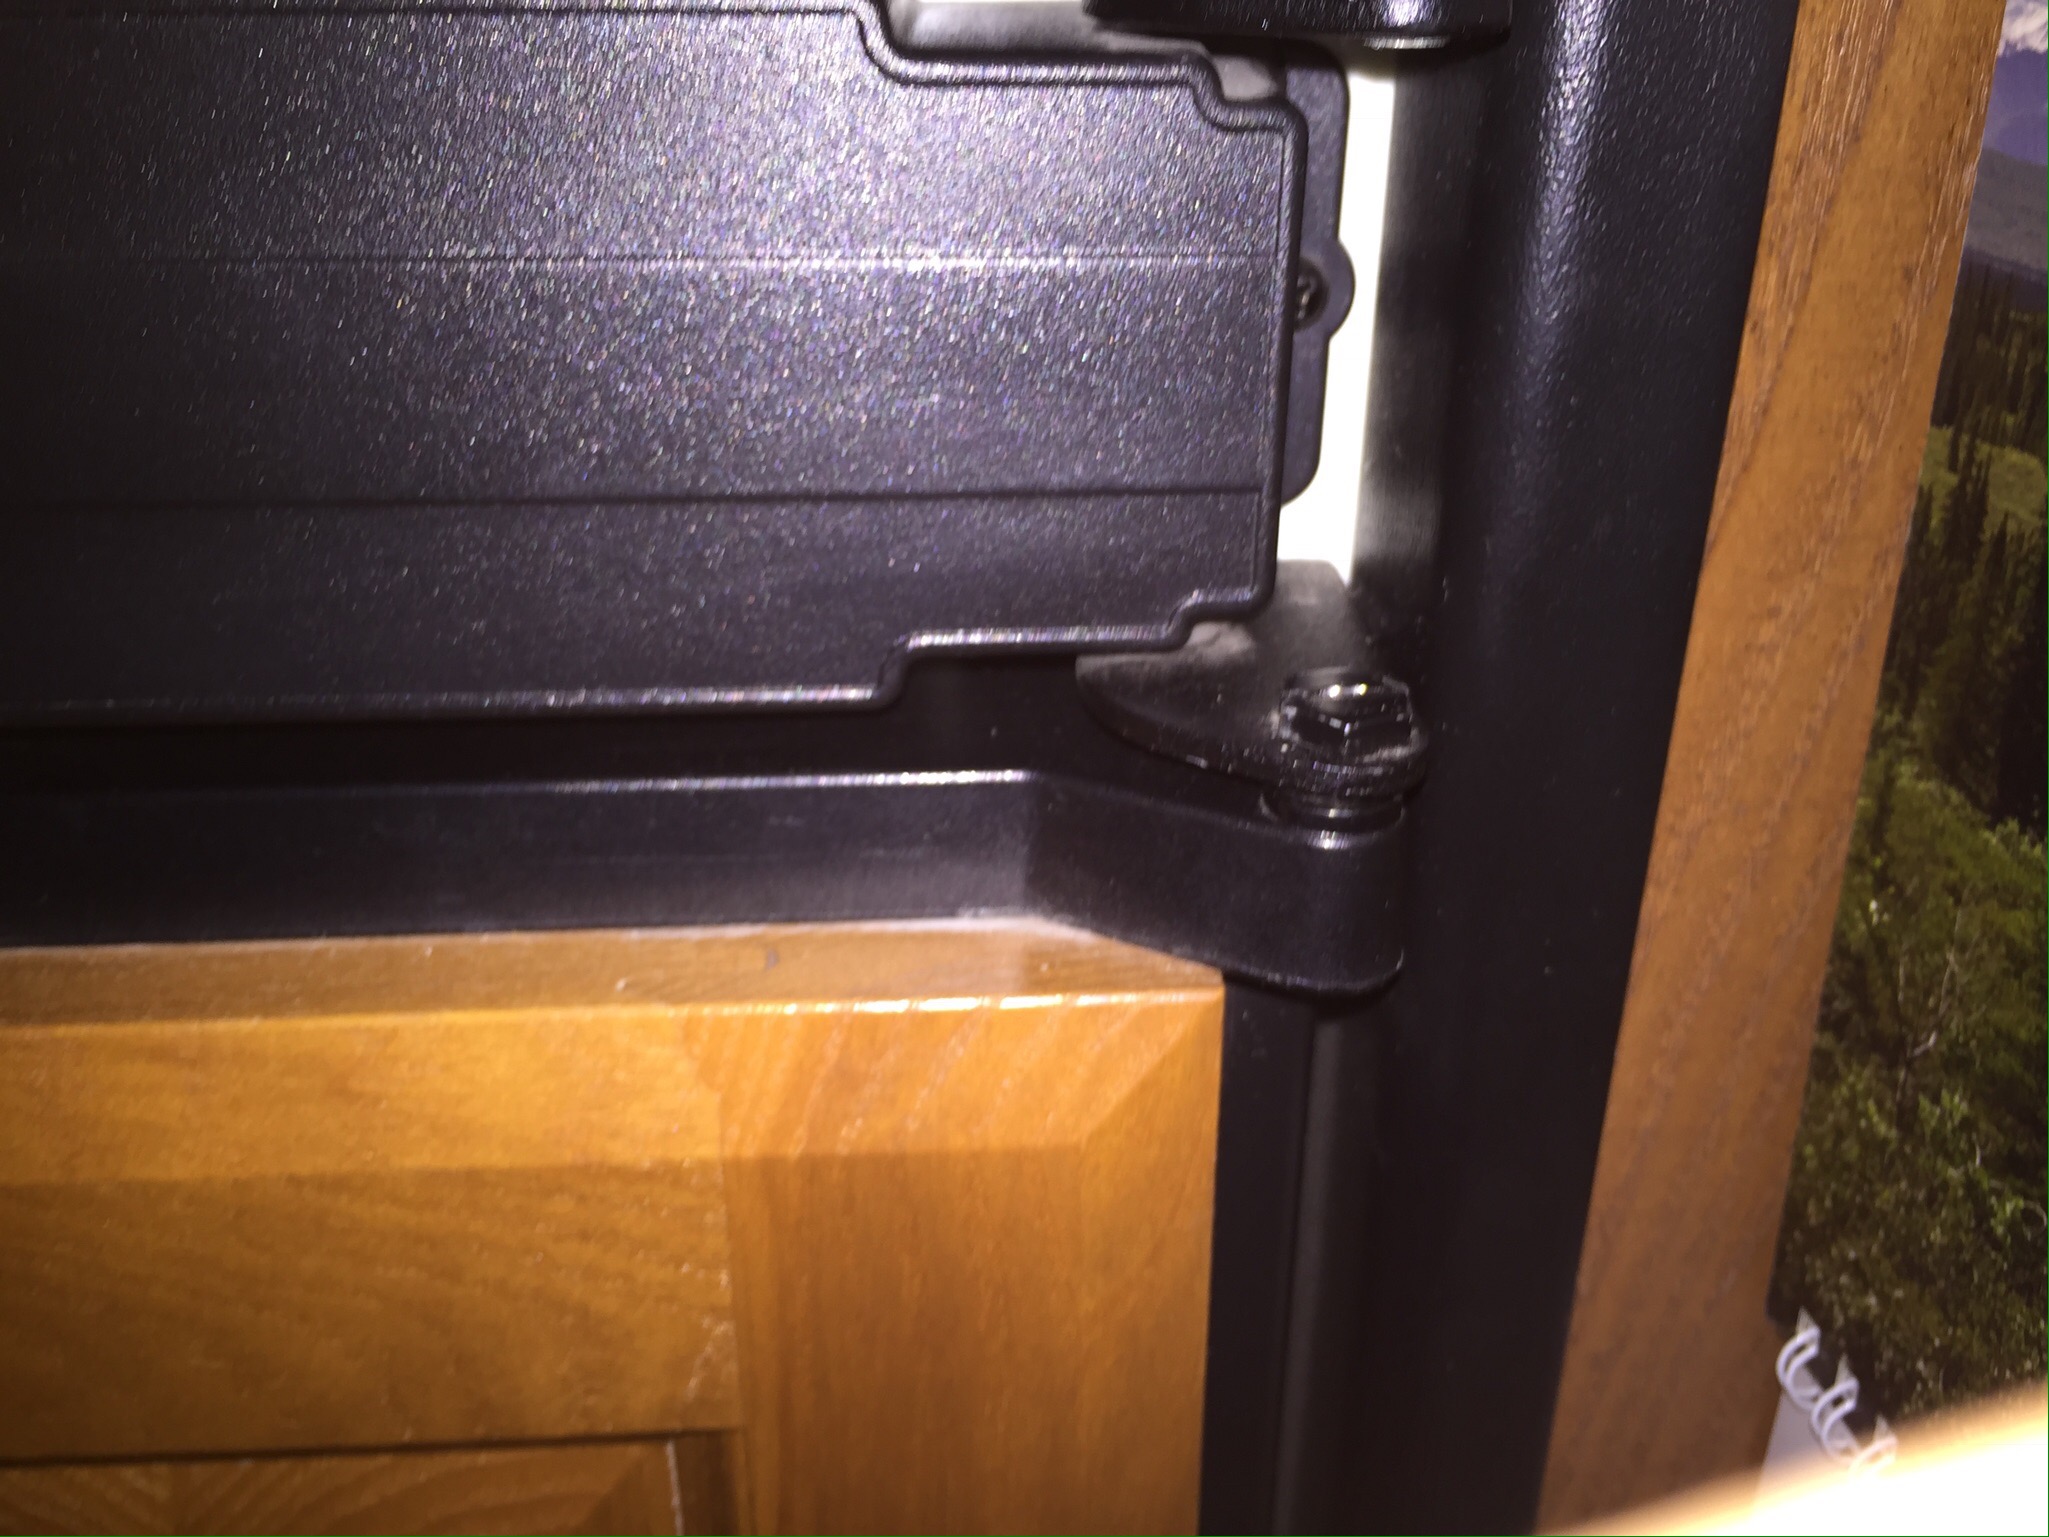
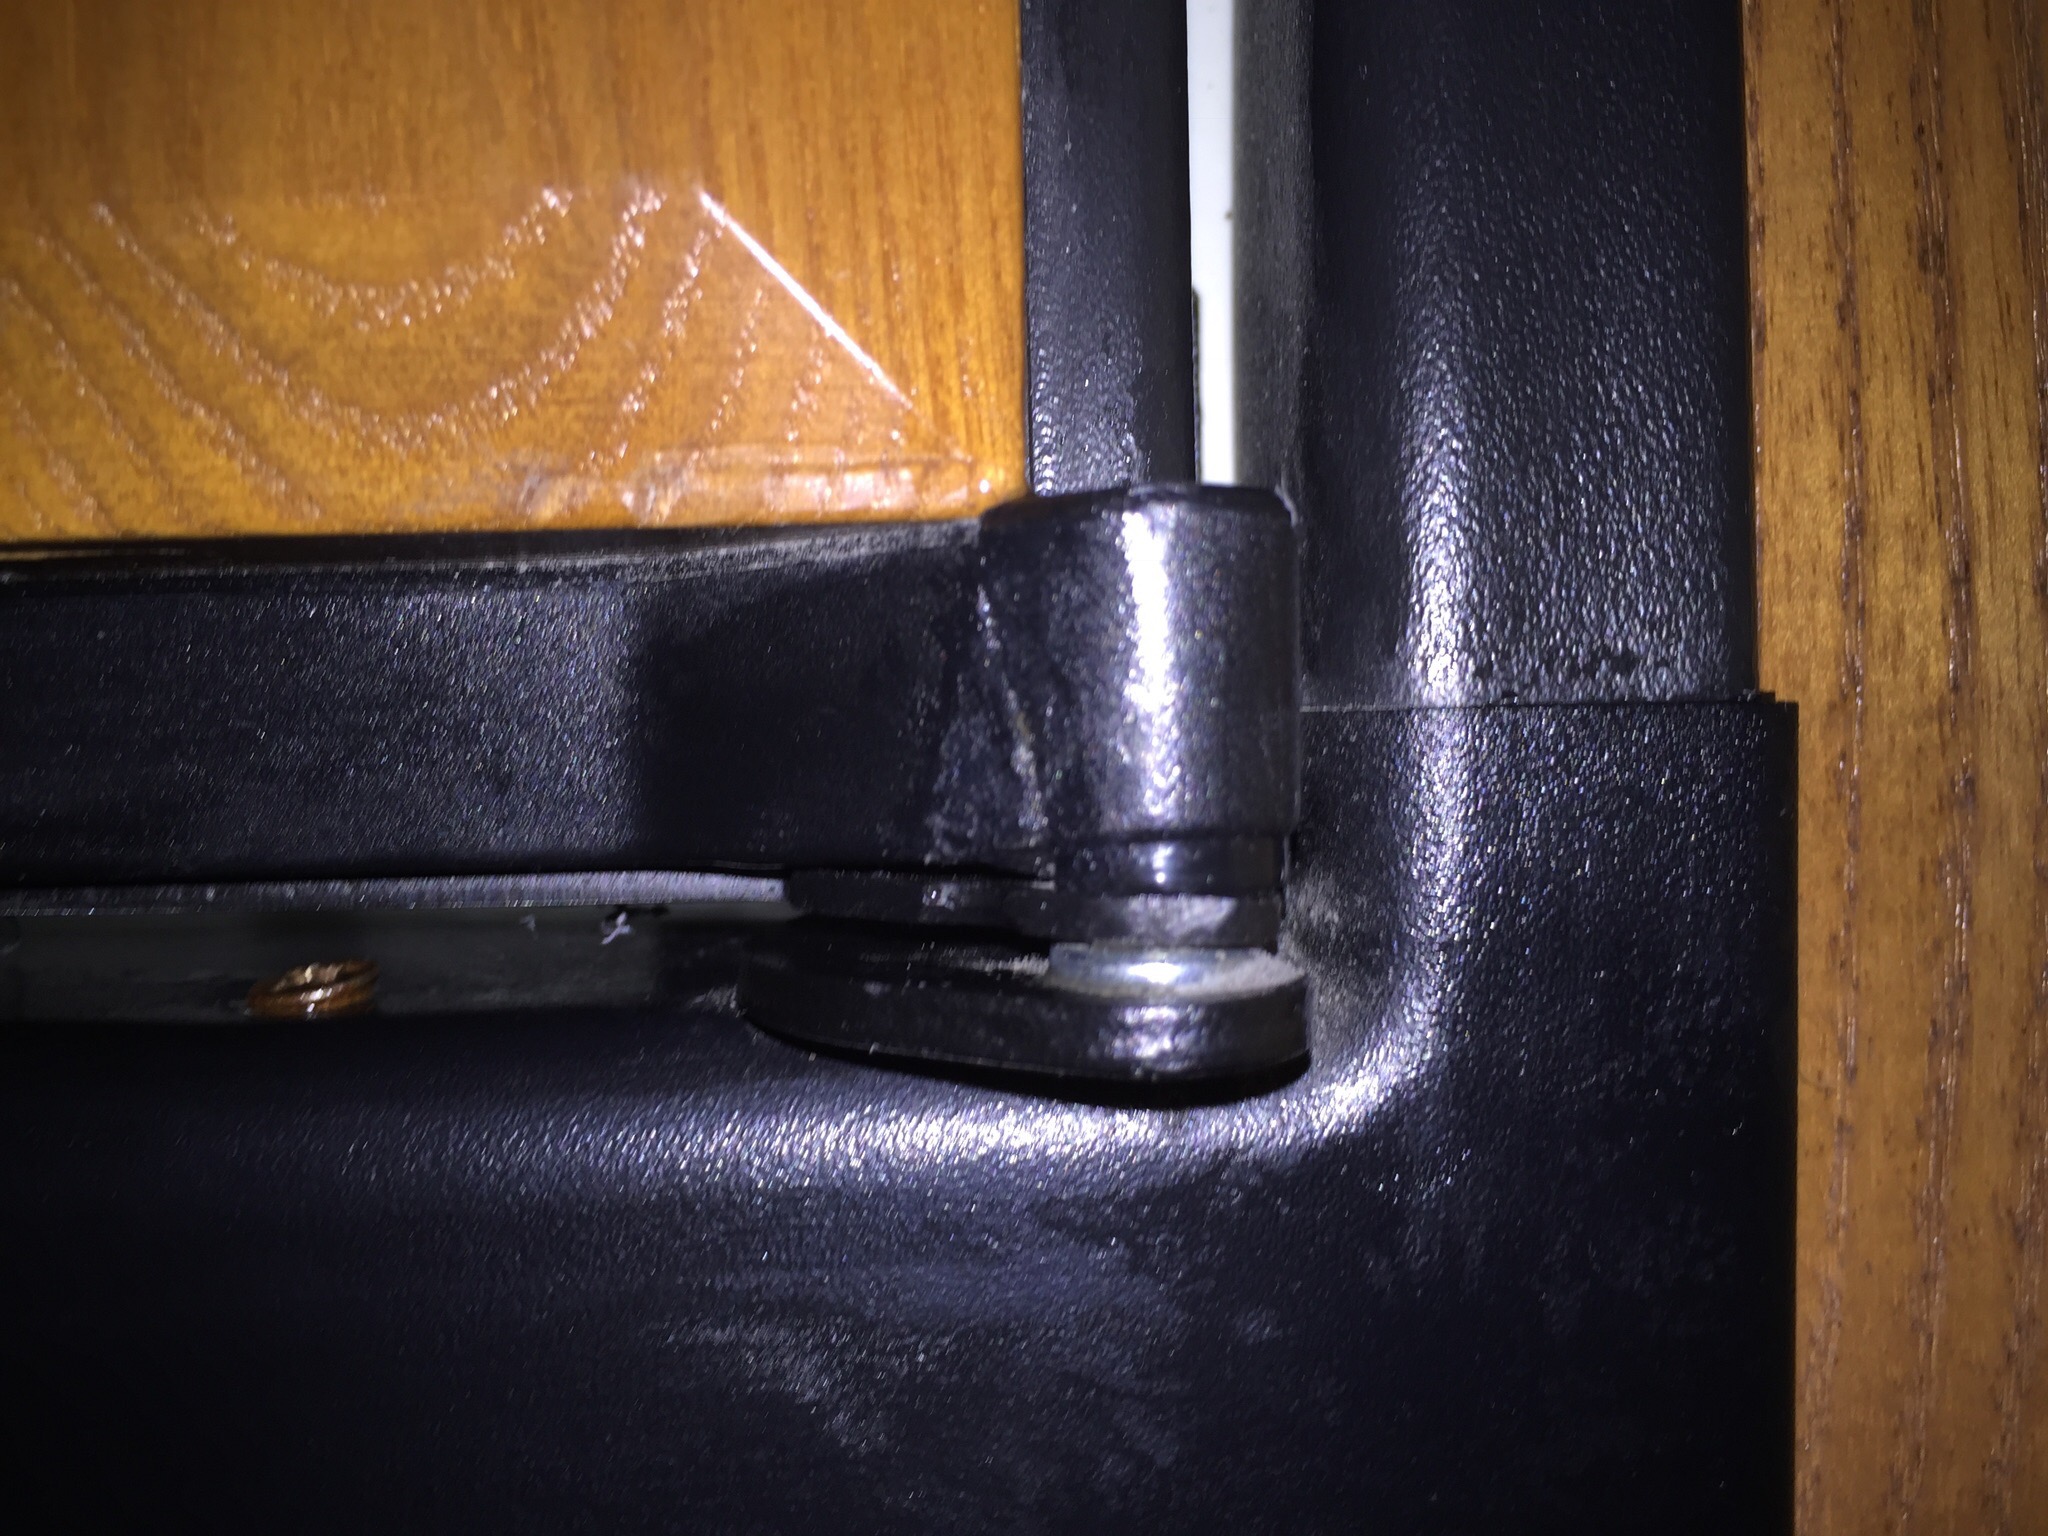
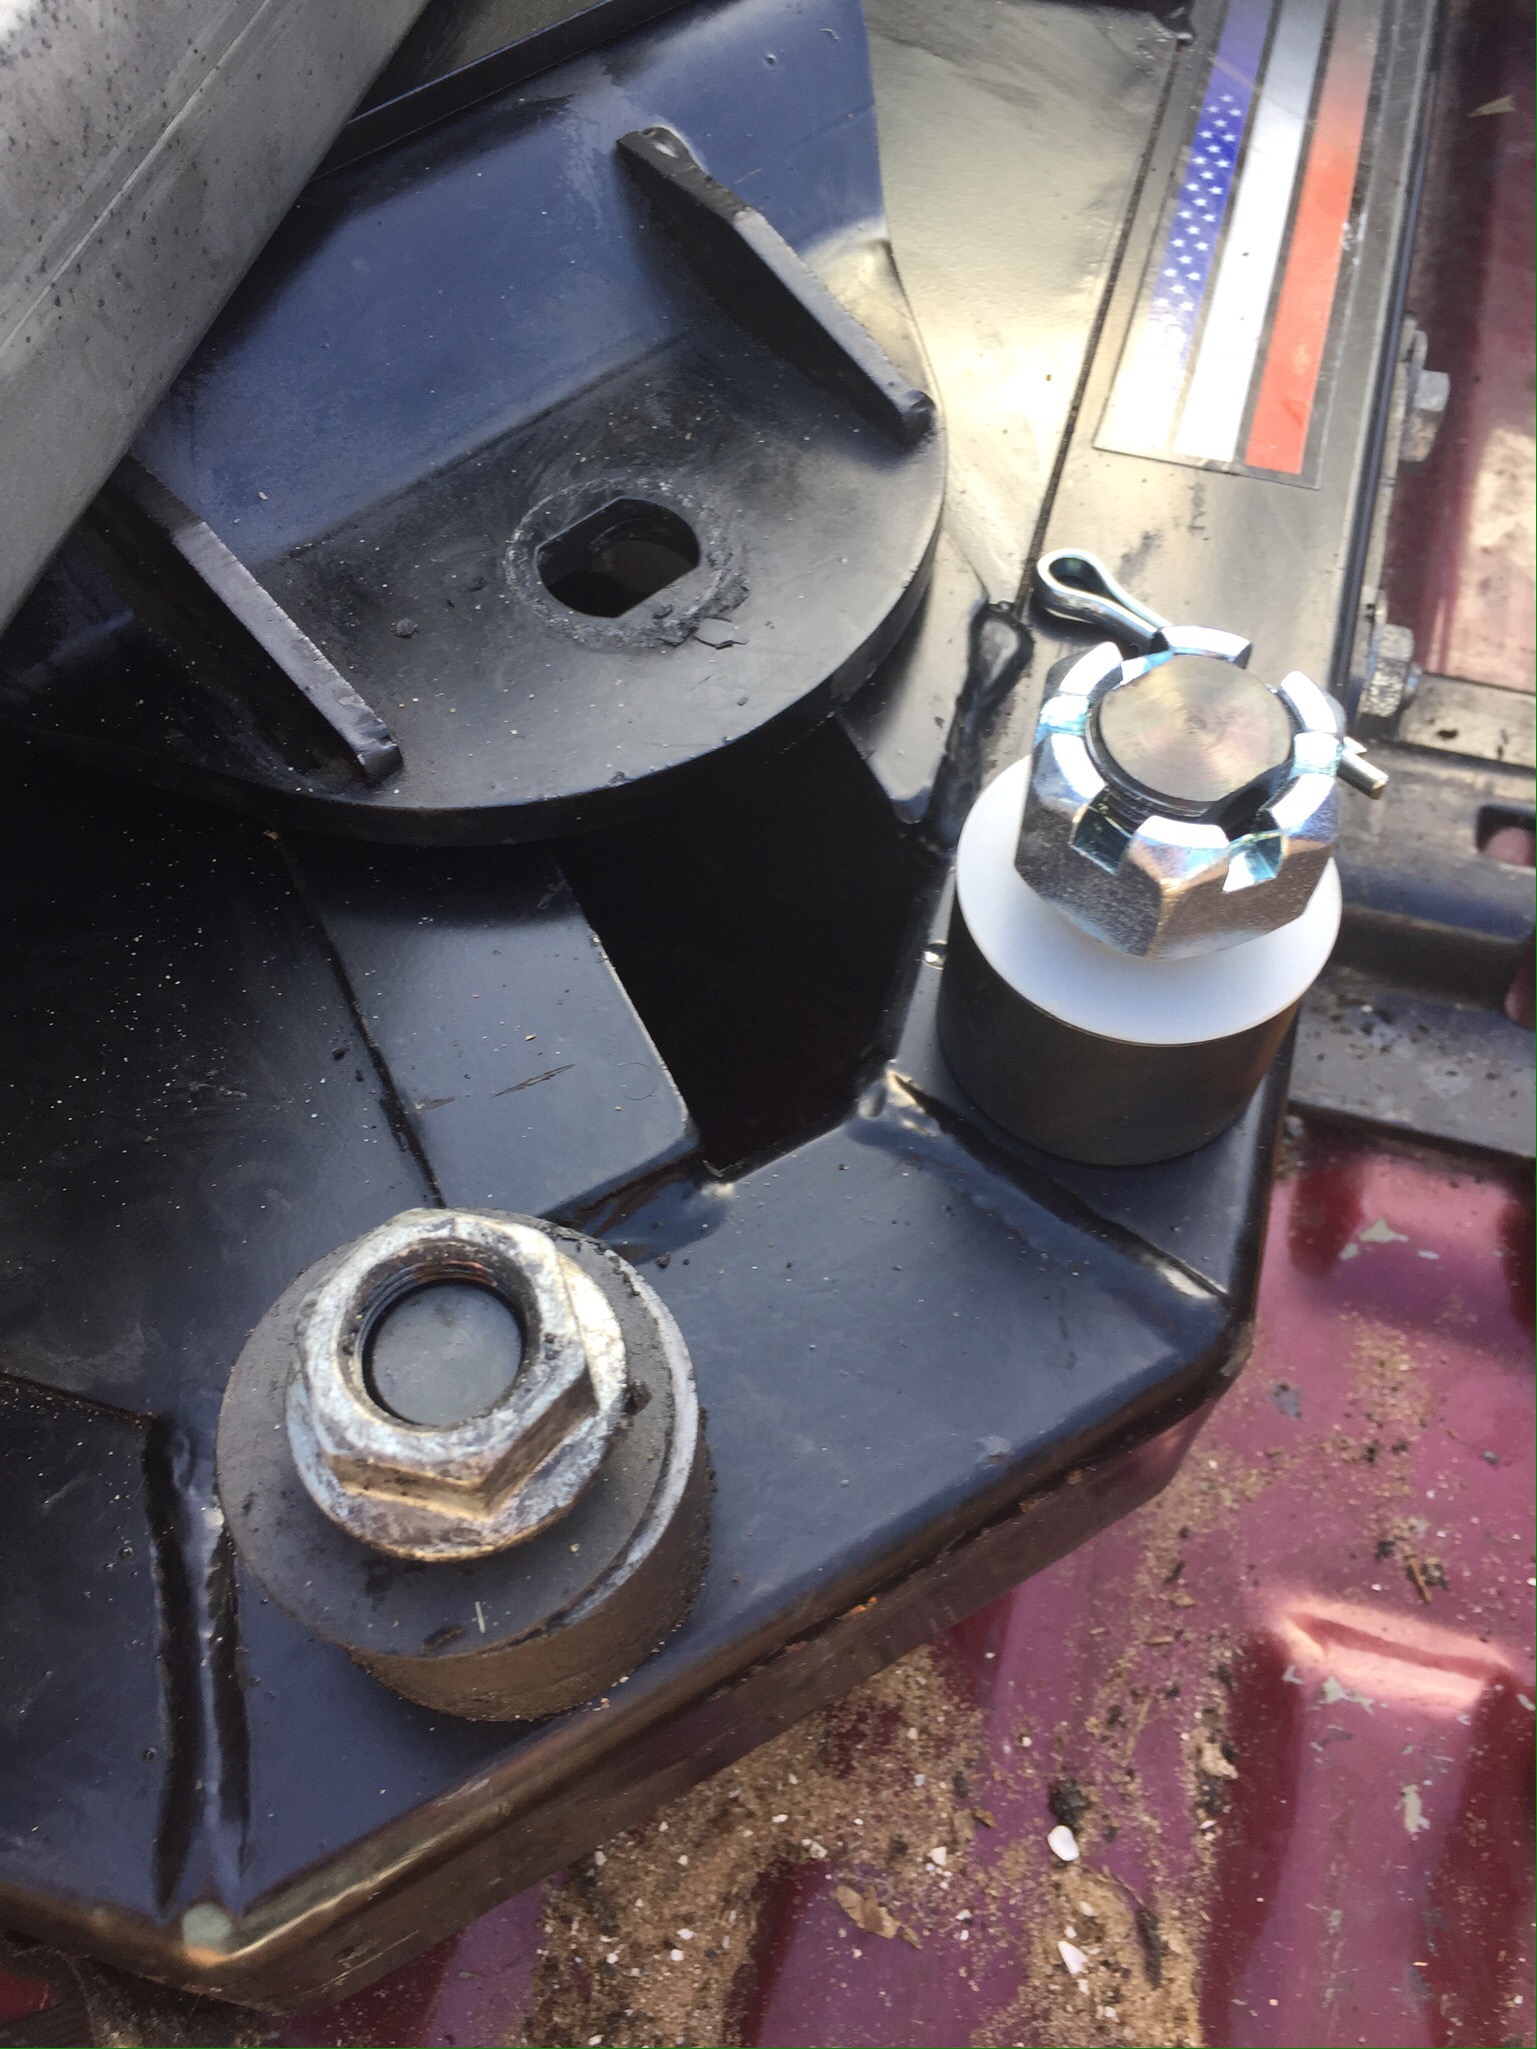
Another little upgrade we did was to replace our CH751 locks on our compartments.  Most every rig before the advent of slam latches used the same lock, meaning anyone that wanted to could get into our trunks with their CH751 key.

6q

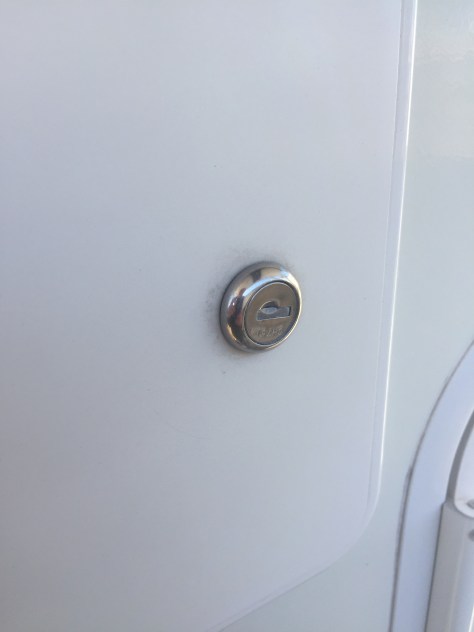
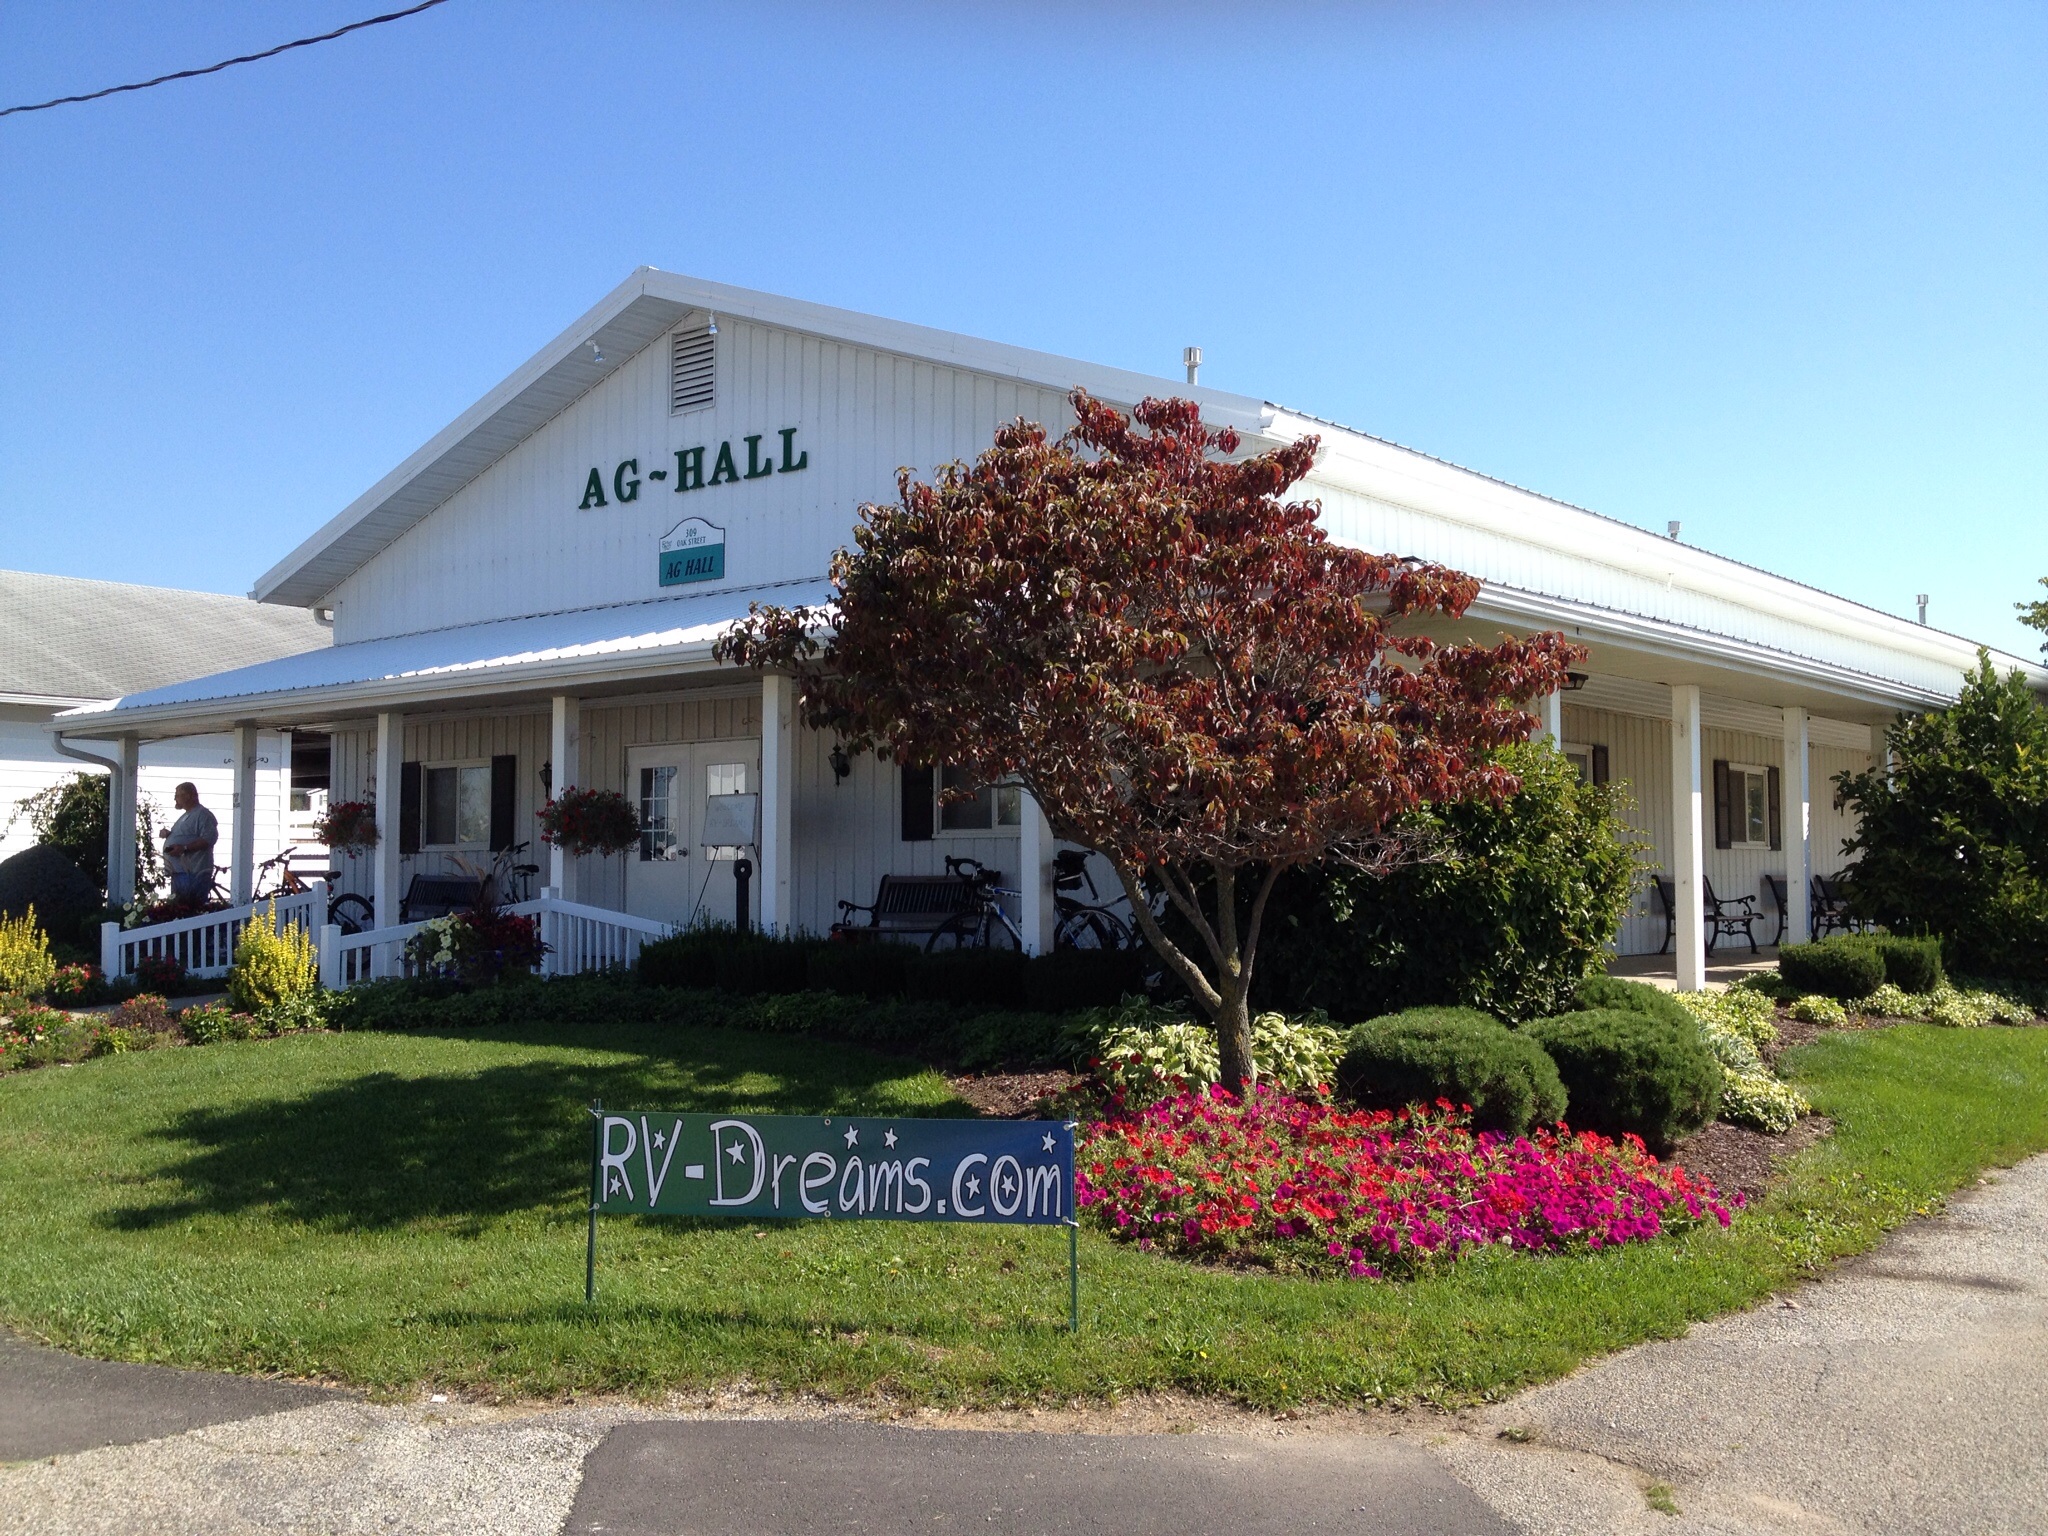
A few years ago, Howard and Linda Payne from RV-Dreams replaced theirs with uniquely keyed locks.

7q

I contacted Howard and asked if they were still happy with them and who the supplier was.  He told me the company was called Industrial Lock and Hardware and that they were very satisfied with their locks.  We purchased enough of them from ILH to secure our big compartments.  While not making the door completely theft-proof, the new locks at least keep the honest thieves honest. 🙂

3w

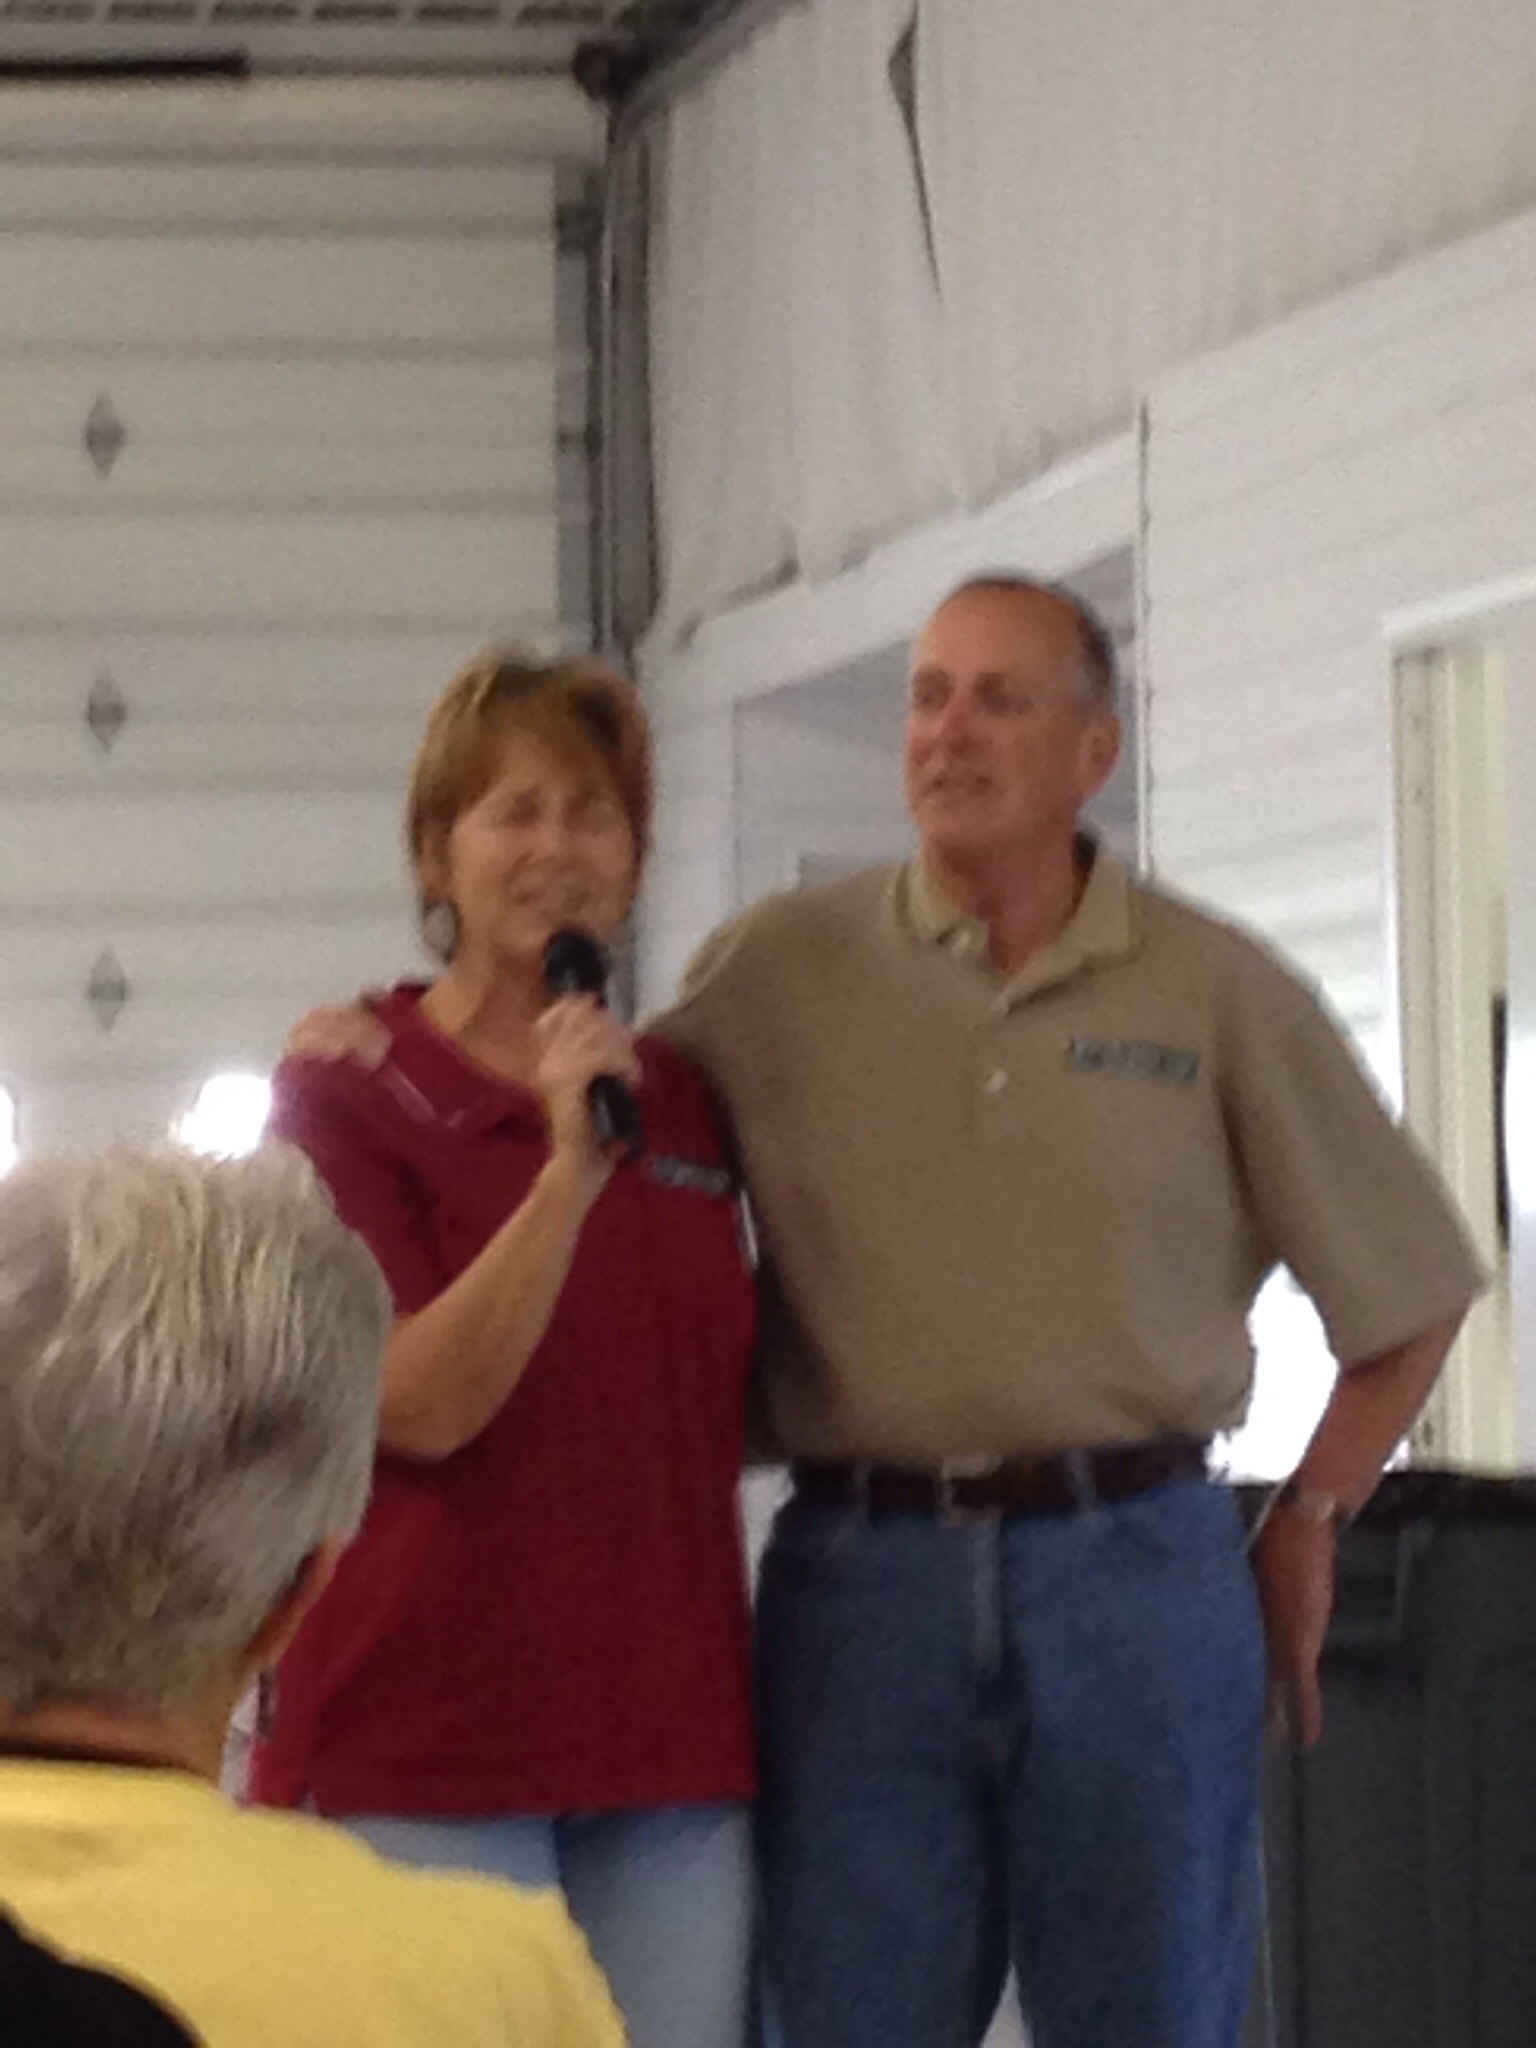
‘Who are you talking about ….ME???’

1w

‘Well, he certainly wasn’t referring to me!’

We are currently at 42 of 61 items complete.  Most things will be finished before we leave at the end of the month, but a couple of them can wait until later.  It never hurts to have a few items on there to give the pad of paper a purpose.  😉

When is it that you find the time to tackle your ‘to do’ list?  Any cool upgrades that you’ve done this past year? We would love to hear about it!


Norcold Hinge Repair

While prepping for dinner the other day, our Norcold refrigerator delivered us an unwanted surprise.  As I opened the door, it fell completely off and into my hands.  Luckily, I sensed that it was going and was able to grab it before it landed on my toes.  Upon further inspection, I noticed that the hinge portion on the door is made of plastic, of all things. Having spent the majority of my life in a house, I am well aware that residential refrigerator manufacturers use a fairly substantial piece of steel for their hinges.  I also know that RV manufacturers strive to save weight by using plastic where they can, but I incorrectly assumed it wouldn’t have been in a place that bears as much weight as a refrigerator door does.

This is the piece that broke off.  Imagine a door full of condiments and whatnot riding on this small plastic part.

This is what the hinge looks like from the factory.  I am showing the undamaged freezer hinge as an example, which is identical to the refrigerator hinge.  The bracket extending off of the body of the refrigerator is metal, but the door portion is plastic.  There is a piece that pivots on the metal pin that hangs off the door and is totally unsupported.  It is an intergal part of the door and is not replaceable…you need to buy the entire door. My first thought, as I was holding the door, was ‘this really should have a metal piece underneath it.’  I also thought that this was probably a common problem, and that there might be an aftermarket repair piece out there that I could purchase.  I was correct on both counts, but the aftermarket piece available through Norcold…in my opinion…didn’t have enough surface attached to the door to support the weight of a loaded door.  Besides, they wanted $27 for this little gem!

They also stated that this piece only be used on a door that had not yet broken.  In other words, it was only to be used to reinforce their poorly engineered stock design.  Hmmmmm…….

I then saw a YouTube video where a couple of guys took a 2″ piece of aluminum and fashioned a crude plate that extended further along the bottom of the door.  I chuckled throughout the video, as the narrator was quite vocal about how he felt that Norcold designed the piece to fail, and the only recourse was to replace the entire door.  Diana can attest that he was using the same colorful language that I used in the description of the engineering team at Norcold when I was holding the door in my hands.  😉

With a rough idea of what I needed to make a plate, we were off to Menard’s!  


We picked up a 6″ corner mending plate, some flat head screws, and a can of flat black Rustoleum.  With us being on the road without a vise, I knew metalworking was going to be difficult.

I ended up attaching half of the bracket to a board.  That allowed me to cut the plate and round off the corner with a file.

I then drilled a hole to accept the pin that the door rides on.

I gave the top side a coat of flat black paint to help it blend in with the refrigerator.

After using super glue to put the plastic piece back in place, I lined up the bracket as shown. I left the bottom of the bracket unpainted, as it can’t be seen and the zinc coating provides plenty of protection.

Here is the bracket screwed into place.  Time to head inside and mount the door!

I removed the hex nut/post from the top hinge, slid the door over the bottom post, then replaced the top hex nut/post.

Here is the repaired hinge at the bottom of the door.  The superglued plastic piece isn’t supporting any weight; I put it there to keep dirt out of the hinge and for asthetics.

For the cost of a mending plate, a can of spray paint and a package of screws, our refrigerator is back in business, stronger than ever.  It sure beats the cost of a new door!  If you have this setup in your rig, you may want to consider beefing up your hinge before it fails. It might prevent some broken toes. Diana was busy slicing vegetables at the time. If she would have been the one who opened the door when the part failed, this story may have had a different ending!

February and future plans

As you may recall from our last post, we had decided to upgrade our trailer axles, instead of just replacing the brakes.  Of course, projects such as these have a way of one thing leading to another. Upgrading from 5200 pound to 7000 axles also meant getting new wheels and tires, as the current axles have 6 lug nuts and the new axles have 8.  When discussing this with our friend Bill (bkamericanodyssey), he mentioned that he and Kelly were going to be upgrading their wheels and tires this summer in New Jersey. Since their current set was what I was upgrading to, they decided to do it now in Florida and sell the old ones to us. They were already planning on coming to our area for a visit. 

They delivered them on Wednesday, February 1, when the came over for dinner. The tires were nearing the end of their lifespan…maybe a year left…but the wheels were perfect. Bill pointed out that we were going to need our spare tire swapped out, as it was also a 6 lug.  Dang…forgot about that one.  That meant buying a tire and wheel.  Not wanting to invest in a new spare tire that hopefully would never be used, we opted to buy four new road tires to mount on our newly purchased wheels and use one of the used tires we bought from them as a spare.  With all the miles we are planning on putting on in the near future, that will most likely end up being the smarter choice.  Take note that this started out as a brake job.  😳  Bottom line is: we are much safer than before the project began.  That’s my story and I’m sticking to it.

Thursday was spent on the beach with Kelly and Bill. We then walked to the west side of the park and watched the sun set over the Indian River Lagoon.

On Friday, February 3, I ordered our tires from Walmart.com.  They had a really good sale on Goodyear G614 tires, coupled with free two-day shipping to our door, made for an easy transaction.  Later that afternoon, we headed over to Kelly and Bill’s place.

They were staying at the Melbourne Elks lodge.  They made us a delicious meal of ribs, broccoli, and cole slaw.  😃  We talked so much, we forgot to get photos!

On Saturday, Diana and I drove 2 hours south to Palm Beach Gardens to visit her uncle and cousin.  

Uncle Gus had recently took a tumble and broke his arm, so Jon was down from Michigan to help him out for awhile.

On Monday, Kelly and Bill came over to our place again.  We went for a bike ride around Melbourne Beach, then spent the afternoon on the beach.  Afterwards, we headed up to Bizzarro Pizza for dinner.  Remember the Seinfeld episode about the soup nazi?  Well this dining establishment is affectionately known by the locals as the ‘pizza nazi’, as you need to have your order ready at the counter when they ask, or no pizza for you!  We chuckled when Bill asked what beers they had on draft and the guy taking the order pulled out a decade old draft beer list on a board from behind the parmesan cheese and quickly put it in front of him.  He’s lucky he got a beer.  😉   After dinner, we wished each other safe travels and headed off in different directions. We look forward to seeing them again, down the road.

Tuesday was spent waiting for FedEx to show up with our new tires.  As soon as they came in, I headed into Melbourne to have them mounted on our new-to-us wheels.  The axles arrived on Wednesday and we made an appointment to have them installed on Saturday.  That left us some free time for the week.

Ok, so it’s off to the beach…

…and a corn hole tournament with the neighbors.  😃

I also installed a row of hooks to organize my shoes.  That’s six pairs of size 13’s on there!

Saturday came and we headed off to Ferguson’s Automotive and Marine in Melbourne.

There are our old 5200 pound axles…

And here are our new 7000 pound axles and our new tires!  After they were done, we hooked up and headed one hour south to Fort Pierce.  As you may recall from our last post, we had been given tickets to a John Ford Coley and Terry Sylvester concert at Summer Crush Winery. They are part of Harvest Hosts, so we were able to park our rig right on the property.  That sure cut down on the traffic after the concert, as the only other rig staying there belonged to the musicians!

John led us through the hits from his England Dan/John Ford Coley days and Terry sang several of his songs from when he was the lead singer of The Hollies.  Everyone had a great time…

….including us!

So I mentioned ‘future plans’ in the title.  We’ve been busy planning a summer journey to the west coast!  Our plan is to leave Melbourne Beach on April 1. We are excited to be visiting family and friends in Texas. Next we will do some exploring in the southwest, including some areas of the country we have yet to see. One of the main reasons for going west this summer is to visit Diana’s uncle, aunts, and cousins in southern California. She hasn’t seen an aunt and several of these cousins since she was in the fifth grade! We also have several close friends we have contacted and are planning on seeing in the LA area. We will be exploring several sites in Northern California, including Napa Valley with Diana’s cousin Nancy and her husband David. We had a ton of fun with them  last spring at Big Bend National Park, so we are looking forward to having them join us for this portion of our trip. Then we will be settling in Oregon for the summer. We have two work camping jobs as interpretive hosts with the Oregon State Parks. One begins Memorial Weekend and goes through the end of June. The second one begins July 1 and ends after Labor Day weekend. These are considered volunteer positions where we work about 24 hours a week and are compensated with a free campsite. We will miss our friends at Wild Cherry Resort, but are excited for this new adventure. We will reveal more of the details as we go.  Be sure to stay tuned!

———————————

Search and shop our Amazon link HERE.
———————————

explorRVistas is a participant in the Amazon Services LLC Associates Program, an affiliate advertising program designed to provide a means for sites to earn advertising fees by advertising and linking to Amazon .com. Shopping through our link does not add anything to your cost, but it does help support this blog. Thank you for shopping through exploRVistas!

Is it January?

One thing about being Midwest natives spending the winter in Florida is that the weather messes with our minds.  Seeing Valentine’s Day candy in the store still strikes us as odd when it feels like summer.  Shouldn’t we be seeing Back to School sales?  Nope…and before you know it, there will be Cadbury Creme Eggs on the shelves at Publix!

And seeing I love Cadbury Creme Eggs, that’s a good problem to have!  😉

Since our last post we’ve had a change of thought on our trailer brake maintenance.  After pulling one of the hubs on the trailer for inspection, I saw that the electromagnet was wearing unevenly.  Likewise, the inside of the hub that it was riding against was also worn in a similar pattern.  Checking the prices on new hubs and brake parts led me to find that none of those items were very expensive.  As a matter of fact, entire axles were relatively cheap.  When we were weighed at the RV-Dreams rally, we were just under our maximum allowed weight for the fifth wheel.  If we replaced just the brake parts and hubs, we would still have 5200 pound axles under the rig.  After a little more research, we found we could upgrade both axle and spring assemblies to 7000 pounds Dexter axles for not much more money.  We have a local axle shop here in Melbourne taking care of that for us. We also will be upgrading to heavier duty 16″ wheels and G-rated tires.  That will all take place in Mid-February.

Our friends Rod and Mary had us over to their house for shrimp and rice stir fry one evening.  We had a nice evening by their pool with wine, food and frisbee tossing to their dog Gracie.  😃   It’s always fun being with them!

Last Wednesday, we headed over to the Tampa RV Show.  We knew Bill and Kelly were going to be there, and seeing our friendship developed through our blogs, Facebook and Messenger, we felt it was time to meet these two in person.  Their adventures can be seen at bkamericanodyssey

Here we are with Kelly and Bill in the center, and fellow RV-Dreamers Cindy and James on the right.  We hung out on and off throughout the day and ended up grabbing dinner together afterwards.  What a great time!  We ended up talking so long that we decided to get a room in Lakeland on the way home, as it was three hours back to Melbourne Beach.

One thing we were going to be giving up by going to the RV show was an evening launch at Cape Canaveral.  Well it turns out that someone failed to warn a pilot that he/she was flying into the rocket’s path, so the launch ended up being delayed a day.  Bad luck for NASA, but good luck for us!  Half of our park seemed to flock across A1A to the beach to watch the launch.

The Atlas V did not disappoint!  Even though the Cape is 30 or so miles north of us, we could see the ship rise off the pad quite clearly.  It took several minutes for it to pass by us to the south and east, and we were able to see the first stage burn out and the second stage ignite.  We even saw a couple of shooting stars!  Once the ship was just about out of sight, the low rumble of the launch finally reached our location.  It’s amazing the difference between the speed of light and sound!

 Last Sunday, we made it back down to Summer Crush Winery, as we were meeting friends who were staying in Ft Pierce.

Phyllis and Bernie are renting a condo on the inlet, and they are really enjoying being here!  Phyllis was the secretary at the school Diana taught at for many years.  It’s always a good time when we get together with these two!

If you remember from past posts, Summer Crush is a Harvest Hosts location.  We first discovered it when we stayed there last year on our way to the Keys.  Diana noticed an Airstream parked out back and was trying to figure out who it belonged to by scanning the crowd.  At each of these events, the suggested donation to get in is $2 per person for a local charity, which can also be covered by a $5 raffle ticket.  When Gary the owner announced that the winner was staying with them through Harvest Hosts, Diana scooted over to their table to introduce herself, as it’s always nice to meet other RVers.

Meet the Franchi family!  Their blog, Paperdoll Pioneers, chronicles their adventures.  It turns out that the prize they ended up winning was two tickets to see John Ford Coley and Terry Sylvester (former lead from The Hollies) at a Summer Crush show in mid February.  Since they were traveling and wouldn’t be here, they gave us the tickets!  Thanks guys…we will pay forward your generosity down the road.  ❤️

Yesterday, friends of ours from Amazon stopped by to say hi!  Cassie and Joe worked in packing with us and were also at the same campground we were at near Campbellsville. They are currently staying south of us in Sebastian. We showed them around the park and caught up on what’s been happening with them.  We forgot to get a photo, but we will be sure to when we get together over the next few months. That’s about it for now.  We have been busy with spring and summer trip planning.  At least I think spring and summer are next.  We are still finalizing those plans, so be sure to stay tuned!

——————————————-

Search and shop our exploRVistas Amazon link here!
——————————————-

explorRVistas is a participant in the Amazon Services LLC Associates Program, an affiliate advertising program designed to provide a means for sites to earn advertising fees by advertising and linking to Amazon .com. Shopping through our link does not add anything to your cost, but it does help support this blog. Thank you for shopping through exploRVistas!

Busy Winter in Florida!

When we first got to Florida in December, after several months of working hard at Amazon, we initially thought we would just kick back and relax a bit.  In a sense, we’ve done that…but we have also used the time to get several much needed projects completed.  Diana has been taking care of paperwork, and preparing some very delicious meals.  I’ve been tackling many of the maintenance projects we’ve needed to get done, which I’m about halfway through.  We have made it a point to head to the beach as often as possible, so as to not miss any good beach weather.  So far, the weather has been extremely kind to us!

On New Years Day, we headed one hour south to Summer Crush Winery (formerly Endless Summer Winery) in Fort Pierce for their New Years Day celebration.  We visited them last year as part of the Harvest Hosts. They have made a few improvements and are bringing in some big name acts, so we plan on making a few more trips down there.

This is our 4th of the last 5th New Years that we’ve been in Florida, and it still seems surreal to us seeing people in summer clothes in January.

The Uproot Hootenanny Band provided the lively entertainment for the day. 😎. The base fiddle player reminded me of our friend Greg Young.  I kept looking to see if his wife Cori was in the audience.

We also made a separate trip to Fort Pierce to pick up Honeybell tangelos from our favorite fruit stand, Ace High.

Their harvest was a bit smaller this year, due to the effects of Hurricane Matthew, but what was left was delicious!

We also visited the National Navy SEAL Museum in Ft. Pierce. SEAL stands for sea, air, and land. This is a very well done collection on the property of the original training grounds for the Navy’s elite frogmen.  Outside there is watercraft, some of which you can go inside. There is also an obstacle course that children are able to explore under their parent’s supervision. Inside there is a very educational movie on the history of the SEALs, and several exhibits of weapons and gear that they have used through the years. Be warned that the movie at the beginning is about two hours long. We didn’t plan for this, so we were rushed to see the actual displays as a result. When we got back to the car we discussed how military museums leave us with mixed feelings. We certainly honor this elite military team and all of our nation’s service men and women, and we appreciate their defense of our country’s freedom.  We also feel uncomfortable when war is glorified or presented in an action/adventure sort of way, as we found in a few instances here and at a few other facilities. If you find military museums to your liking, this one is worth your time.  Our admission was $10 per person.  They are open Tuesday through Saturday 10-4 and Sunday 12-4, and are closed on Mondays.

One of the maintenance items we’ve taken care of thus far are front brakes on both vehicles.  The Escape was just a matter of taking the front wheels off, removing the calipers and replacing the pads.  The truck was a bit more involved, as the left front caliper that my friend Rod and  I replaced last January was defective and not working properly.  It consistently read 20 degrees hotter than the other side, and there was more wear on the inside brake pad. Luckily it was still under warranty, so I changed that out as well.

I also washed and waxed the fifth wheel.  Waxing is a bigger job than it sounds on a 2007 rig, as the Fiberglas sides had oxidized a fair amount.  The system I used included an oxidation remover, which required a lot of elbow grease!  It’s done and it looks fabulous.  If you don’t believe it, just ask me. 😉 (My mom would have said, “Don’t break your arm patting yourself on the back.” 😀Diana)

In addition, our auto-slider Pullrite SuperGlide hitch needed some maintenance.

The biggest issue was that the old tracking roller (the one to the left with the smaller nut) had come loose.  Had it fallen out, we could have lost control of the trailer.  The new roller (to the right) has a castle nut and cotter pin to prevent that from happening.  Other than that, it needed a few minor adjustments to tighten up some of the play in the hitch travel.

Oh, and then our refrigerator decided to quit on us.  A few quick readings with a multimeter showed that it wasn’t getting any 12-volt power.  Luckily it turned out to be a blown fuse.  😀.  Thank goodness it wasn’t a fried circuit board, as this run over $100, and there are two of them.

The only maintenance projects left are to replace the rear brake shoes on the Escape and all of the brake shoes on the trailer.  That should be finished up in the next week or two, which leaves us the rest of the winter to play!

Stay tuned to see what we are up to next!  😎😎

——————————–

Search and shop our Amazon link here!
——————————–

explorRVistas is a participant in the Amazon Services LLC Associates Program, an affiliate advertising program designed to provide a means for sites to earn advertising fees by advertising and linking to Amazon .com. Shopping through our link does not add anything to your cost, but it does help support this blog. Thank you for shopping through exploRVistas!

Working on a few projects and upgrades

Once we arrived back in Grand Rapids to be with Diana’s mom, we thought we would take the opportunity to get a few maintenance issues with the rig taken care of, along with a few upgrades we had wanted to accomplish.  Grand Rapids is Michigan’s second largest city, and everything we need to get the job done is here at our fingertips.

The first order of business was to get the leaking steering box on the F-350 replaced.  Turns out that there is a huge back order on the part, and no one seems to be able to get one.  Mark up at Uncle Rod’s in Elk Rapids even did a search for me, to no avail.  Of all the vehicles I’ve had over the years, this is my first steering box issue.  I am amazed that they are that hard to get, as was Mark.  The mechanic at Ford told me it wasn’t leaking too bad, and to just keep an eye on the power steering fluid.  Meanwhile, I’ll keep searching….
The next project was to install the skirting on the trailer again.  What took me a good 4 days to do last year was whittled down to 2 days this year.


Not only was it faster, but I also was able to do a better job of it.  Not what I would refer to as a ‘thing of beauty’, but it gets the job done in a big way.  The temperature sensor was at 45 degrees under there this morning, and the outdoor reading was at 22.  The electric heater underneath will not kick on until it reaches 41 degrees, which it has yet to do.

Inside the trailer, I put 3M window film on the windows.  While it doesn’t totally eliminate the condensation on the aluminum frames, it greatly reduces the moisture on the windows and cuts down on the drafts.

Once that was done, I was able to concentrate on two sets of improvements I had wanted to tackle:  new drawer glides and cabinet latches.  Having spent my career in the cabinet industry, I was impressed with the quality of the doors, frames and drawer boxes in our fifth wheel when we first saw it.  The  drawer glides were standard epoxy-coated glides, and I had always planned on upgrading them to full extension drawer glides.  I’m in the process of doing that now.  In conjunction with that, I am installing new cabinet latches.  A year ago, I purchased a couple of sets of Tot Loks.  There were several glowing reviews of them on the RV forums, so I thought I would try them out.  We had a few issues where our cabinet doors and drawers popped open as we were going down the highway, and these locks will prevent that from happening.


With the red lever flipped forward, the latch remains open for everyday use.


With the lever flipped back, the latch pops open.  When you close the door, it is closed and latched.  The only way to open it is….


…with the included magnet.  All you have to do is set the magnet near the location of the lock on the front of the door and you can hear it unlatch.  Open the door, flip the lever forward and you are good to go.  Nothing is visible from the outside.

With that being said, installation is a little tricky.  The latch requires a hole to be drilled in the back of the door that comes within 1/8″ of the front.  I am using a metal over-the-bit depth gauge on my drill bit that is set to 5/8″ deep, so I have confidence I won’t pop through the front.  The company that makes the Tot Lock has answered customer concerns about this by developing a new lock called the Safety 1st Magnetic Locking System that doesn’t require a deep hole to be drilled in the door…only the smaller pilot holes for the mounting screws.  Reviews seem to be as good as they were for the Tot Lock, without the installation complaints.  Though both were designed to keep children out of the cabinets in a home, they work great in keeping the contents of the cabinets from flying out while going down the road in an RV.  We haven’t road tested them yet, but I’m not able to open the door by pulling hard on the knob.  I’m sure they will work well for us.

—————–

Search Amazon here
—————–

explorRVistas is a participant in the Amazon Services LLC Associates Program, an affiliate advertising program designed to provide a means for sites to earn advertising fees by advertising and linking to amazon. com.

The Mysterious RV Refrigerator

Caller: Is your refrigerator running?
Homeowner: Yes.
Caller: You better catch it!

That is probably THE lamest prank call ever conceived! :). Had that call come to us over the past couple of days, the joke would have been spoiled…just like our ice cream! Our trusty Norcold slowly got warmer, and it seemed to coincide with the outside temperatures getting much colder. Our readings in Grand Rapids dropped to near zero, and the wind chill was 10 to 20 below.

A quick surf of the web revealed the problem. RV refrigerators remove the warmth within them by actually heating the refrigerant in the lines. The actual process is lost on me, but I did understand when it said the coolant actually turns to gel in extremely cold temperatures. This occurs in the compartment that is vented to the outside of the rig. So Job #1 was to get some heat in there to liquefy the coolant. I followed a few suggestions on the web, as shown below.

2015/01/img_0139.jpg

First thing I did was to make sure the vent on the roof wasn’t blocked with snow. While there was ice in the vicinity of it, the actual vent was clear.

2015/01/img_0138.jpg

Next was to tape over the top two slots on the outside vent. This will need to be removed in the spring when we get above freezing, but it is OK for now. This allows some of the heat to be held in, yet still allows some ventilation.

2015/01/img_0141.jpg

The last addition was a heat source; in this case, a clip on shop light. I used a 60 watt bulb in it, and was careful to not have the aluminum shroud rest against anything combustible. That was left on overnight to warm up the coolant, and will be used throughout the rest of this winter.

2015/01/img_0142.jpg

Fortunately for us, we were able to put the items we could salvage into coolers on our deck. The outside temps were such that no ice was required!

The next portion is a heads up to anyone who might encounter this same issue. When the unit initially stopped working, there was an error code presented on the control panel. We had the green light blinking 5 times in rapid succession.

2015/01/img_0147.jpg

This was definitely a case of “when all else fails, read the instructions”. Instead of getting the manual out, I turned off the fridge, then turned it back on. Still blinking. That simple act of turning it back on resulted in a LOT of extra work. If this happens to you, turn off the refrigerator and read the owners manual. Do NOT turn it back on. As the coolant had not yet liquefied, the problem still existed. Upon researching the issue, I found out that I not only needed to warm the refrigerant up, I now also needed to reset the circuit board, as two successive trouble codes result in a reset.

2015/01/img_0140.jpg

The black box with the warnings plastered all over it holds the board. To access it, wires need to be unplugged…in a certain order. Once the cover is off, the sequence needs to be reversed.

2015/01/img_0145.jpg

The instructions online then call for a jumper wire to be used between the “open pin to the right of the violet/white wire on the 16 pin plug and a ground, and hold for 15 seconds until you hear a clicking sound and the burner ignites.” Well, first off, there was a 10 pin plug and a 6 pin plug…not a 16 pin plug. The open pin was to the left of the violet/white wire…and that was not the only open pin. Is this starting to sound like an adventure movie? I took a chance and used the jumper from the open pin next to violet/white to a ground. “Click…whoosh!” Success! I then had to reverse the process of taking the cover off to put the cover back on. It was a lot easier to do, knowing that the fridge was working again!

2015/01/img_0144.jpg

Today’s temperatures are right around 30 degrees, which made the project a little easier.

2015/01/img_0137.jpg

We received a foot of snow since our last post, and the campground looks really pretty. So far, winter has been a lot easier than last year, even though we are 14″ above the snowfall average for this date.

2015/01/img_0146-0.jpg

Above is a photo of our house last February. Grand Rapids had 111″ of snow for the season last year, and Holland (25 miles southwest of us) had 152″…and since we never had a mid-winter thaw, most of it stuck around for the duration. So far, we are at 50.7″, most of which melted during the December thaw. There is a lot of winter left, though!

So, if your refrigerator is running, better catch it. If it isn’t…run south! 🙂

South to Florida

After leaving Kentucky, we headed south to see family in Florida. We took the familiar route of I-65 towards Montgomery, Alabama.

IMG_0069.JPG

A favorite stop has always been the Welcome Center in Alabama. Not many rest areas in the US can boast having a full scale Saturn IB rocket. This is the type of rocket that the crew of Apollo 7 took into Earth orbit. It is the smaller cousin of the Saturn V that took the US to the moon.

Once we got to Montgomery, we took a different route, as we wanted to stop in Crestview, Florida to check out a mail forwarding service we are considering using during our travels. On the way there, we came upon this little gem:

IMG_0148.JPG

This is the day use area at Blue Pond in the Conecuh National Forest in southern Alabama. Too bad there wasn’t any camping, as it was ideal!

We arrived in Crestview and met with the folks at My RV Mail. They were very friendly and extremely helpful. Once we finished in Crestwood, we continued on to Ft Walton Beach. When we arrived, we discovered a huge benefit to shoulder season travel: no huge crowds! We drove into a large public lot at the beach and had no trouble at all finding a parking spot. We had a wonderful grouper meal overlooking the gulf and then we walked the beach.

IMG_0149.JPG

This is some of the best sand in Florida, and we were happy to see that there were no visible after effects from the BP spill.

Once we left the beach, we headed east towards Leesburg to see family. Diana’s brother lives there, and our niece and her family live in Fruitland Park. Along the way, we discovered the importance of doing a rig walk around. Jim thought he heard a noise on the road, and he noticed the fuel mileage decreasing. We pulled into a rest area and noticed the right front wheel was considerably warmer than the others. Turns out that we had a “stuck” caliper. This happened to us one other time on a different truck, and is a result of the right front wheel catching so much curb slush and salt in the Michigan winters. We found a garage in Tallahassee that got us in and out in a flash. A special shout out to Al Bass and Bass Automotive for the prompt service. This event really drove home the fact that we need to be aware of our rig. A simple walk around at each stop can save a lot of headaches down the road.

Safe travels!

RV-Dreams rally

image

This past week, we attended the RV-Dreams fall educational rally in Goshen, Indiana.  It was held at the Elkhart County 4H Fairgrounds, which was a nice facility for this type of get together.  The rally itself was extremely informative and a lot of fun.  RV-Dreams is owned by Howard and Linda Payne, a charming couple we first met in Grand Rapids this past winter at an RV show.  They have been full time RVing for just shy of 10 years, and have chronicled every bit of it on their website RV-Dreams.com.  Although we were planning this lifestyle for years, they can certainly be credited for our accelerated move into it.  We highly suggest that you follow their journeys, as they know their stuff.  Salt of the earth folks, for sure.

We met so many wonderful people at the rally, and we are sure that we will keep in touch with them in our travels. Of those that we weren’t able to get to know, we are sure we will catch up down the road. One of the nice features of the rally was the “open rig walk-throughs”. A lot of us opened our rigs for people to look at, which was very informative.  Another feature of the rally was tours of the local RV manufacturers.  We took a tour of the DRV facility, which we found to be extremely educational.

The last night of the rally was a catered dinner, followed by a glow party.

imageimage

We hadn’t danced that much in years!  Definitely a great time!

On the final morning, we had a catered breakfast, followed by a goodbye speech by Howard and Linda.

image

Linda sang “My Wish” by Rascal Flatts.  Howard tried to join in, but was a little choked up…as were most of the rest of us.

As we pulled out, we had our rig weighed by them. They are safety specialists with RVSEF, and they weigh each individual wheel.  We were pleasantly surprised that we were only heavy on one tire in the entire rig, and we can easily remedy that with a shift in our cargo.  Howard gave us recommendations for tire inflation, which we will be sure to follow closely.  It was a huge relief to know our truck and 5th wheel are correctly sized for each other, and that we also don’t have to jettison weight.  We came fully loaded for what we feel we need on the road, including our kayaks and bikes.

We will be finishing up packing the house this next week in preparation for our closing on Friday. We may be a little busy up until then, so we will try to post an update after that.

Safe travels to all!