Tag Archives: Winter RVing

The Mysterious RV Refrigerator

Caller: Is your refrigerator running?
Homeowner: Yes.
Caller: You better catch it!

That is probably THE lamest prank call ever conceived! :). Had that call come to us over the past couple of days, the joke would have been spoiled…just like our ice cream! Our trusty Norcold slowly got warmer, and it seemed to coincide with the outside temperatures getting much colder. Our readings in Grand Rapids dropped to near zero, and the wind chill was 10 to 20 below.

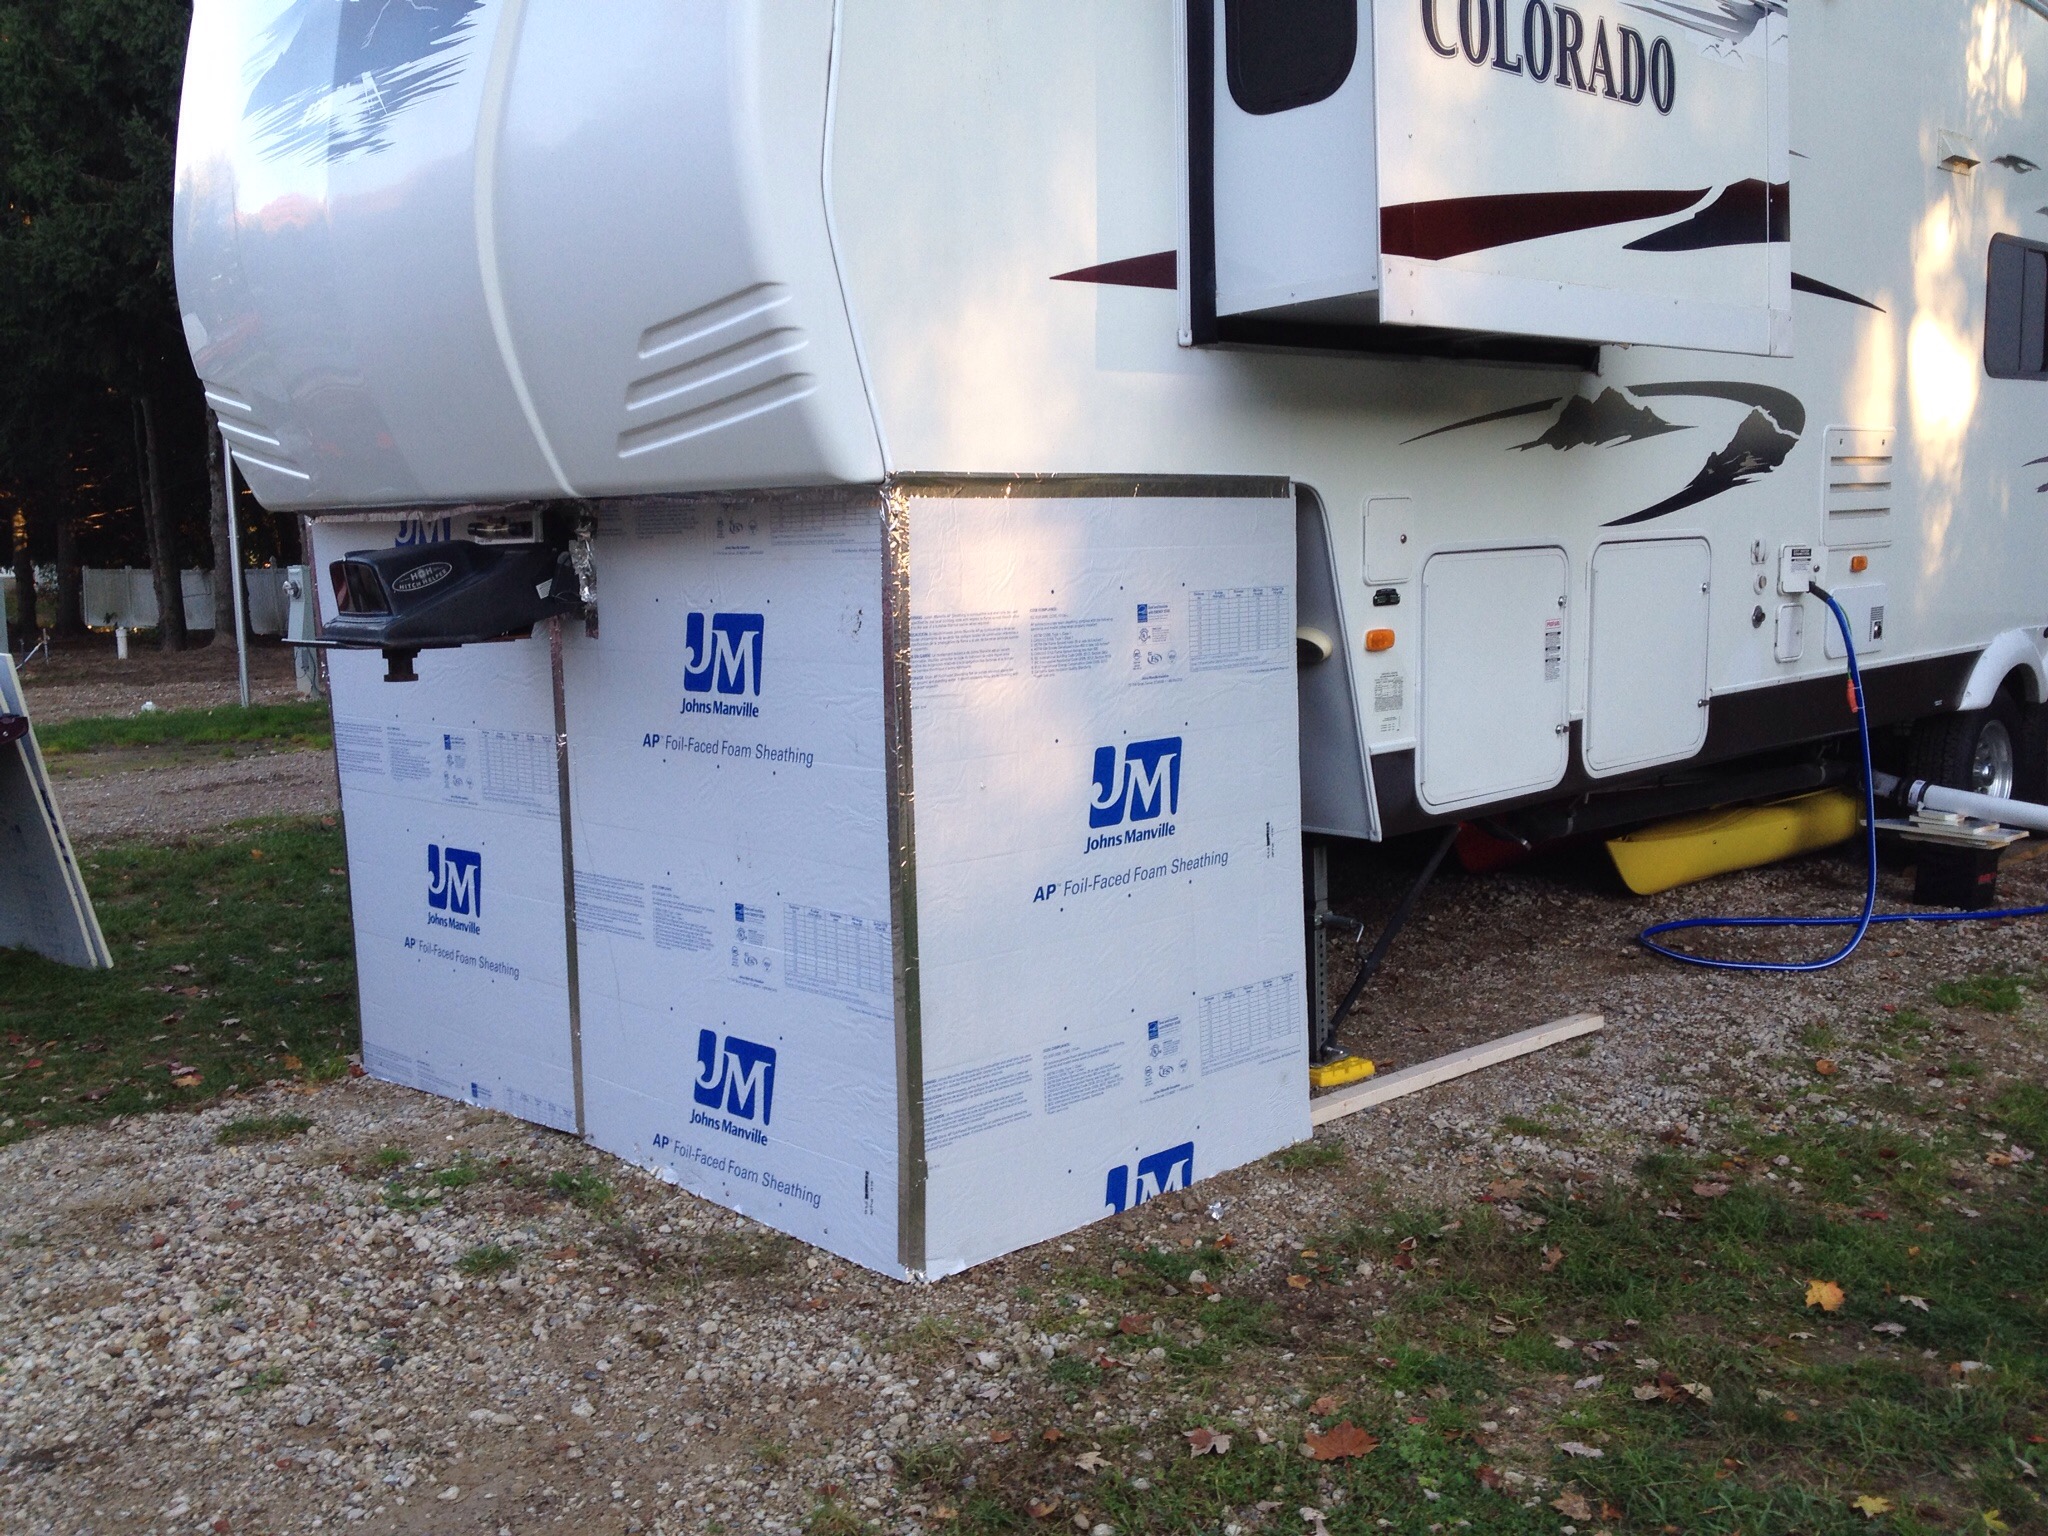
A quick surf of the web revealed the problem. RV refrigerators remove the warmth within them by actually heating the refrigerant in the lines. The actual process is lost on me, but I did understand when it said the coolant actually turns to gel in extremely cold temperatures. This occurs in the compartment that is vented to the outside of the rig. So Job #1 was to get some heat in there to liquefy the coolant. I followed a few suggestions on the web, as shown below.

2015/01/img_0139.jpg

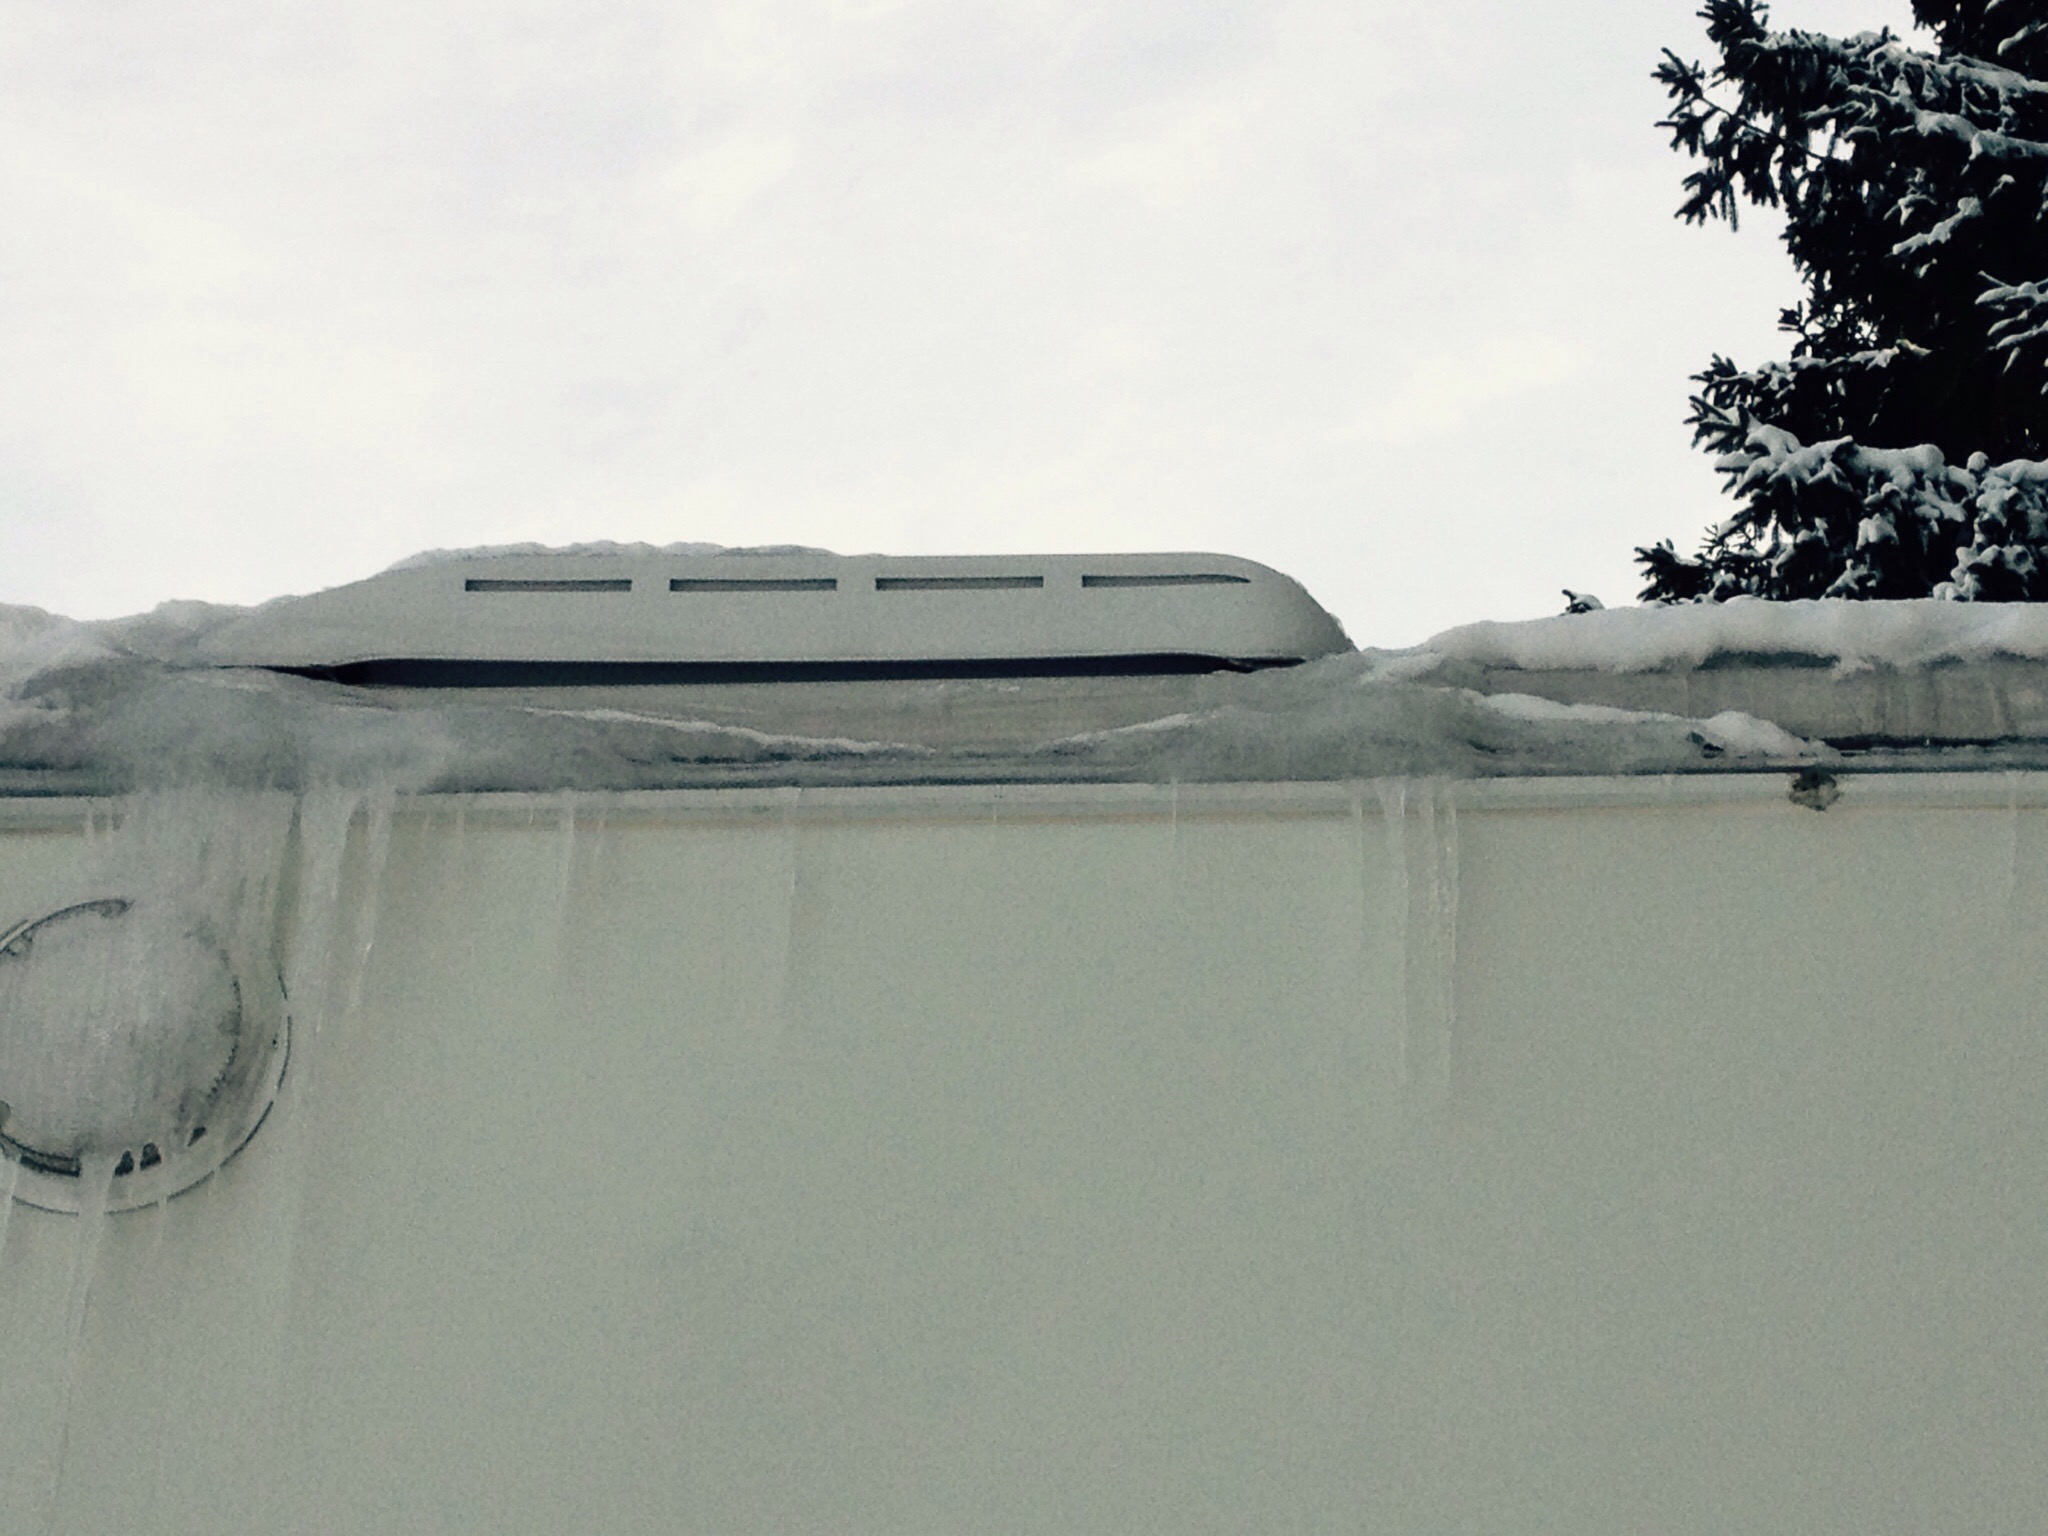
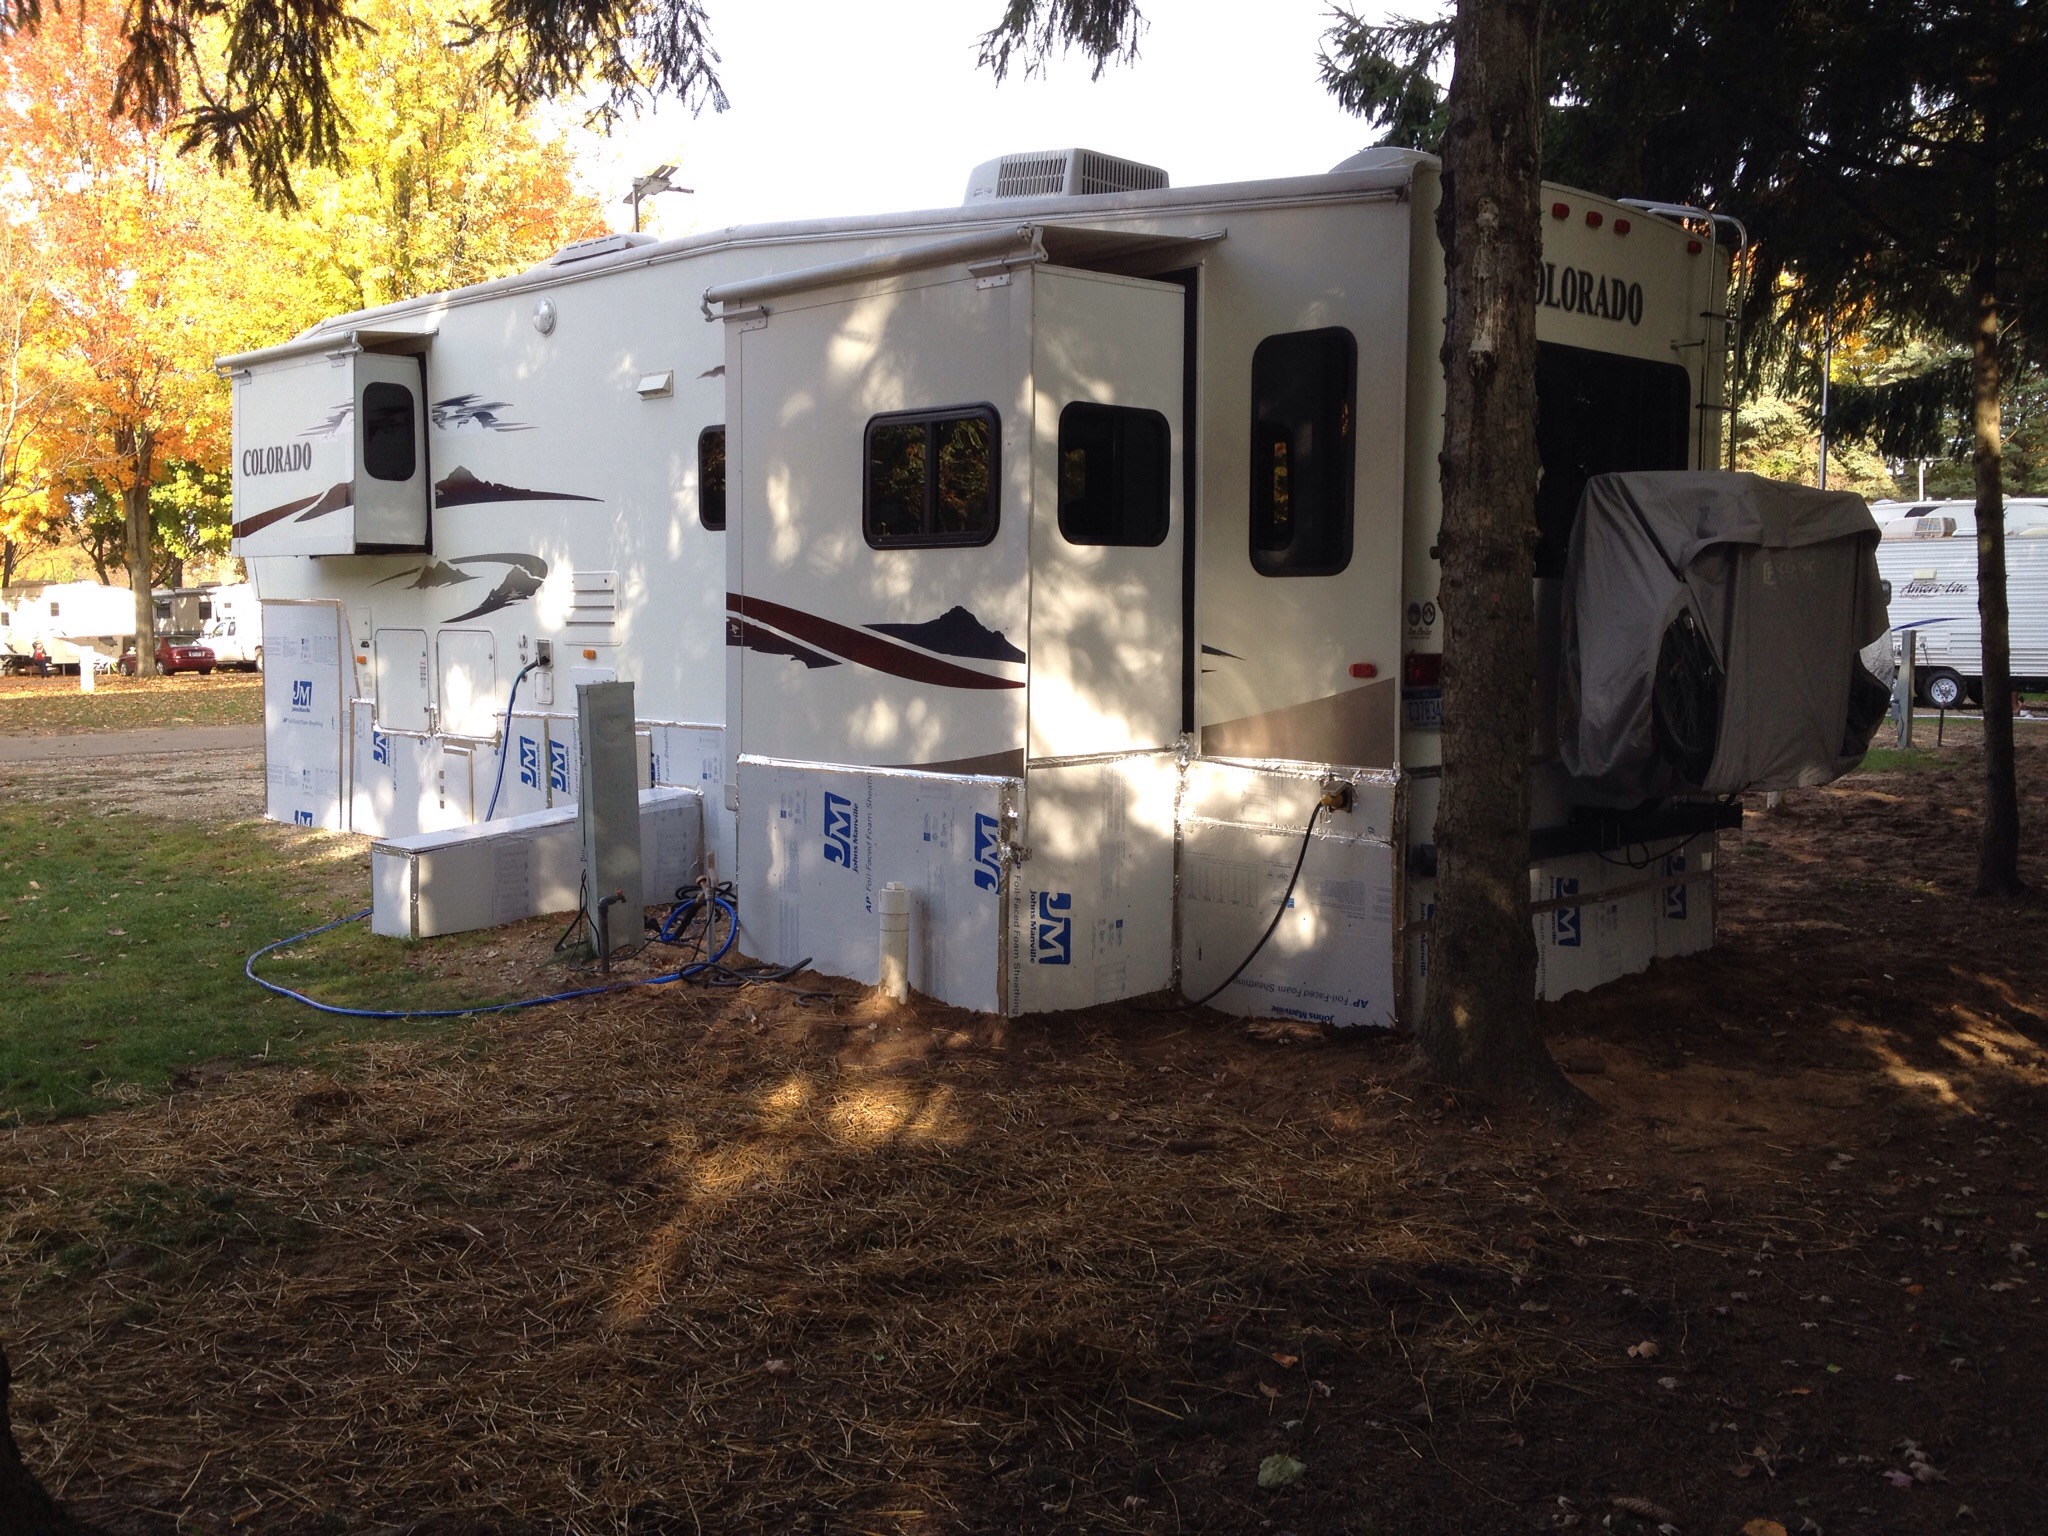
First thing I did was to make sure the vent on the roof wasn’t blocked with snow. While there was ice in the vicinity of it, the actual vent was clear.

2015/01/img_0138.jpg

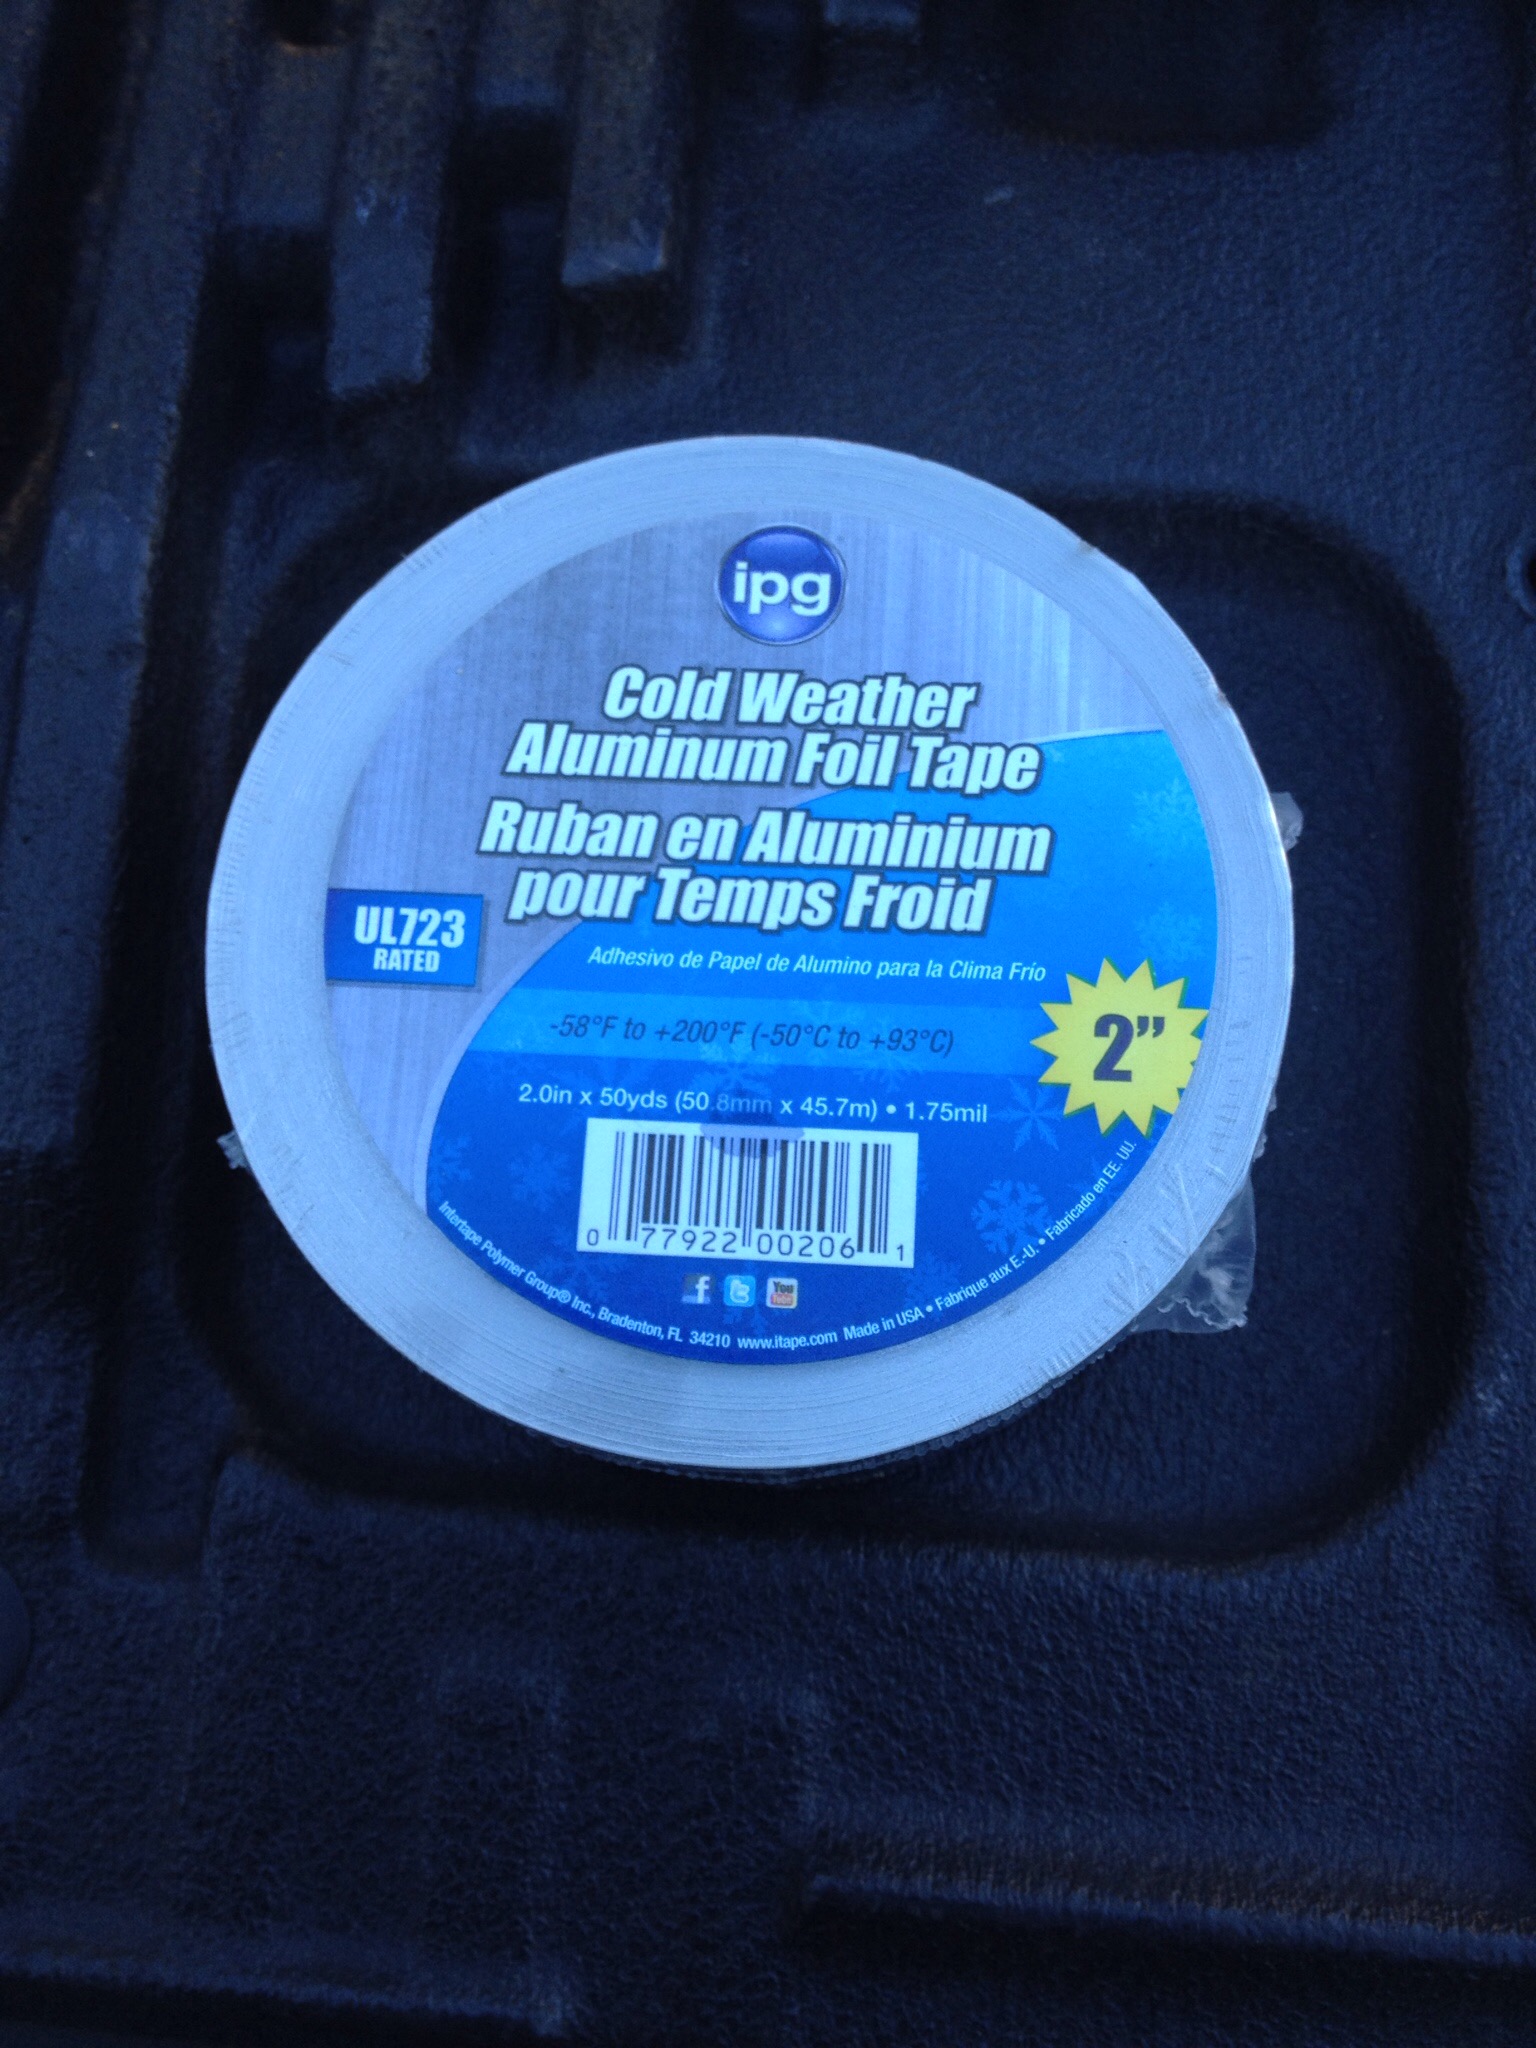
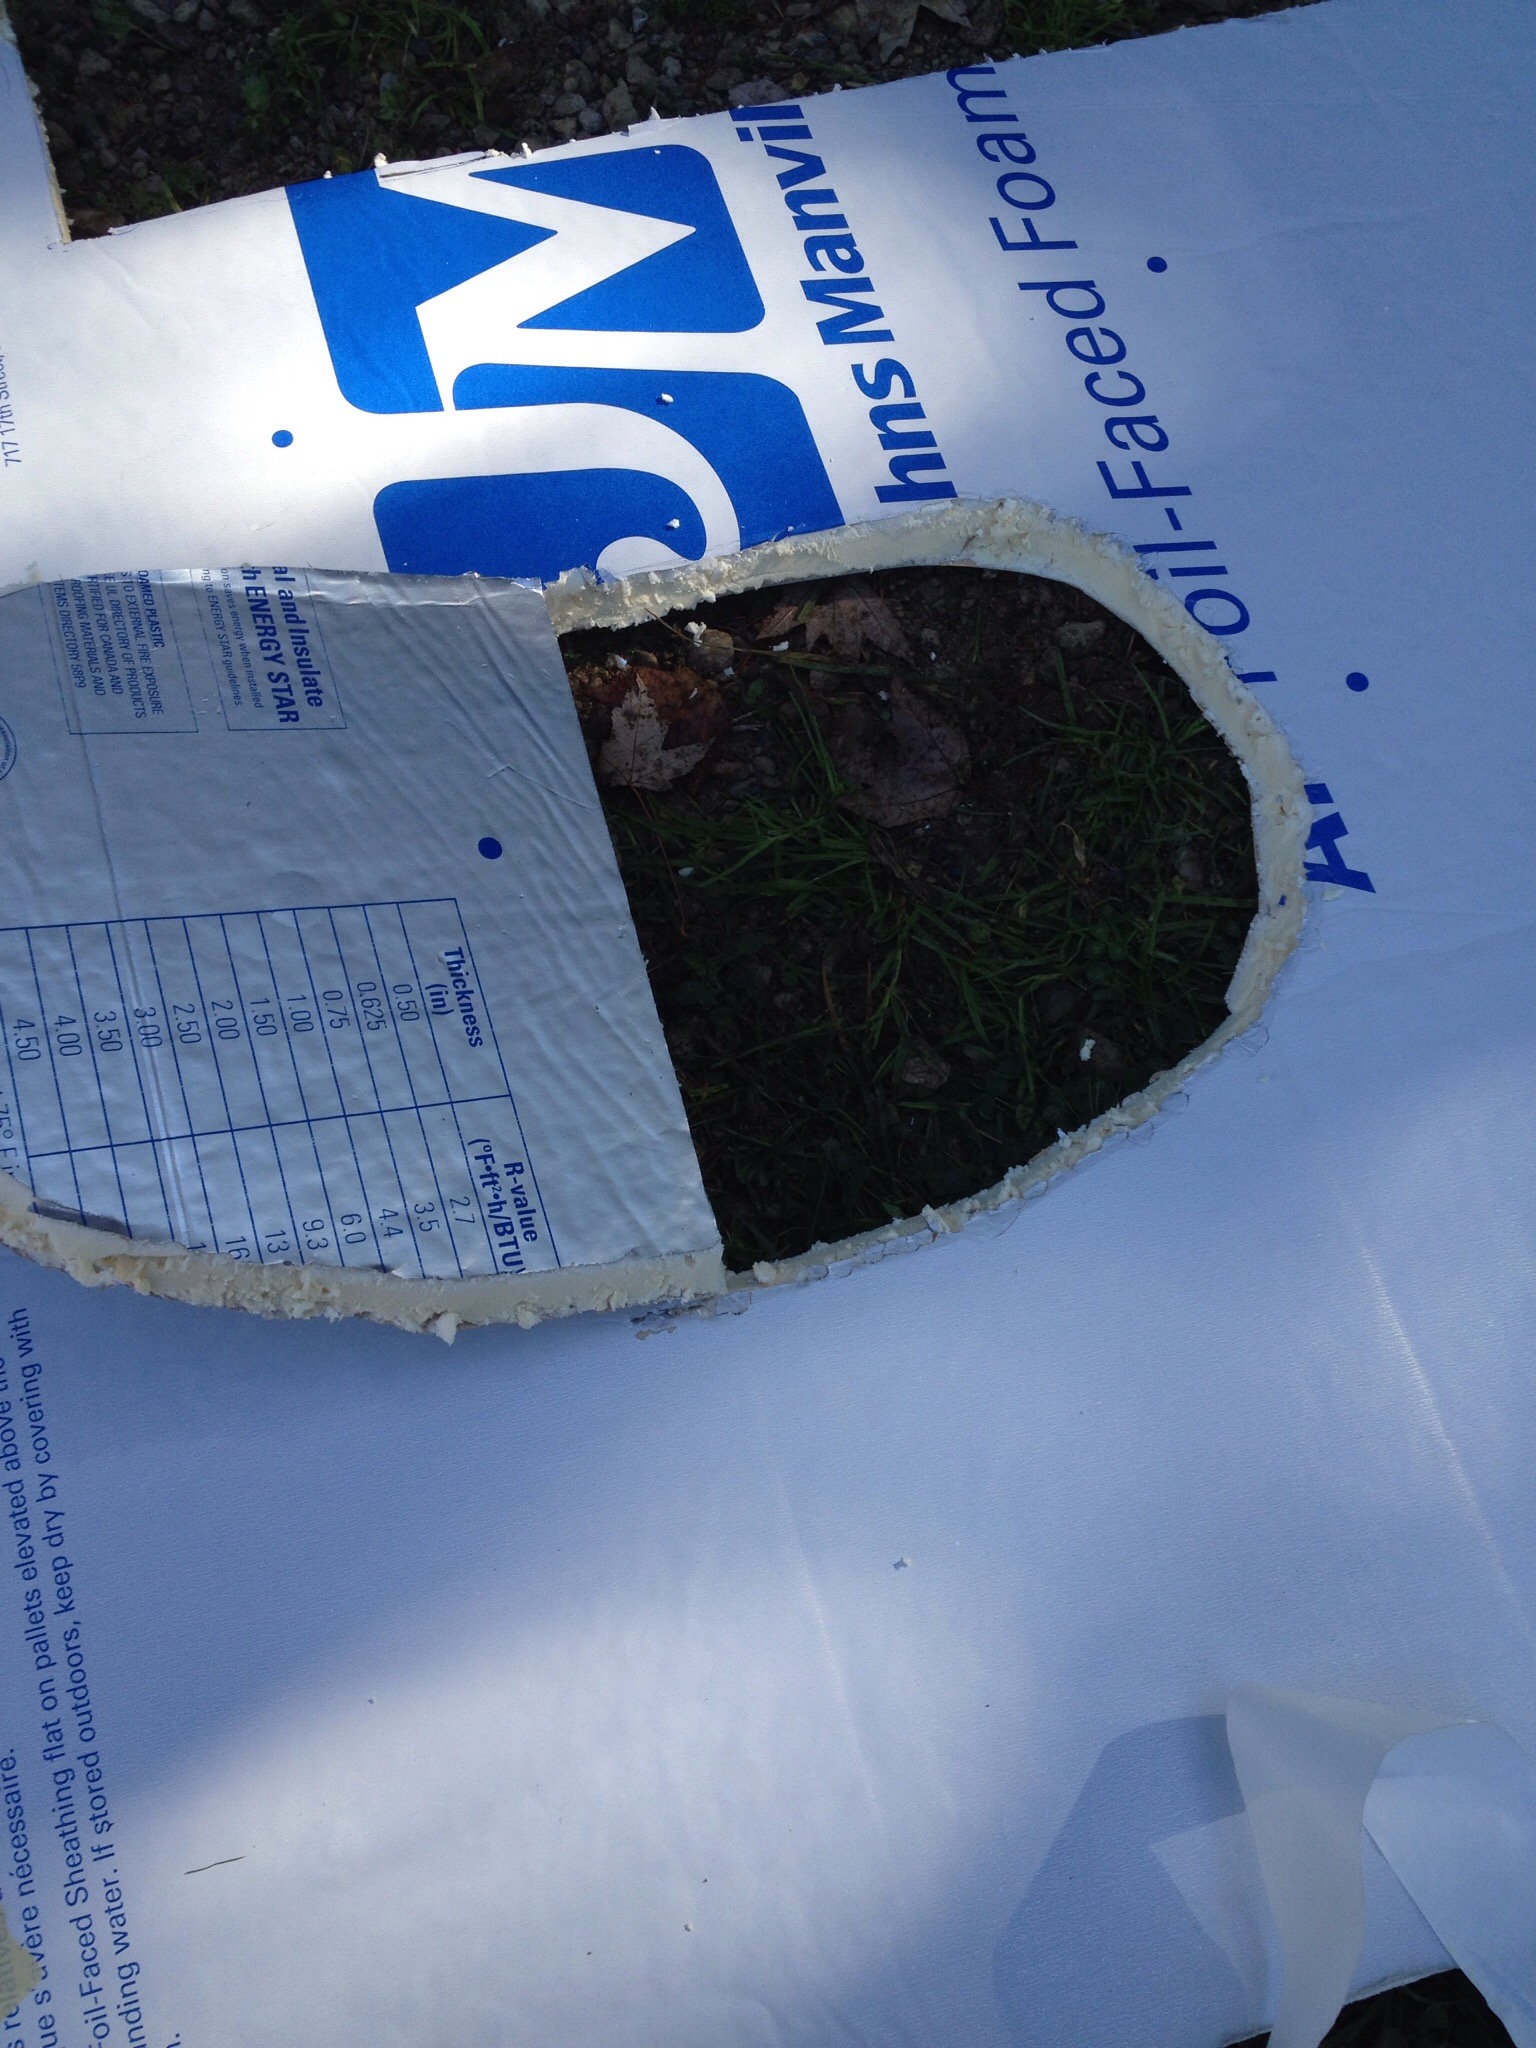
Next was to tape over the top two slots on the outside vent. This will need to be removed in the spring when we get above freezing, but it is OK for now. This allows some of the heat to be held in, yet still allows some ventilation.

2015/01/img_0141.jpg

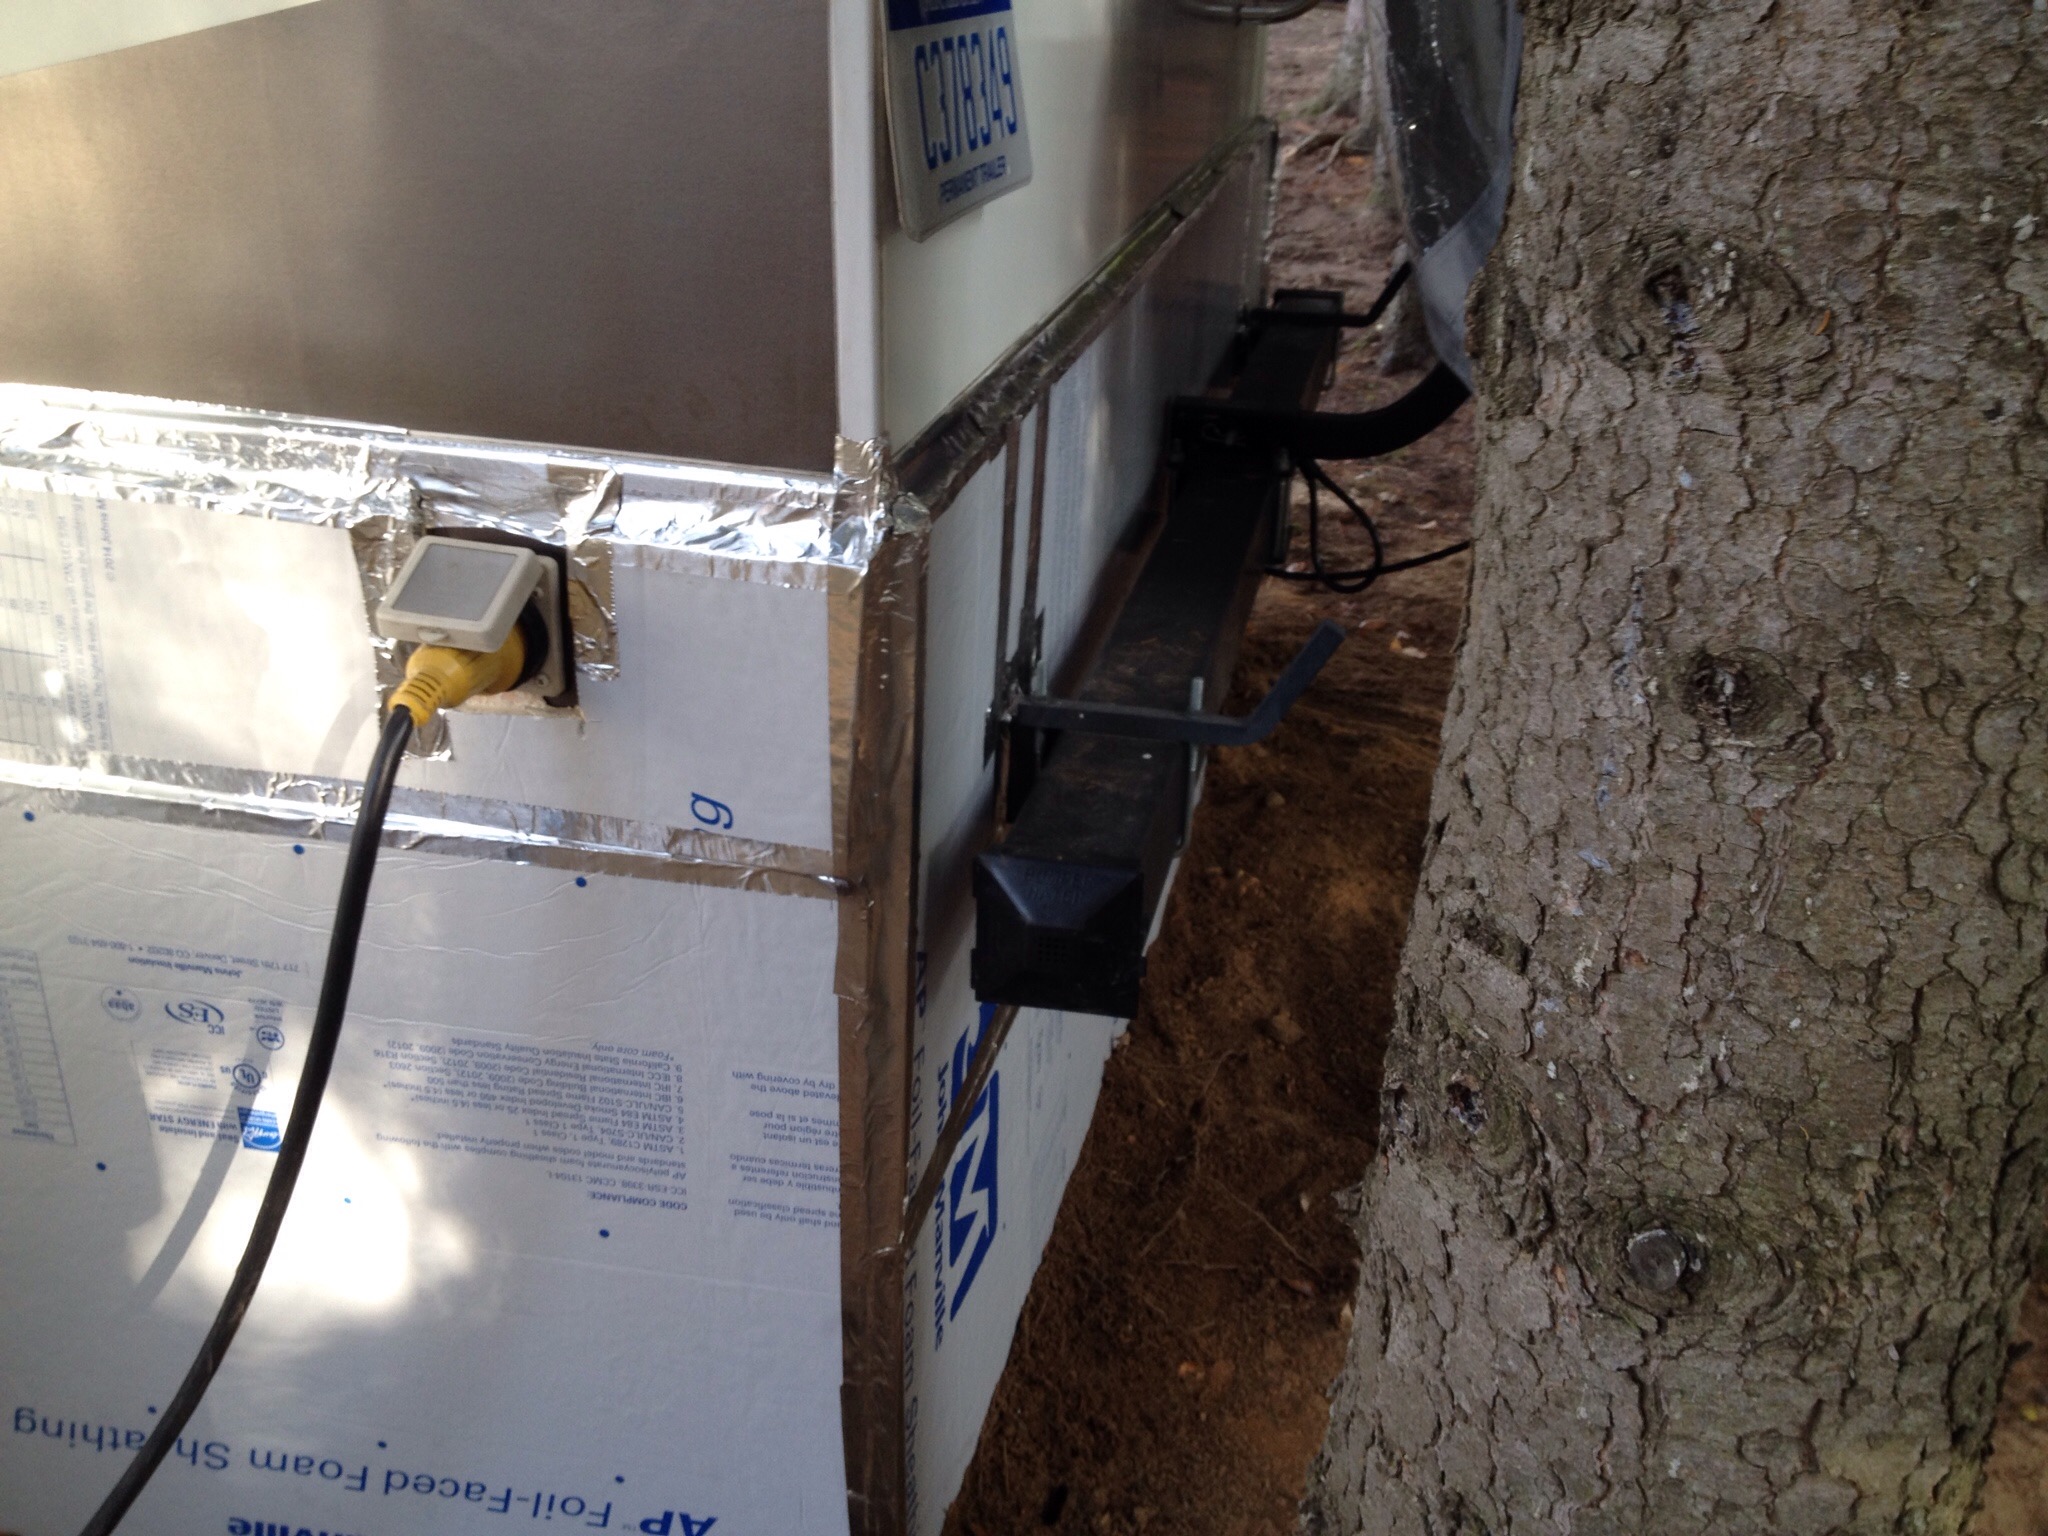
The last addition was a heat source; in this case, a clip on shop light. I used a 60 watt bulb in it, and was careful to not have the aluminum shroud rest against anything combustible. That was left on overnight to warm up the coolant, and will be used throughout the rest of this winter.

2015/01/img_0142.jpg

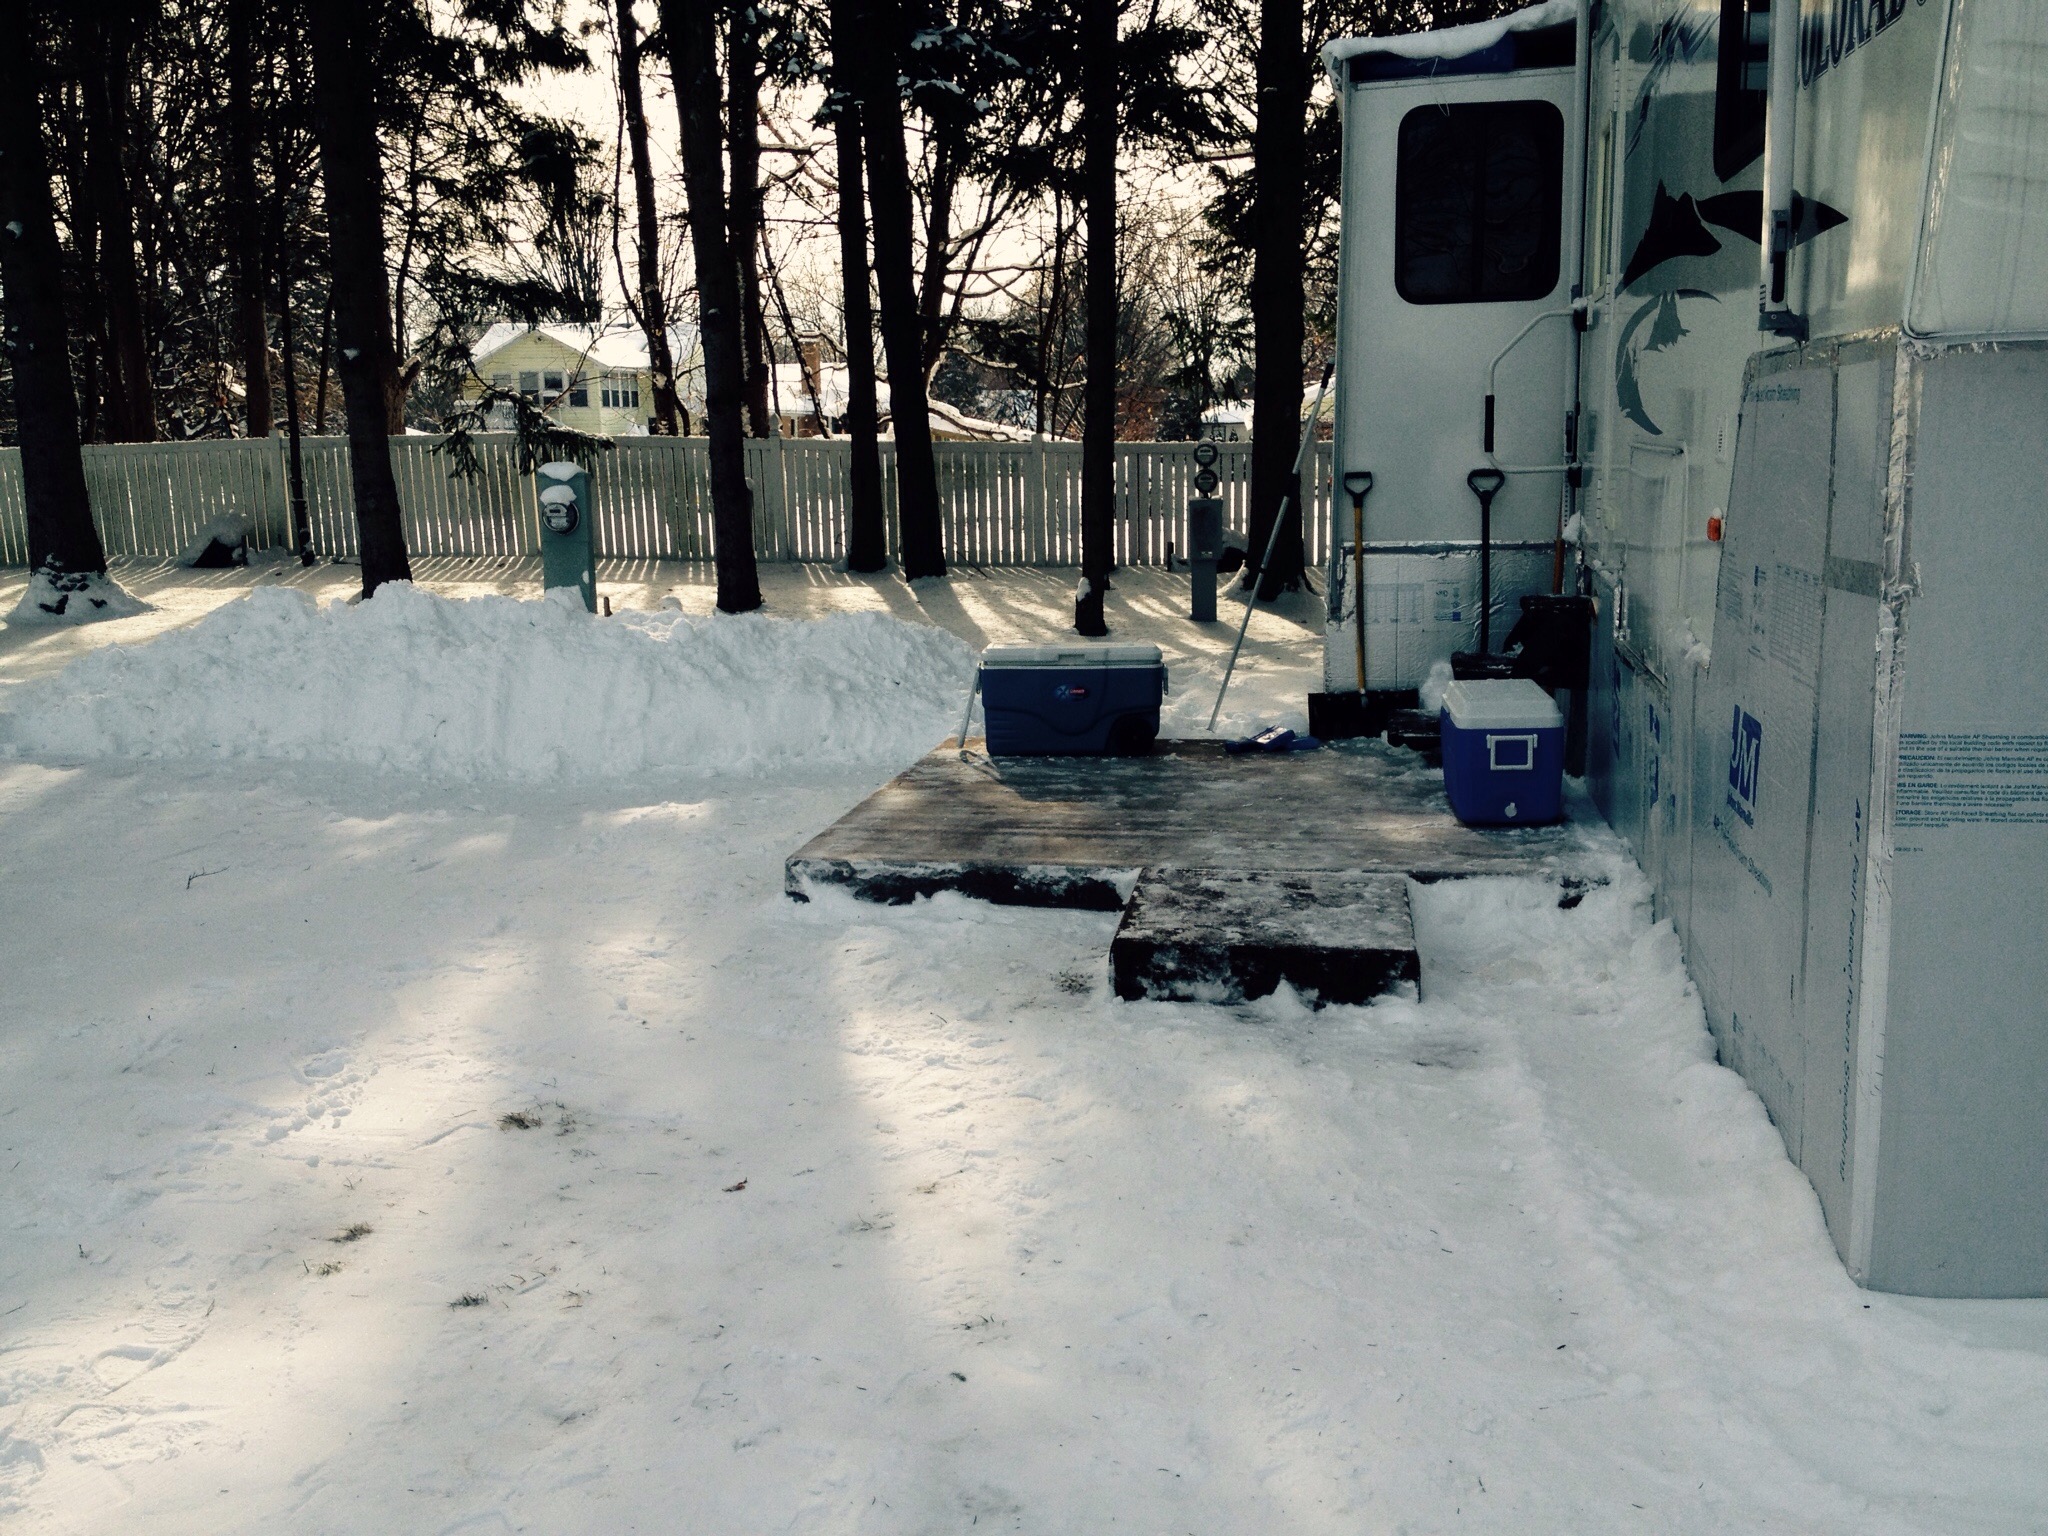
Fortunately for us, we were able to put the items we could salvage into coolers on our deck. The outside temps were such that no ice was required!

The next portion is a heads up to anyone who might encounter this same issue. When the unit initially stopped working, there was an error code presented on the control panel. We had the green light blinking 5 times in rapid succession.

2015/01/img_0147.jpg

This was definitely a case of “when all else fails, read the instructions”. Instead of getting the manual out, I turned off the fridge, then turned it back on. Still blinking. That simple act of turning it back on resulted in a LOT of extra work. If this happens to you, turn off the refrigerator and read the owners manual. Do NOT turn it back on. As the coolant had not yet liquefied, the problem still existed. Upon researching the issue, I found out that I not only needed to warm the refrigerant up, I now also needed to reset the circuit board, as two successive trouble codes result in a reset.

2015/01/img_0140.jpg

The black box with the warnings plastered all over it holds the board. To access it, wires need to be unplugged…in a certain order. Once the cover is off, the sequence needs to be reversed.

2015/01/img_0145.jpg

The instructions online then call for a jumper wire to be used between the “open pin to the right of the violet/white wire on the 16 pin plug and a ground, and hold for 15 seconds until you hear a clicking sound and the burner ignites.” Well, first off, there was a 10 pin plug and a 6 pin plug…not a 16 pin plug. The open pin was to the left of the violet/white wire…and that was not the only open pin. Is this starting to sound like an adventure movie? I took a chance and used the jumper from the open pin next to violet/white to a ground. “Click…whoosh!” Success! I then had to reverse the process of taking the cover off to put the cover back on. It was a lot easier to do, knowing that the fridge was working again!

2015/01/img_0144.jpg

Today’s temperatures are right around 30 degrees, which made the project a little easier.

2015/01/img_0137.jpg

We received a foot of snow since our last post, and the campground looks really pretty. So far, winter has been a lot easier than last year, even though we are 14″ above the snowfall average for this date.

2015/01/img_0146-0.jpg

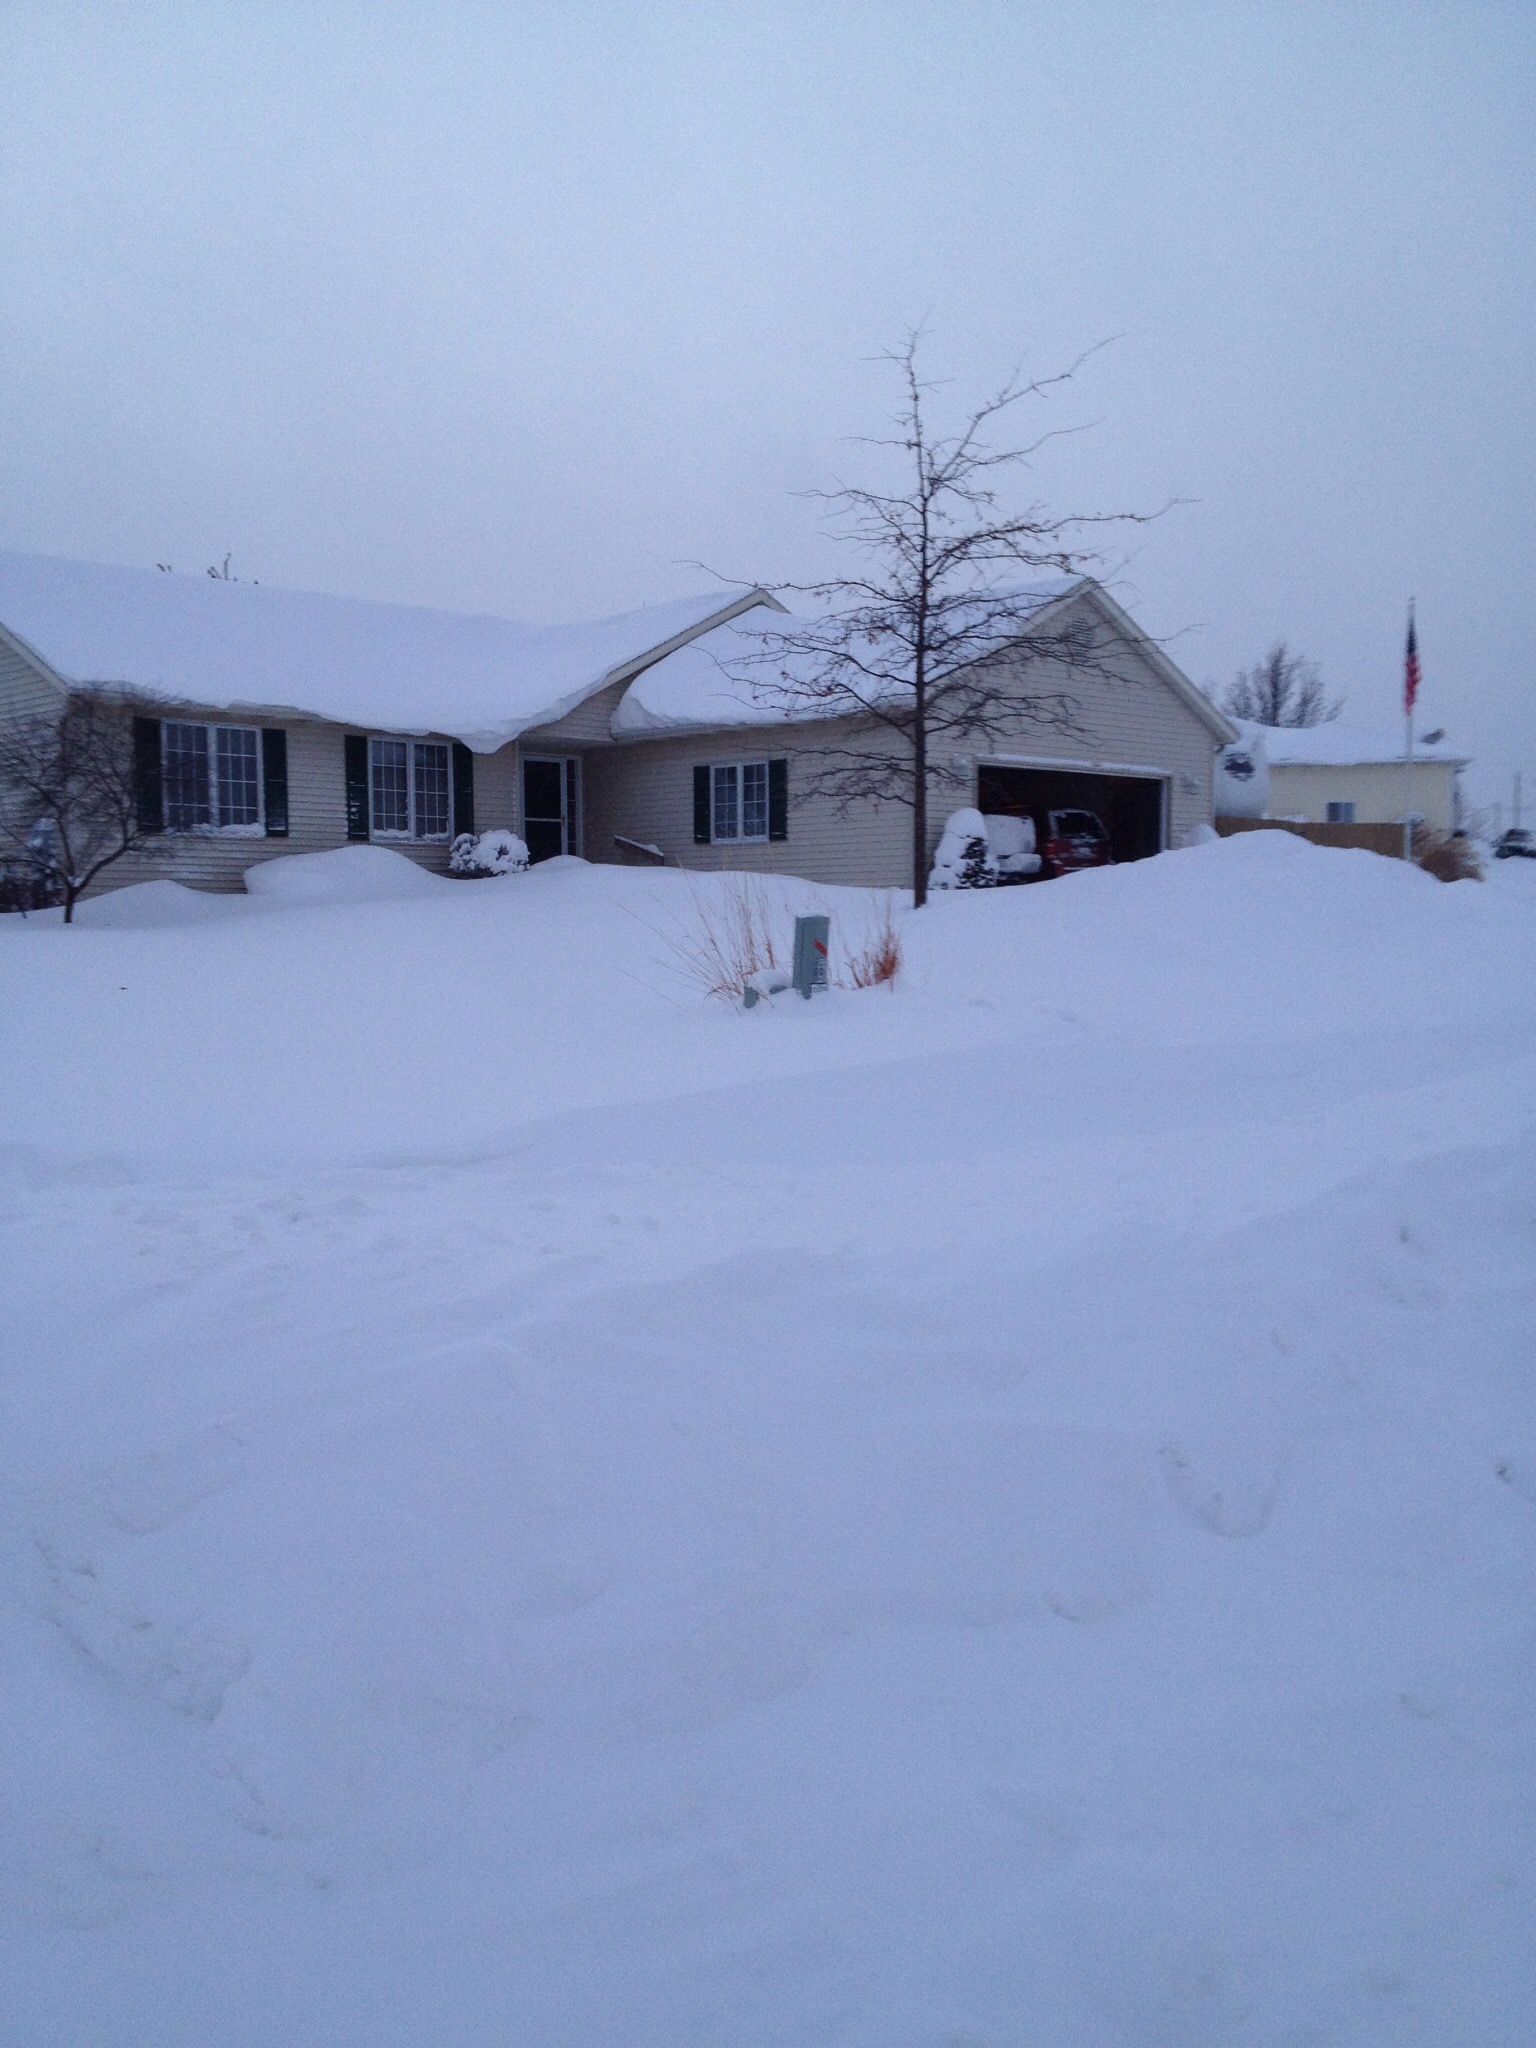
Above is a photo of our house last February. Grand Rapids had 111″ of snow for the season last year, and Holland (25 miles southwest of us) had 152″…and since we never had a mid-winter thaw, most of it stuck around for the duration. So far, we are at 50.7″, most of which melted during the December thaw. There is a lot of winter left, though!

So, if your refrigerator is running, better catch it. If it isn’t…run south! 🙂

Preparing for Ol’ Man Winter

Winter weather to most full time RVers is something that they see on the TV news while sipping on an iced tea under their awning in Florida. However, sometimes circumstances arise that require folks to endure a northern winter in their rigs. For us, we have been blessed with the responsibility to care for Diana’s mom, who lives a few miles from our campsite in Michigan. We are honored and privileged to accept this. With our house sold, we had to decide whether to rent an apartment or prep the RV and make it livable for winter. We chose the latter. We are extremely fortunate that Woodchip Campground in Byron Center, Michigan has invested in the equipment to have 30 or so sites open all winter. Thank you, Richard!

Preparing an RV for winter living requires some thought. It is true that a person could put heat tape on their fresh water hose, turn up the heat and call it good. The problem with that is they would spend a small fortune in propane, and their waste tanks would most likely freeze. We researched several websites and spoke with people who have actually wintered in their RV’s and found out several tricks. One person we spoke with at the RV-Dreams Fall Rally was Glyn Carson. He was an Ice Road Trucker in Alaska, and he lived in his RV for seven Alaskan winters. He was a wealth of information. Thank you, Glyn!

Our 2007 Colorado has a “winter package”. That includes a heated underbelly, heated waste tanks, and double pane windows. A couple of 30 degree mornings has proven that we need more. Our first step in the process has been to purchase 3/4″ foil foam board to skirt the rig. We also purchased an indoor/outdoor thermometer with a frost alarm and we placed the sending unit under the trailer.

Here is what the process of skirting a trailer looks like:

IMG_0166.JPG

The foam panes are extremely lightweight and are easily cut with a utility knife.

IMG_0129.JPG

I used 2 x 3 lumber with long spikes driven into the ground to support the bottom of the panels.

IMG_0127.JPG

The multitude of corners also provides stability.

IMG_0131.JPG

The tape used for this is foil tape. It sticks extremely well, yet comes off without leaving residue. I applied it to the rub rail and tried to avoid sticking it to the Fiberglas gel coat.

IMG_0122.JPG

Here is a view of how the front of the rig is encased.

IMG_0123.JPG

I cut holes for the sewer levers and hinged them with foil tape.

IMG_0130.JPG

Glyn Carson said to cut them similar to the top of a pumpkin. Great tip, Glyn!

IMG_0132.JPG

Here is how I dealt with the rear bumper and power cord.

IMG_0121.JPG

This is another view of the services side of the rig. Note the box that extends from the side over the sewer. I will detail that in a later post.

I also ran our spare power cord under the skirting to power a heater. We have a small oil filled electric heater coming from Home Depot. I will show that in a future post. Will we need it? Time (and our nifty thermometer) will tell.

We have also discovered another issue that winter RVers have to deal with: moisture. Propane heat and cooking, along with showers, generates moisture on the marginally insulated walls. Lots of folks use a dehumidifier in their rigs. I sold ours to the new homeowner, as I didn’t think we would need it. Oops. We are trying DampRid canisters instead, as we really don’t want to buy a dehumidifier. We also are going to run the exhaust fan during and after our showers. We have another issue to deal with: power, or lack thereof. We have a 30 amp service in our rig. As long as we are above freezing outside, it is much cheaper to run electric space heaters than to buy propane. It is also drier. We have an oil filled heater inside that does fine, but we can’t run two of them on 30 amps, as our outlet breaker is only 15 amps. That runs ALL our outlets. We even have to shut the one heater off when toasting our bread. So, if you are considering doing this, make sure you are in a rig with 50 amp service.

Lastly, we are using window insulating film on our windows. Yes, they are double pane, but they still radiate cold. Every little bit helps.

We will post more on this subject as we move through the winter. I know a lot of you have expressed interest in what we are doing to ride this season out. We are looking at it as an adventure. Be sure to stay tuned. And if you find yourself under your awning in the tropics with a nice cold glass of iced tea, ponder the ice cube spinning in the glass. We’ll be peering out from inside!

———————

Search Amazon.com here
———————

Amazon, the Amazon logo, AmazonSupply, and the AmazonSupply logo are trademarks of Amazon. com, Inc. or its affiliates. exploRVistas is a participant in the Amazon Services LLC Associates Program, an affiliate advertising program designed to provide a means for sites to earn advertising fees by advertising and linking to amazon. com.