While prepping for dinner the other day, our Norcold refrigerator delivered us an unwanted surprise. As I opened the door, it fell completely off and into my hands. Luckily, I sensed that it was going and was able to grab it before it landed on my toes. Upon further inspection, I noticed that the hinge portion on the door is made of plastic, of all things. Having spent the majority of my life in a house, I am well aware that residential refrigerator manufacturers use a fairly substantial piece of steel for their hinges. I also know that RV manufacturers strive to save weight by using plastic where they can, but I incorrectly assumed it wouldn’t have been in a place that bears as much weight as a refrigerator door does.
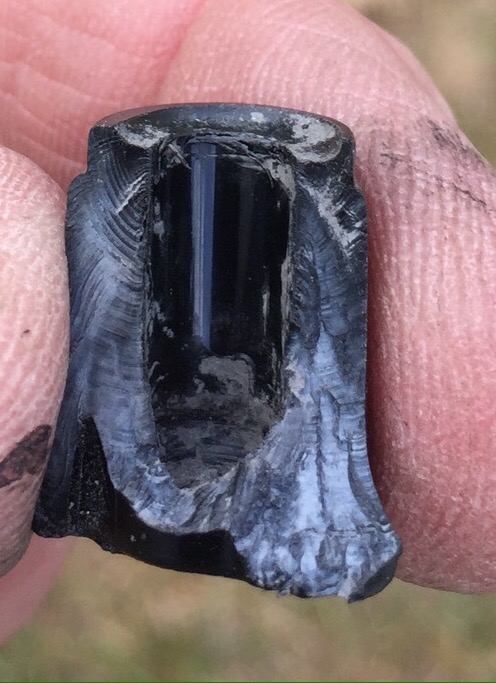
This is the piece that broke off. Imagine a door full of condiments and whatnot riding on this small plastic part.
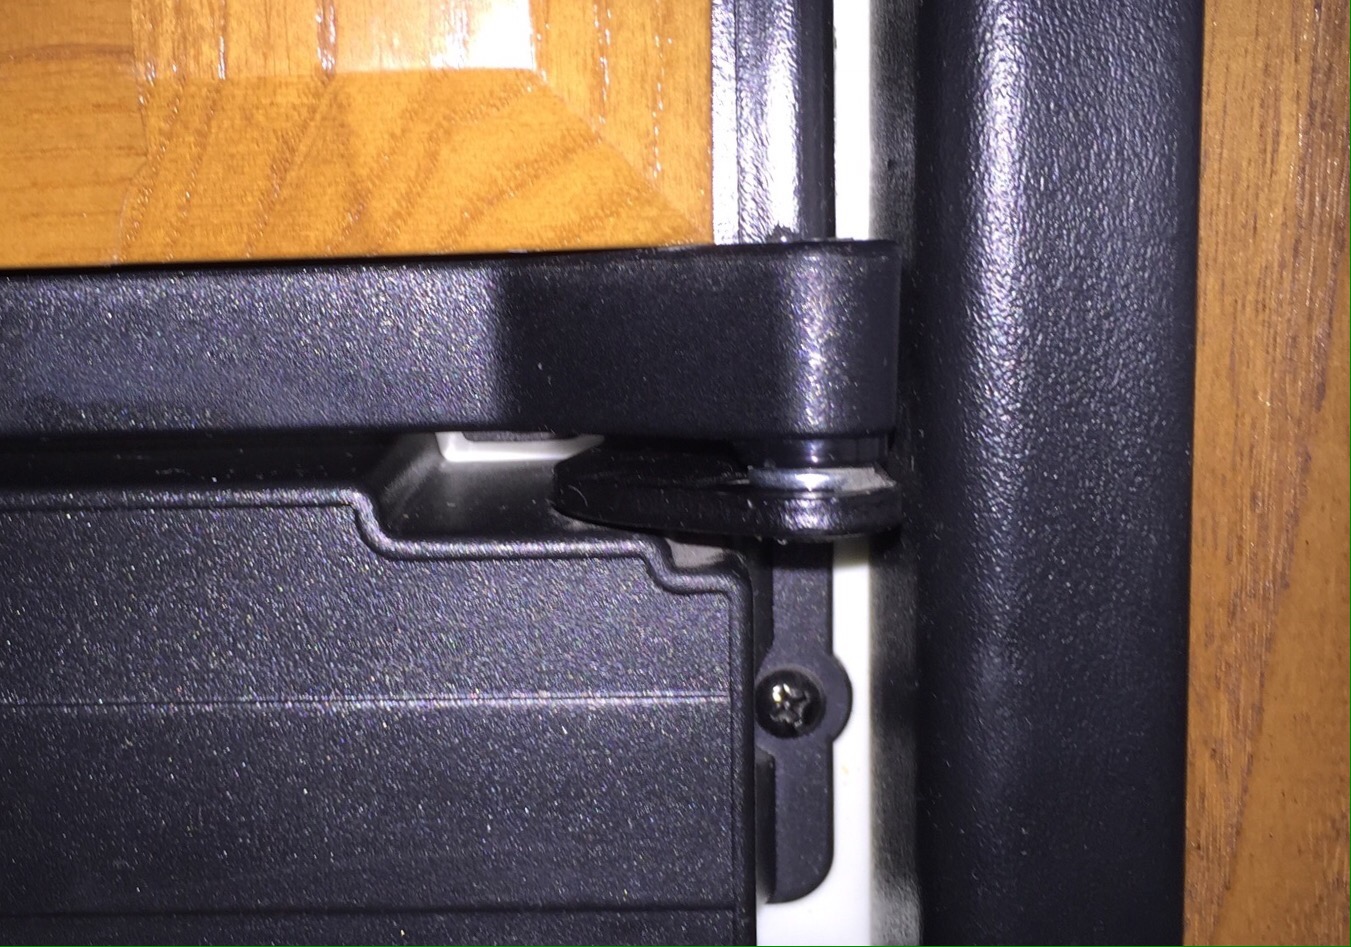
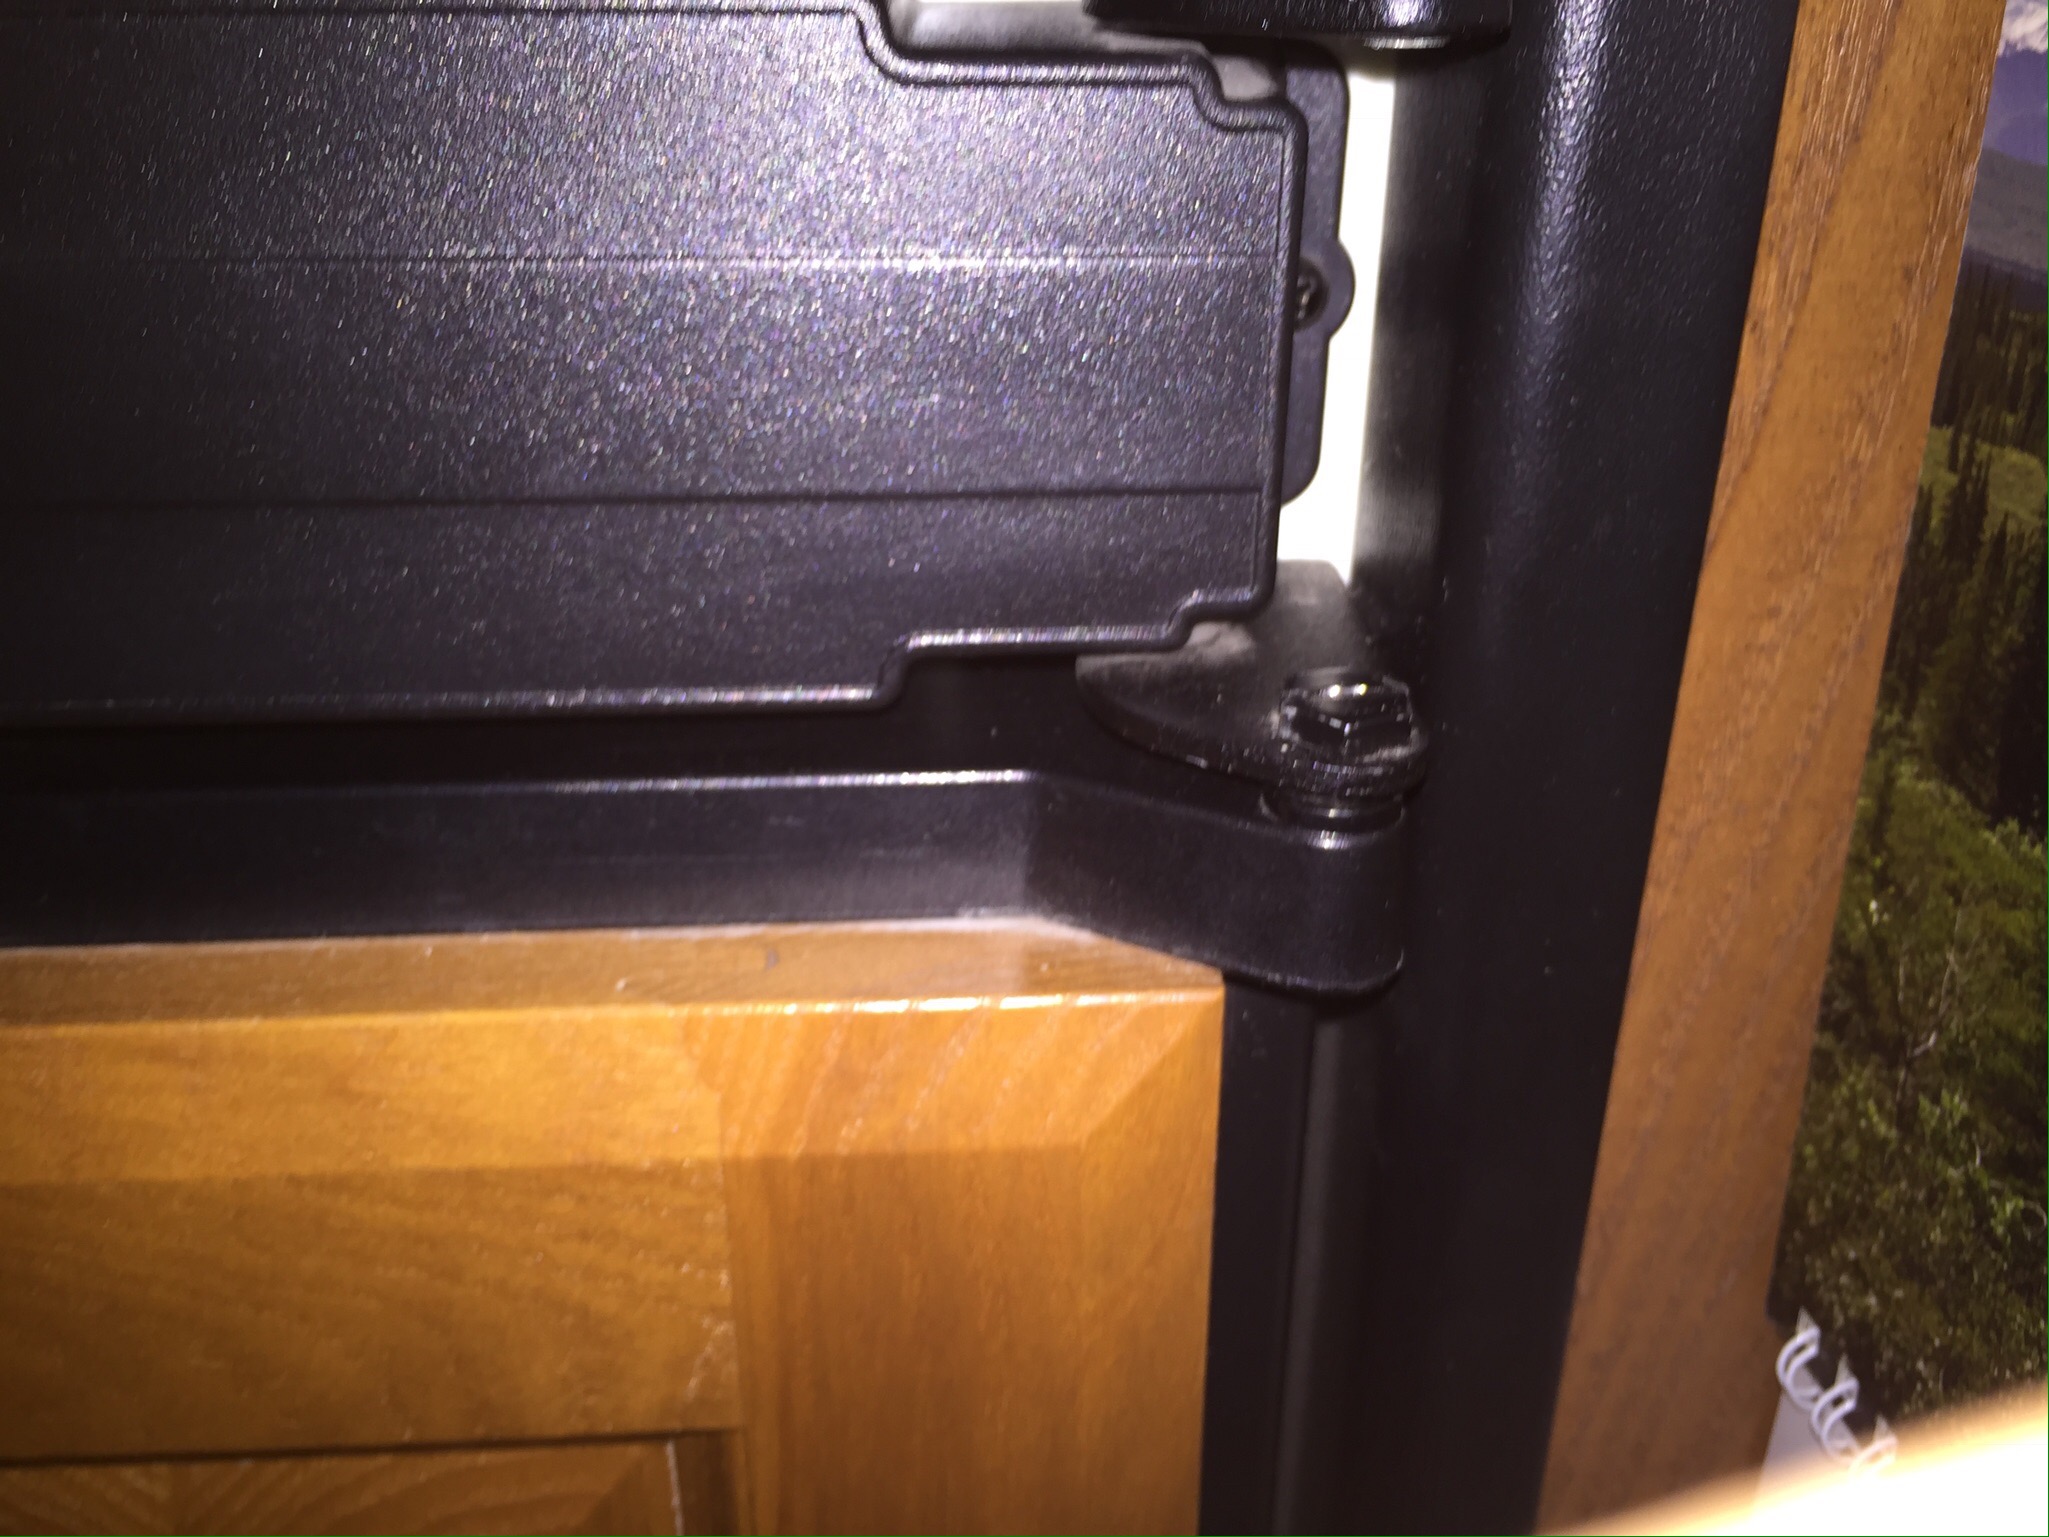
This is what the hinge looks like from the factory. I am showing the undamaged freezer hinge as an example, which is identical to the refrigerator hinge. The bracket extending off of the body of the refrigerator is metal, but the door portion is plastic. There is a piece that pivots on the metal pin that hangs off the door and is totally unsupported. It is an intergal part of the door and is not replaceable…you need to buy the entire door. My first thought, as I was holding the door, was ‘this really should have a metal piece underneath it.’ I also thought that this was probably a common problem, and that there might be an aftermarket repair piece out there that I could purchase. I was correct on both counts, but the aftermarket piece available through Norcold…in my opinion…didn’t have enough surface attached to the door to support the weight of a loaded door. Besides, they wanted $27 for this little gem!
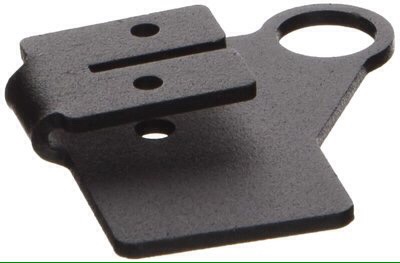
They also stated that this piece only be used on a door that had not yet broken. In other words, it was only to be used to reinforce their poorly engineered stock design. Hmmmmm…….
I then saw a YouTube video where a couple of guys took a 2″ piece of aluminum and fashioned a crude plate that extended further along the bottom of the door. I chuckled throughout the video, as the narrator was quite vocal about how he felt that Norcold designed the piece to fail, and the only recourse was to replace the entire door. Diana can attest that he was using the same colorful language that I used in the description of the engineering team at Norcold when I was holding the door in my hands. 😉
With a rough idea of what I needed to make a plate, we were off to Menard’s!
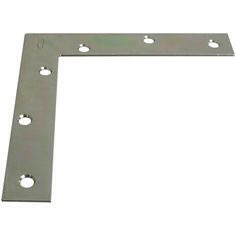
We picked up a 6″ corner mending plate, some flat head screws, and a can of flat black Rustoleum. With us being on the road without a vise, I knew metalworking was going to be difficult.

I ended up attaching half of the bracket to a board. That allowed me to cut the plate and round off the corner with a file.
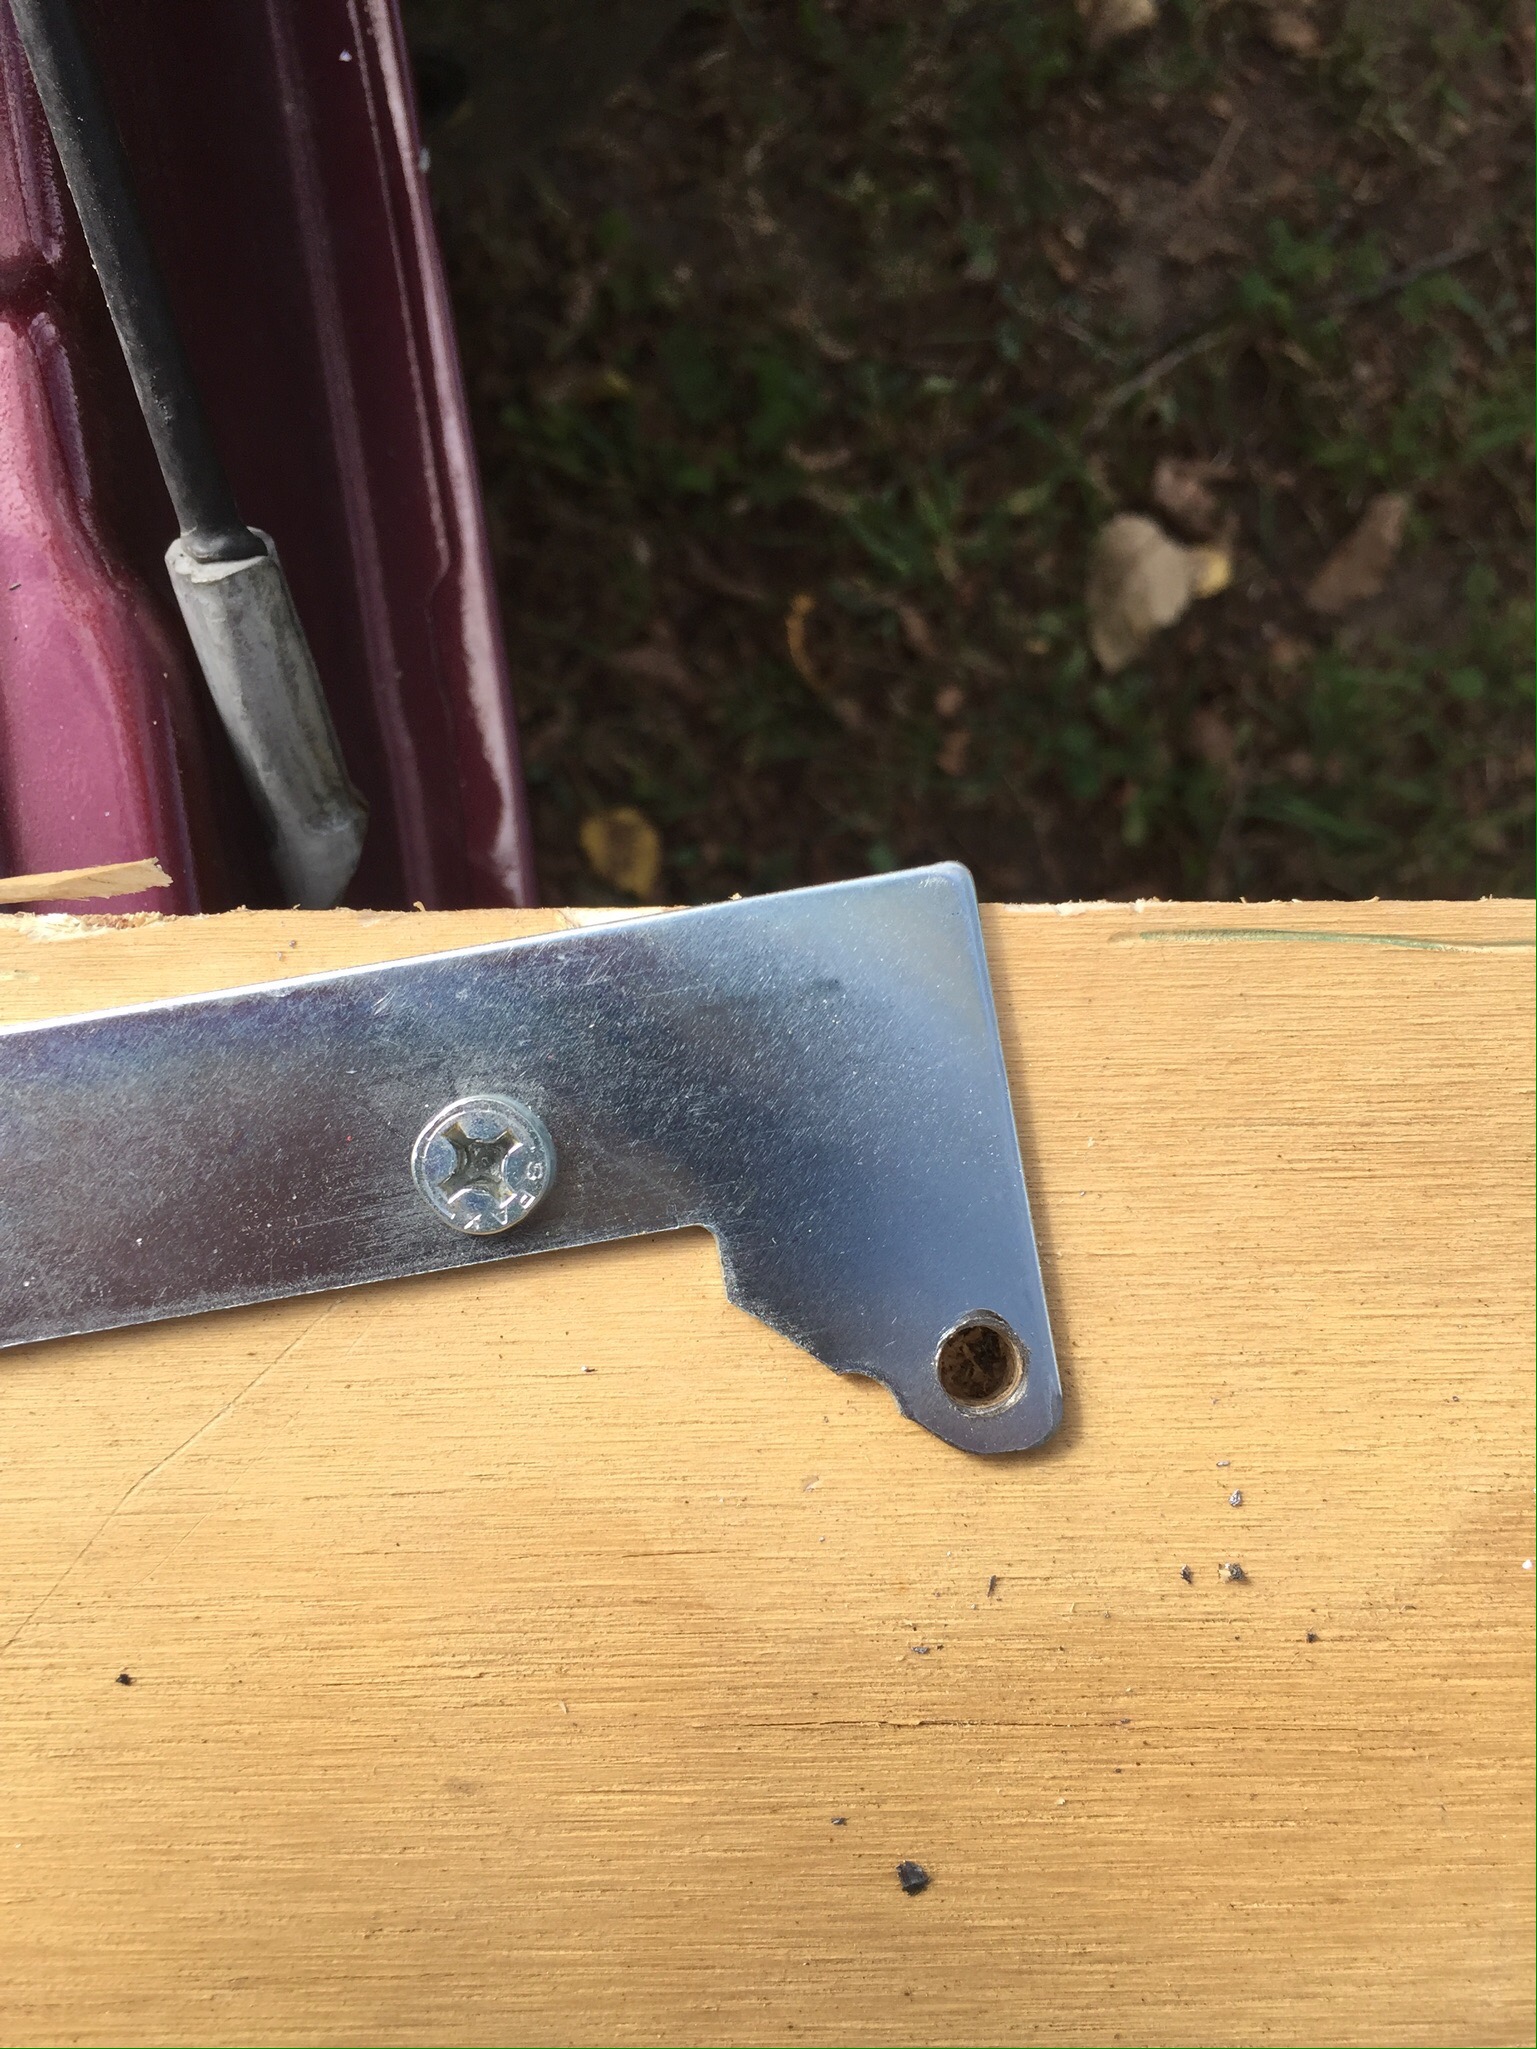
I then drilled a hole to accept the pin that the door rides on.
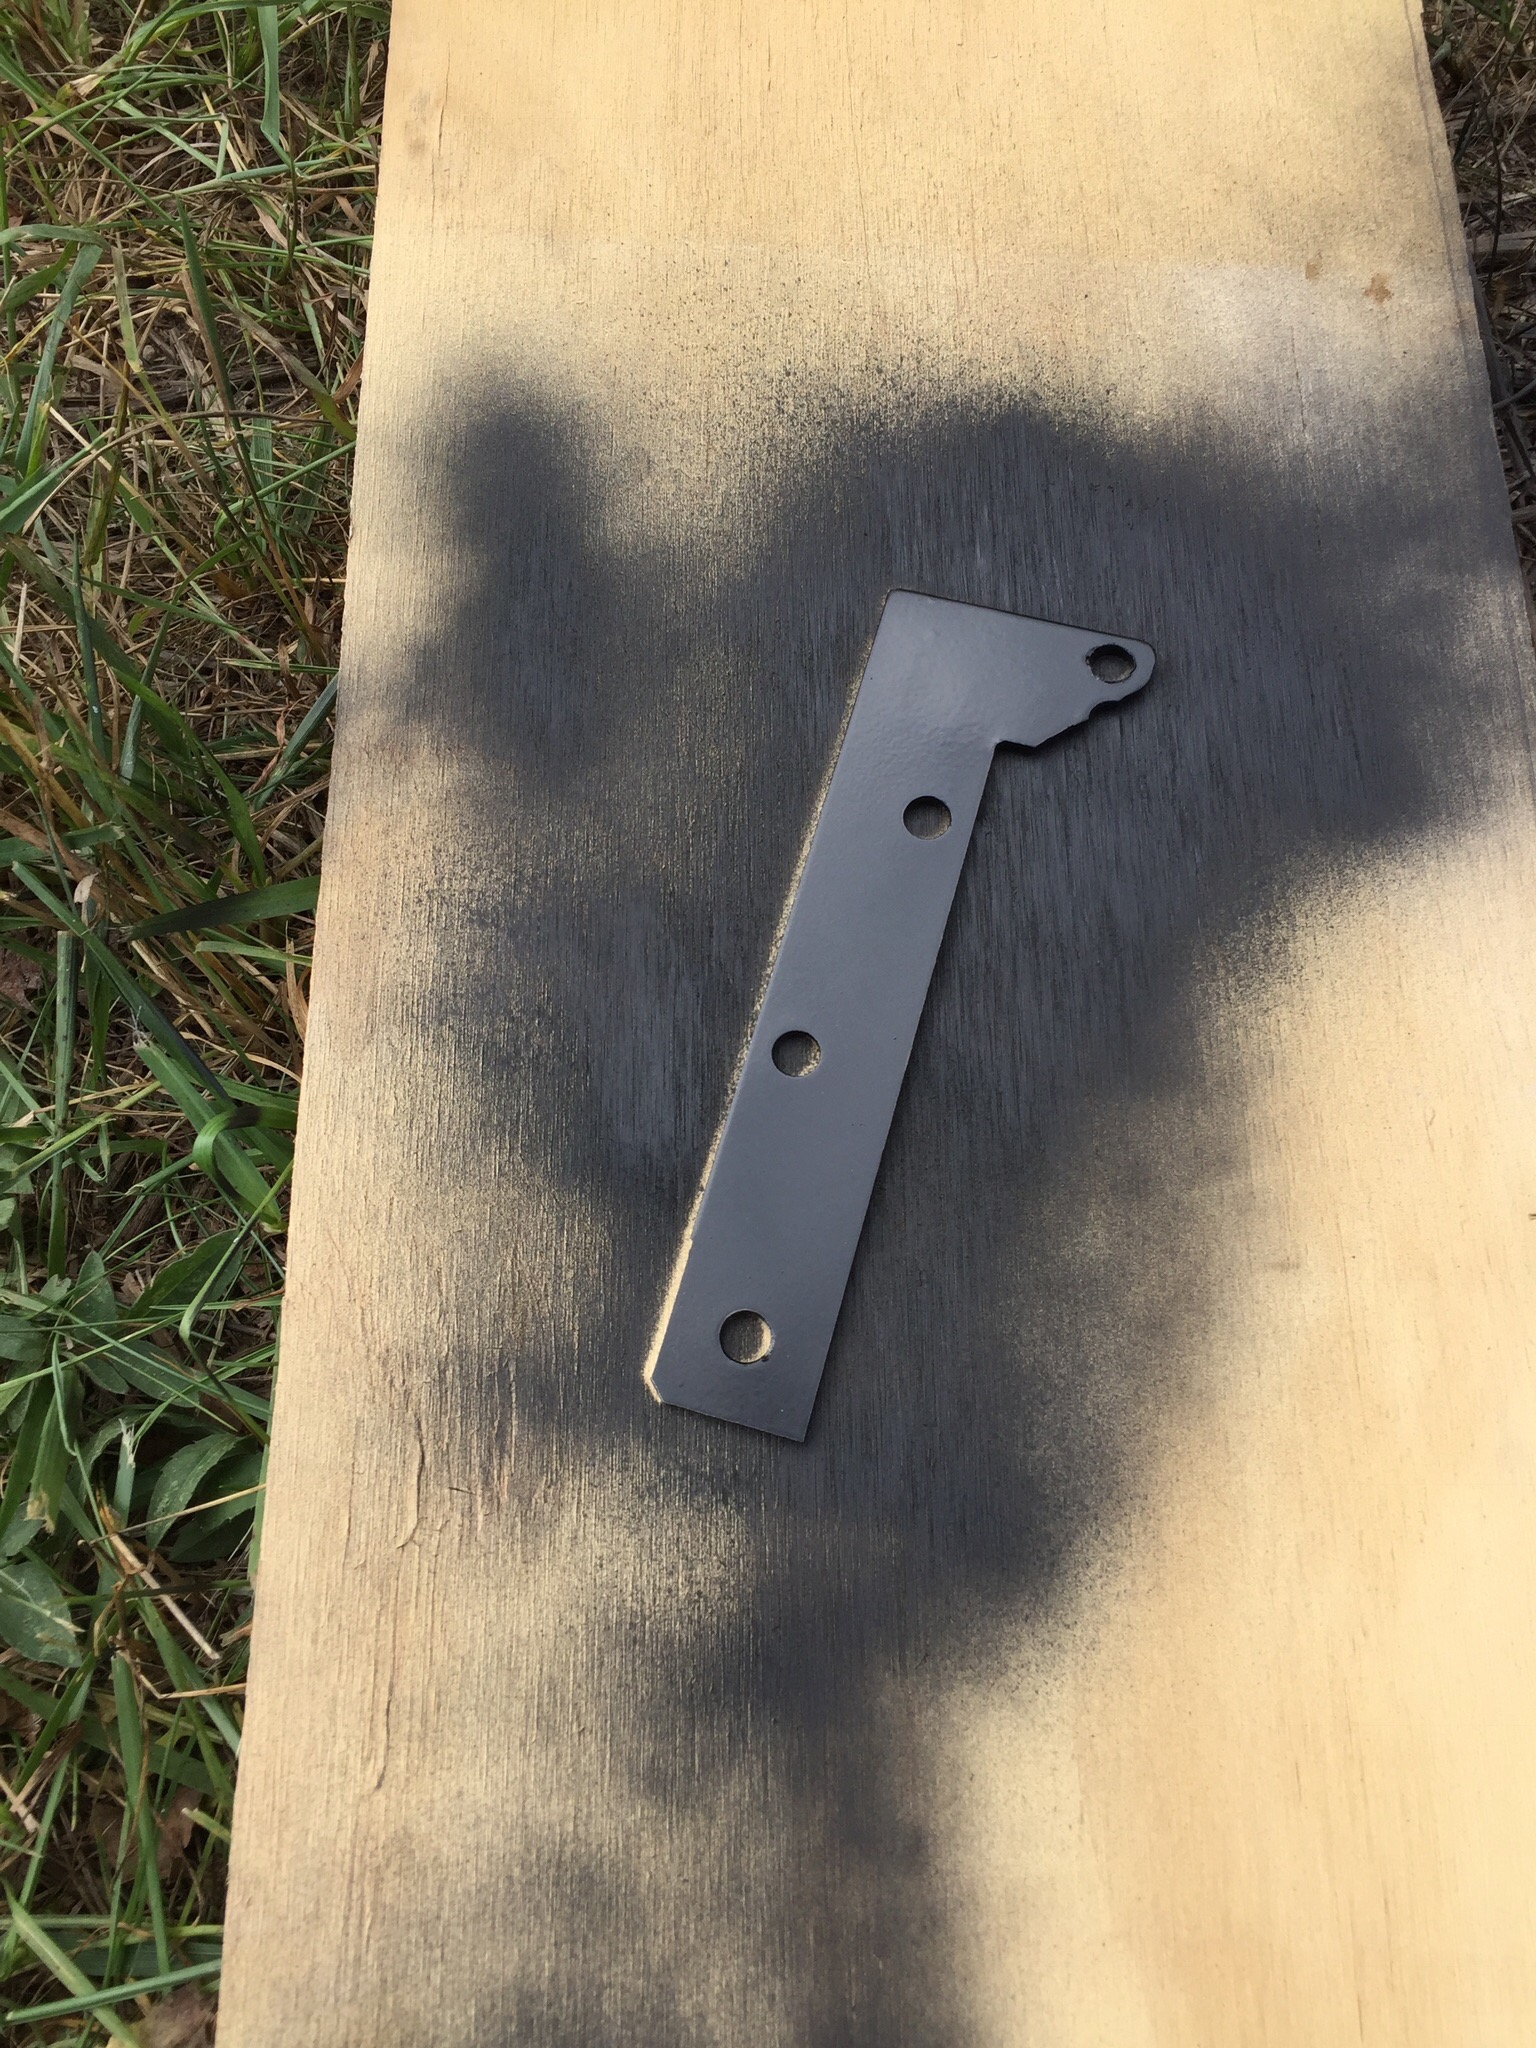
I gave the top side a coat of flat black paint to help it blend in with the refrigerator.
After using super glue to put the plastic piece back in place, I lined up the bracket as shown. I left the bottom of the bracket unpainted, as it can’t be seen and the zinc coating provides plenty of protection.
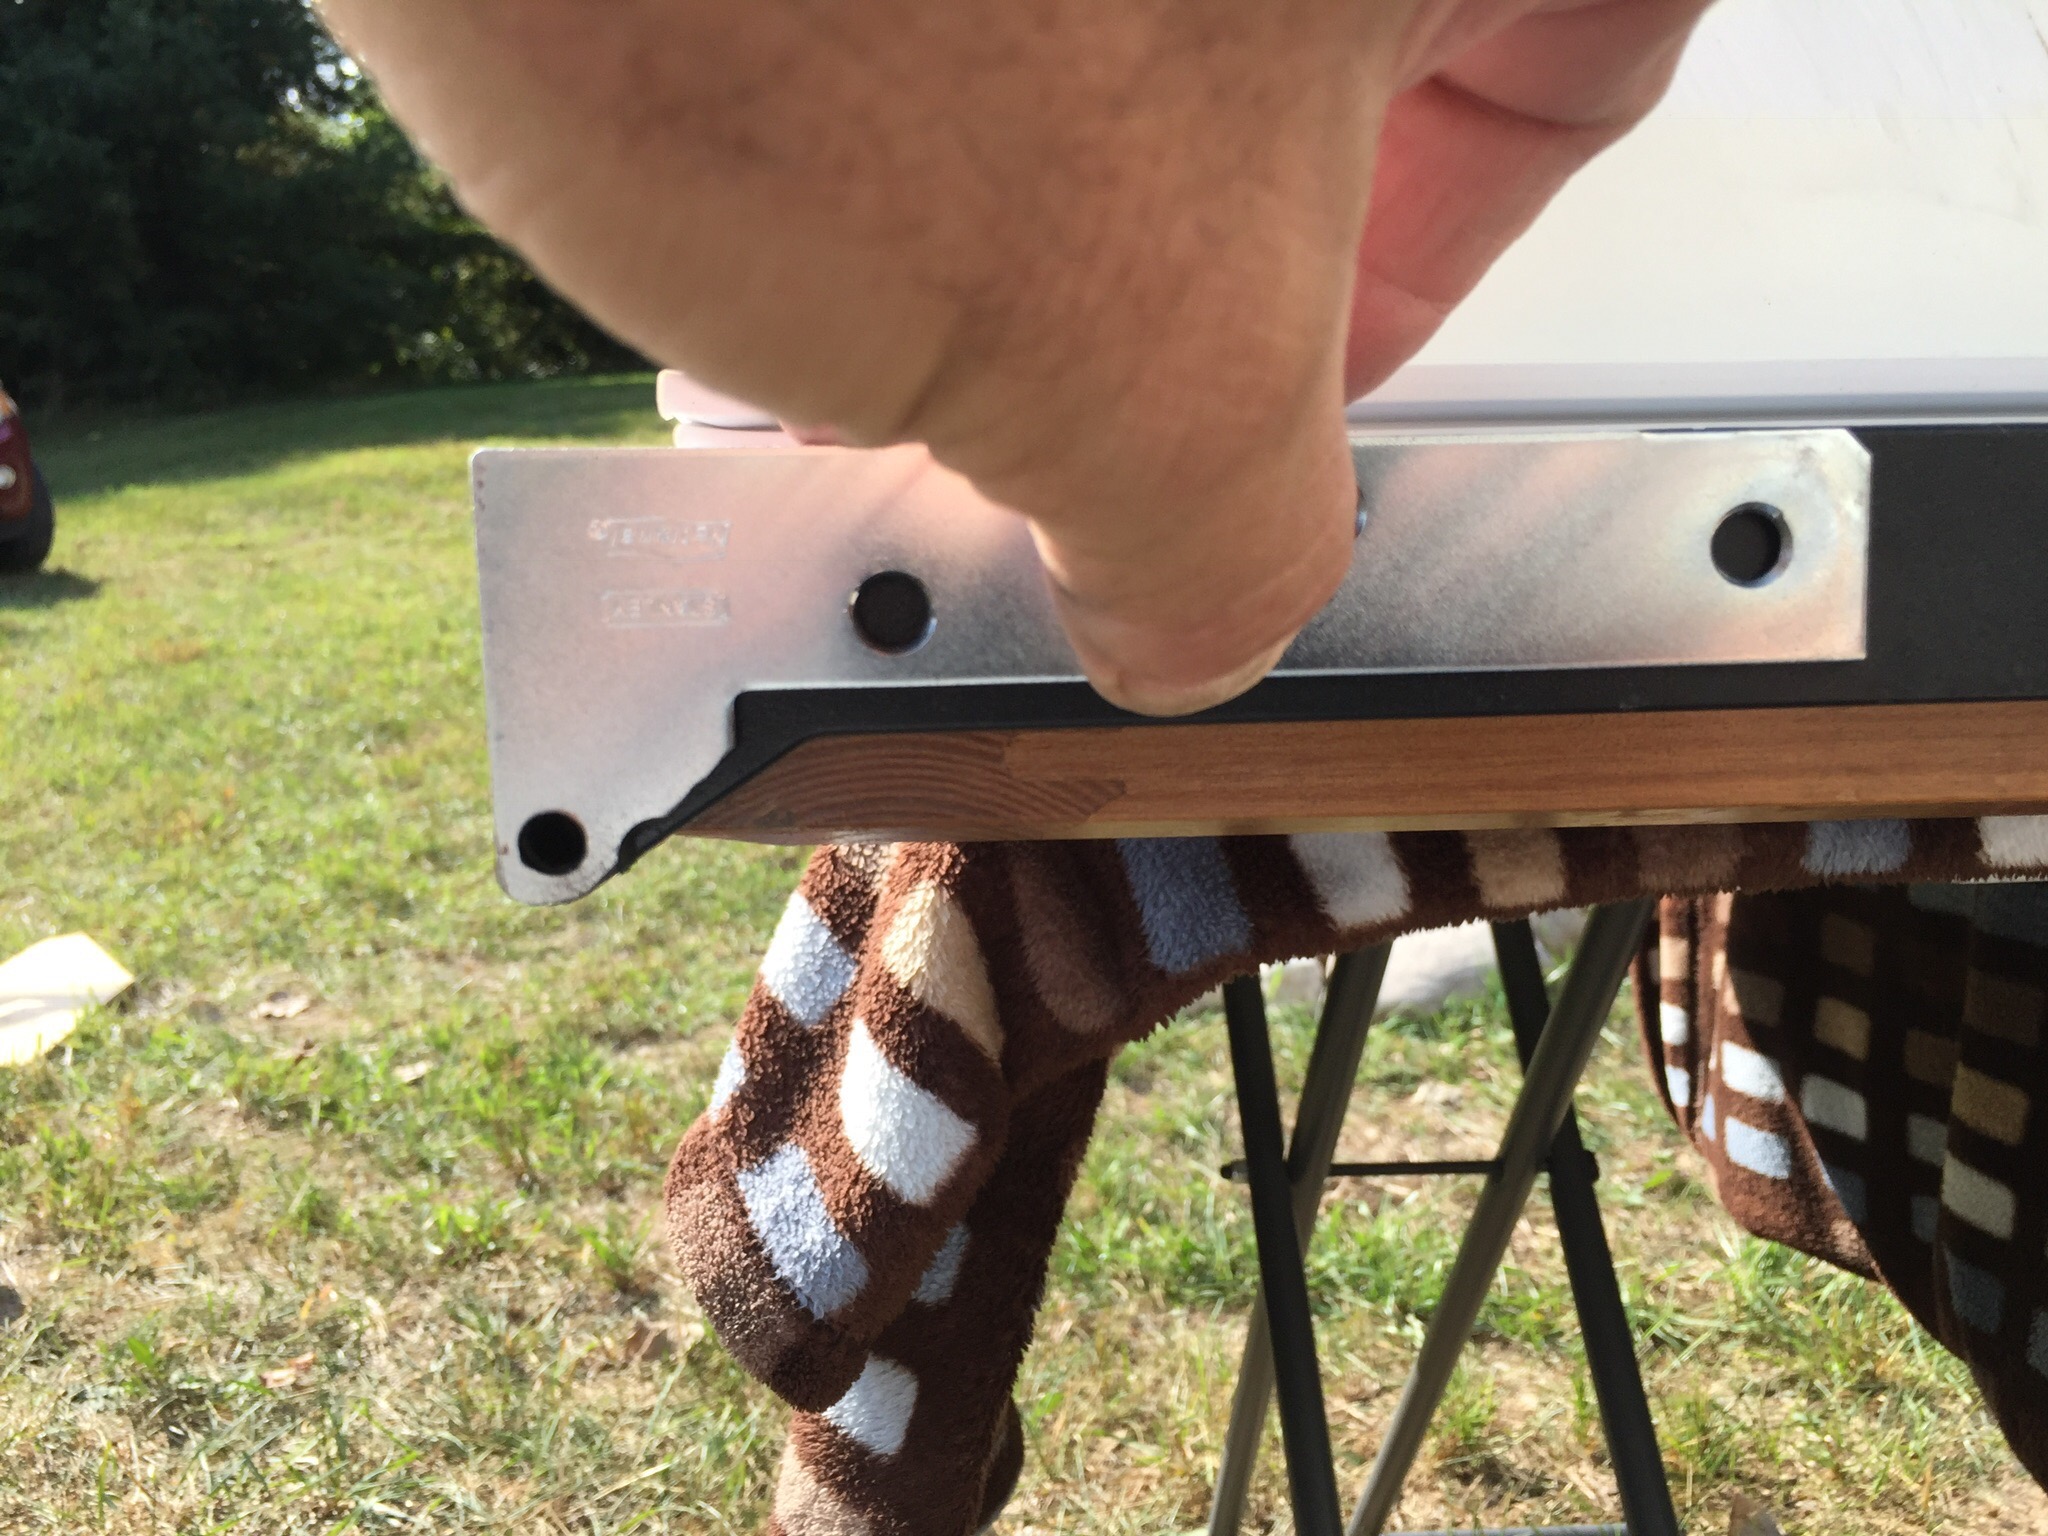
Here is the bracket screwed into place. Time to head inside and mount the door!
I removed the hex nut/post from the top hinge, slid the door over the bottom post, then replaced the top hex nut/post.
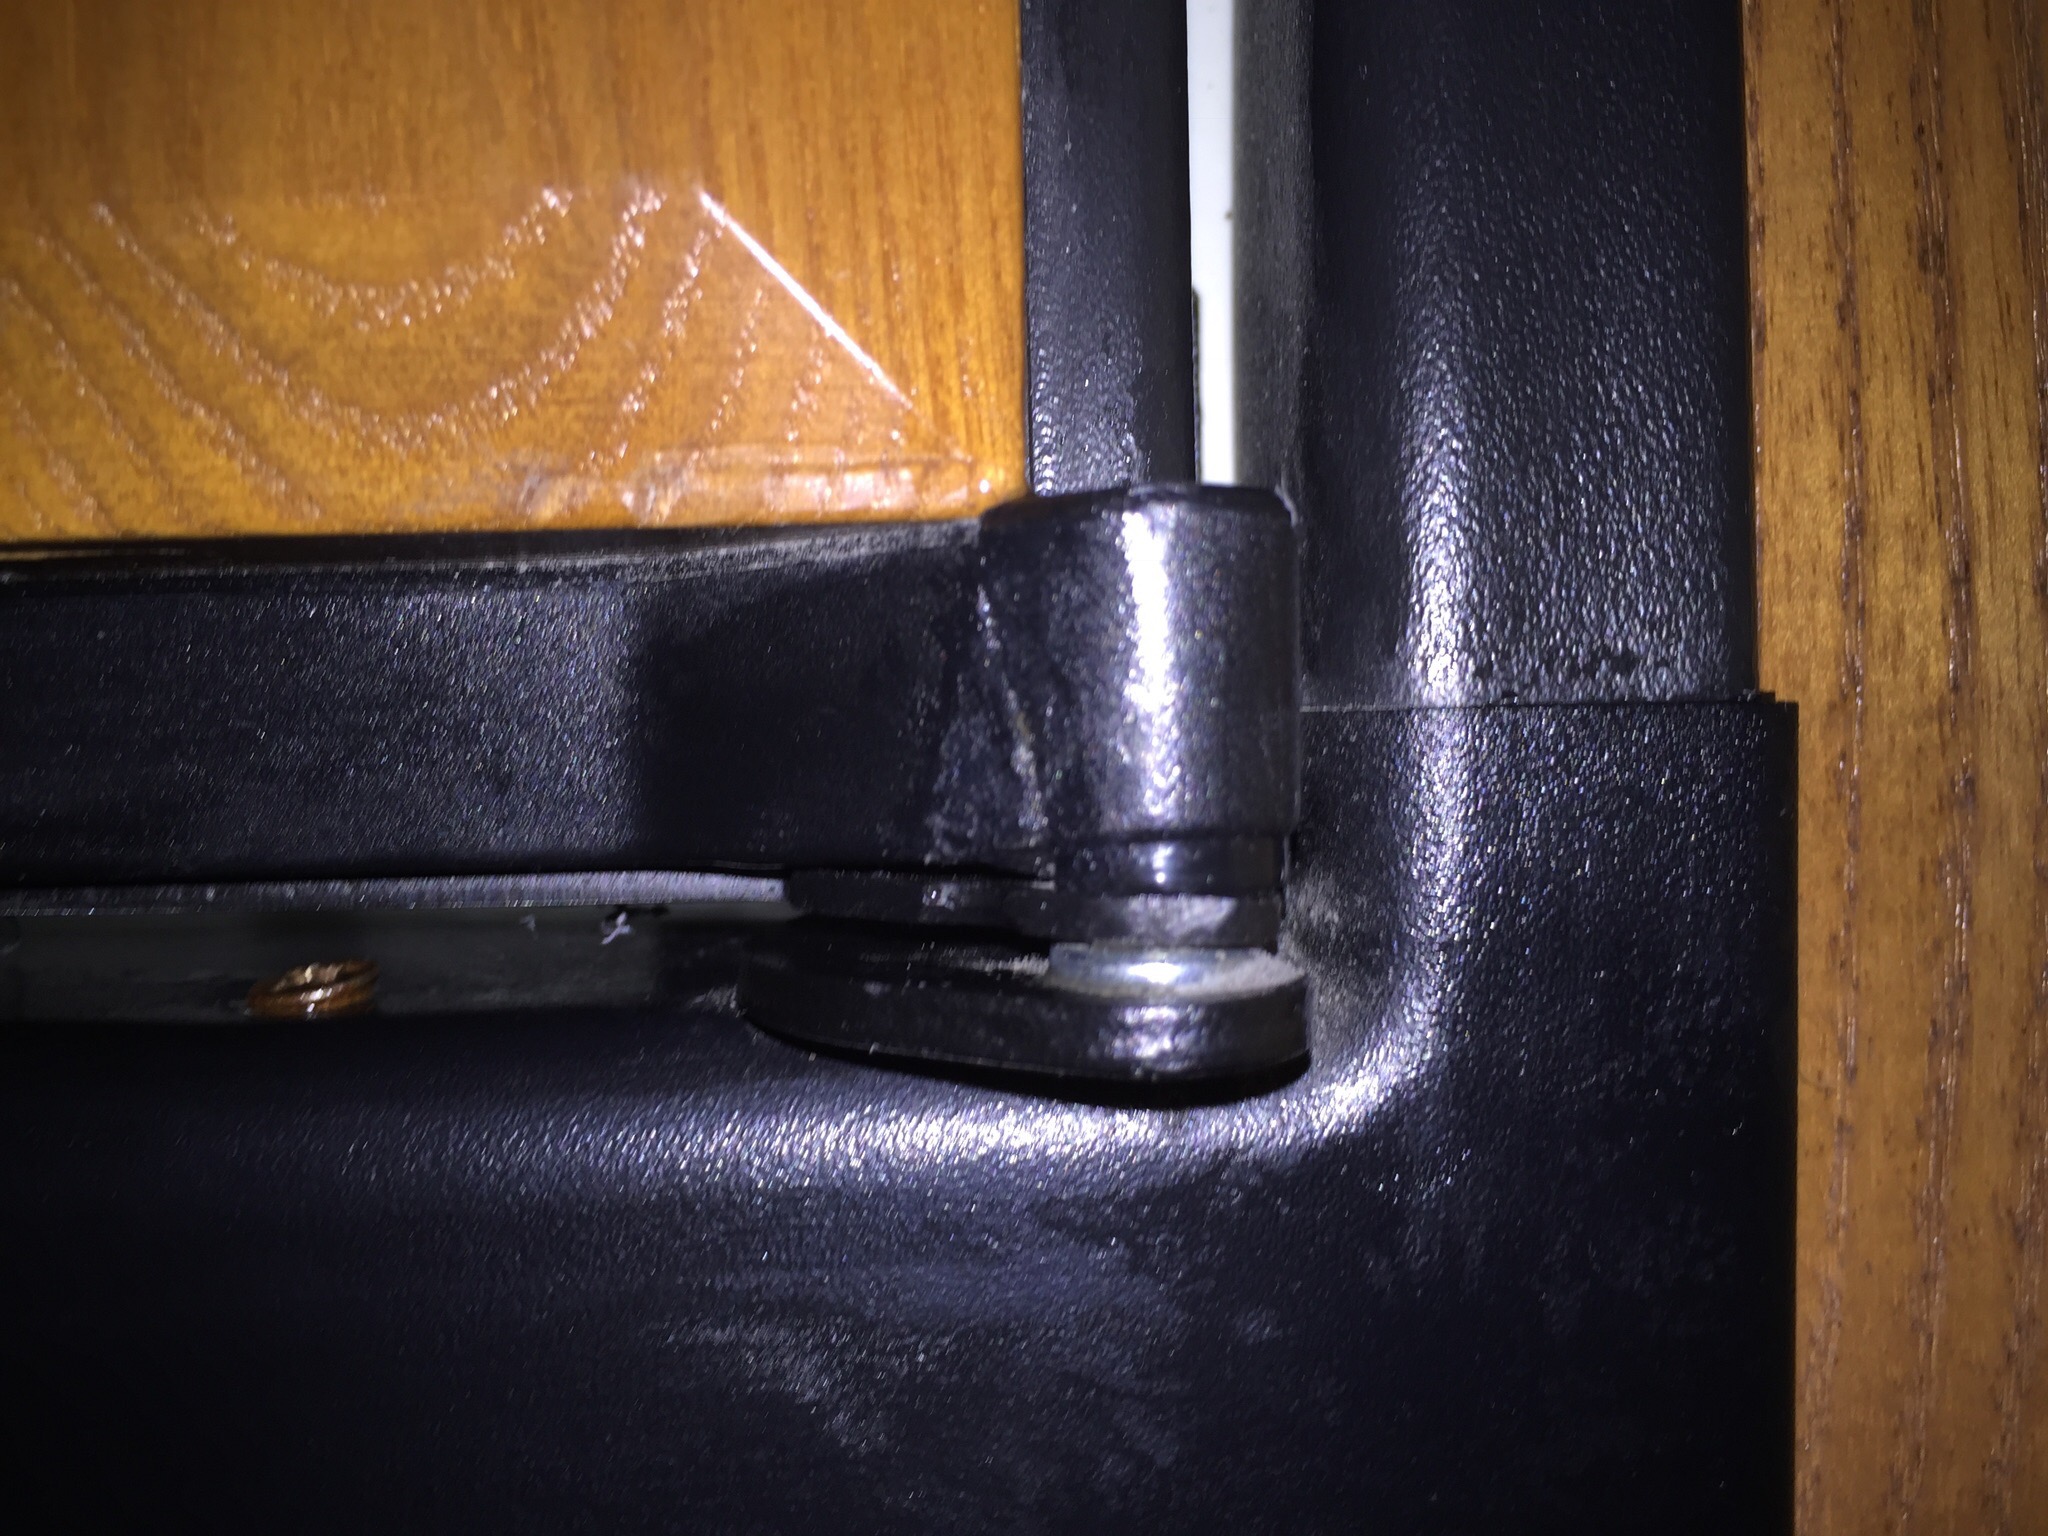
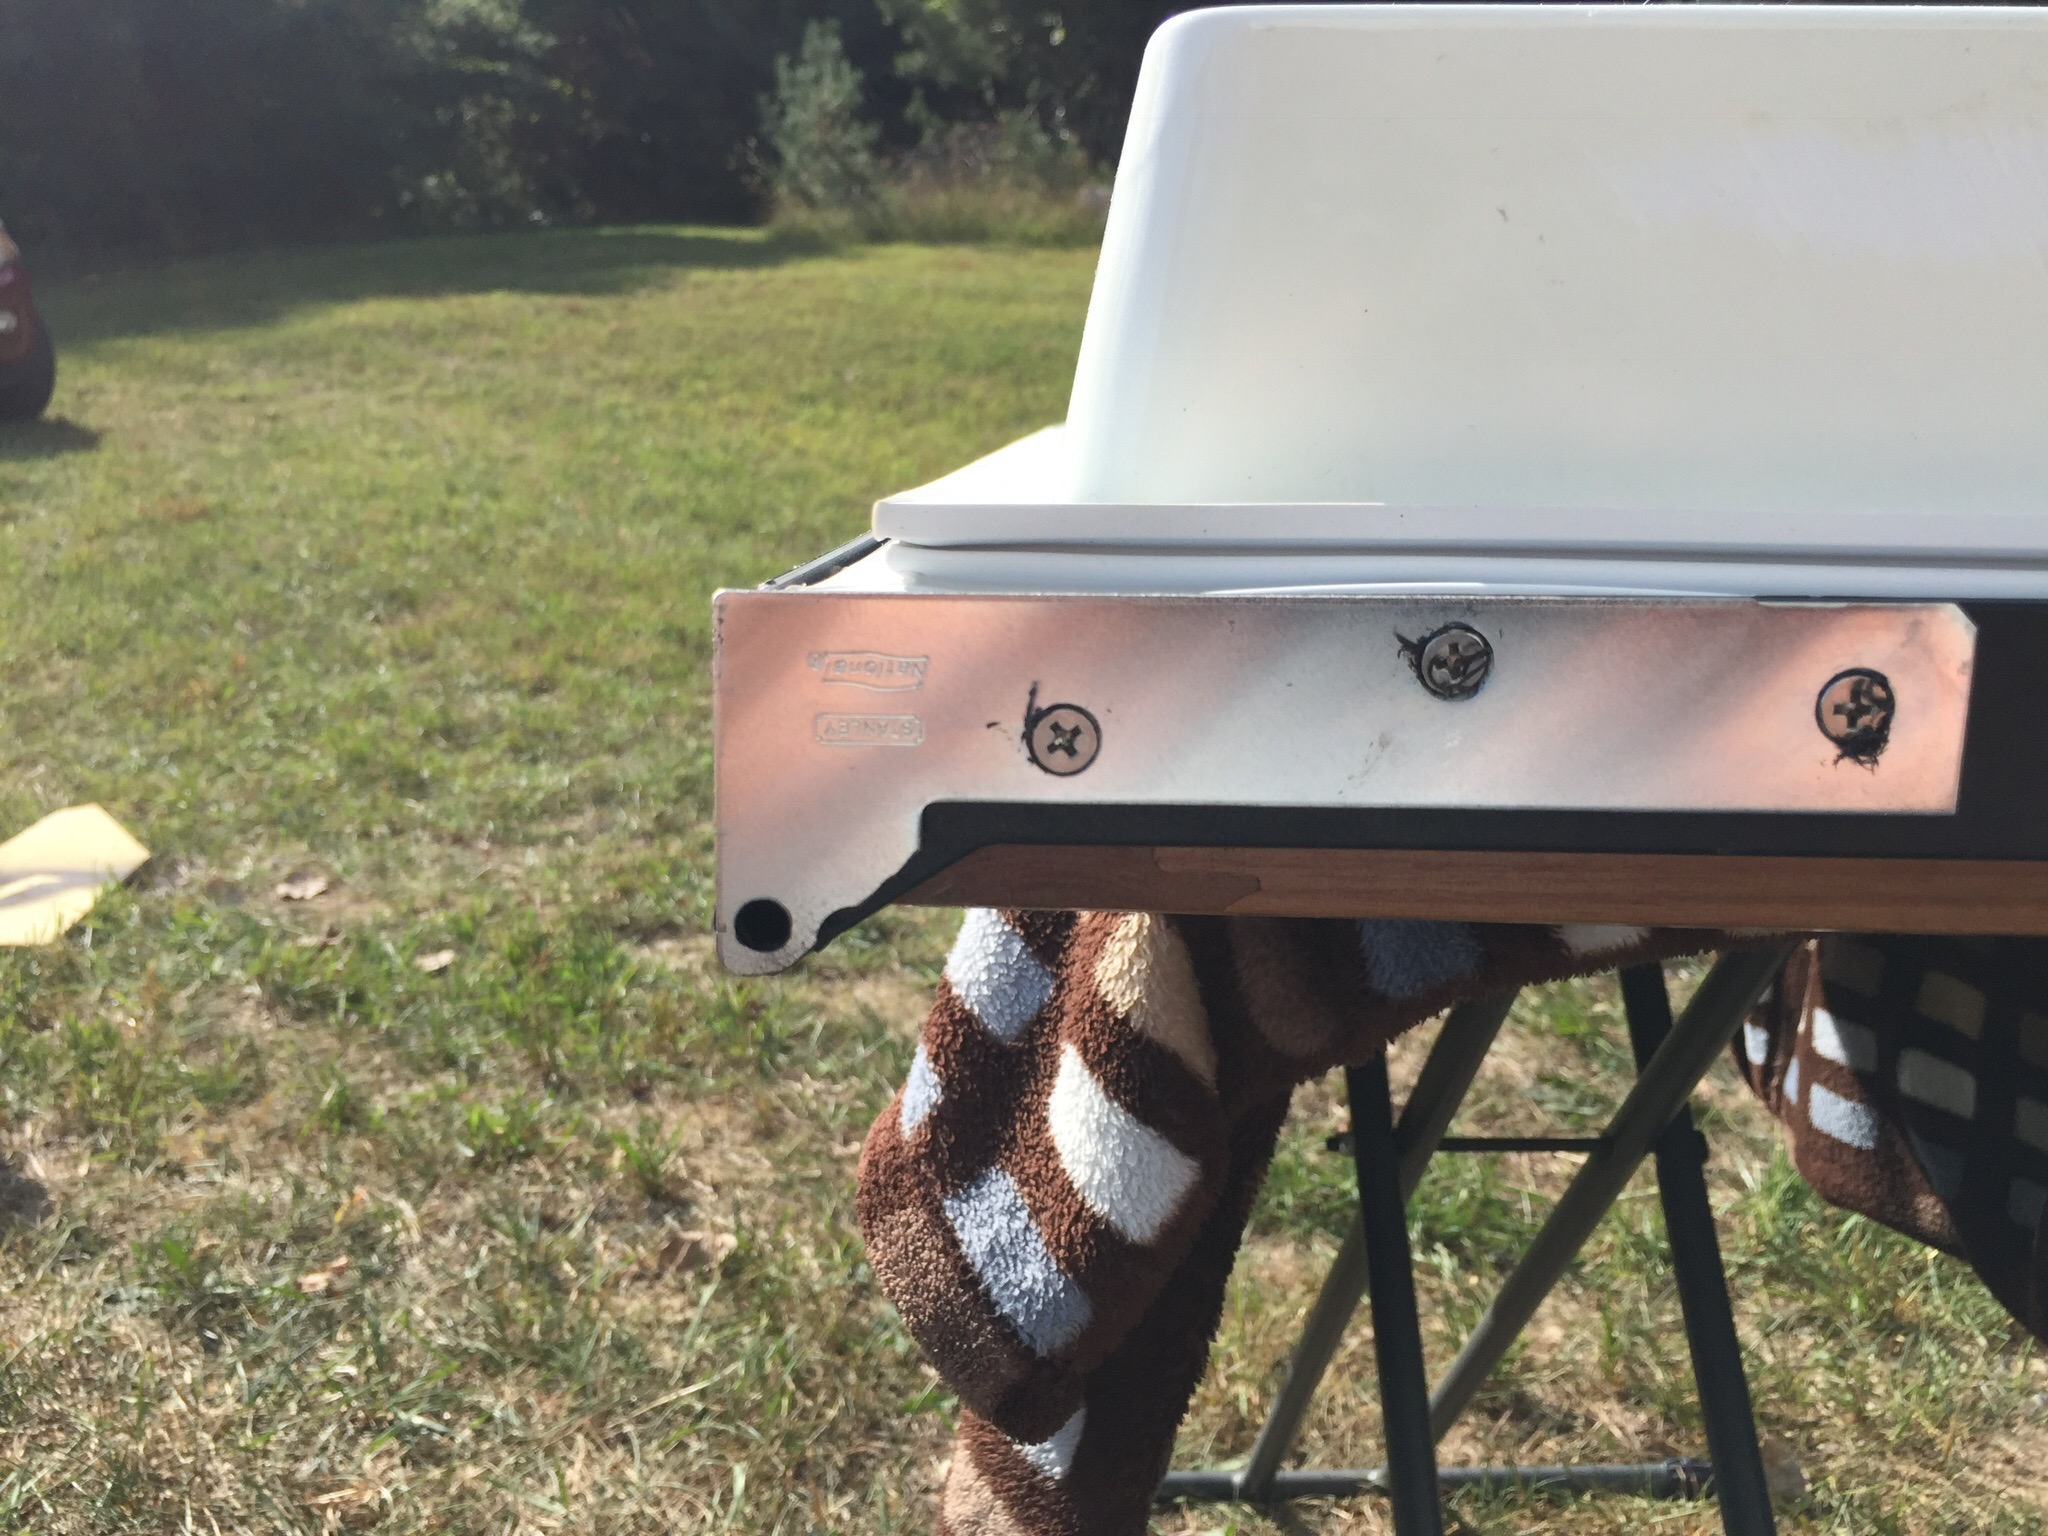
Here is the repaired hinge at the bottom of the door. The superglued plastic piece isn’t supporting any weight; I put it there to keep dirt out of the hinge and for asthetics.
For the cost of a mending plate, a can of spray paint and a package of screws, our refrigerator is back in business, stronger than ever. It sure beats the cost of a new door! If you have this setup in your rig, you may want to consider beefing up your hinge before it fails. It might prevent some broken toes. Diana was busy slicing vegetables at the time. If she would have been the one who opened the door when the part failed, this story may have had a different ending!